Fabrication
This section contains detailed step-by-step instructions for casting a PneuNets bending actuator. As explained in the previous sections, the PneuNets actuator consists of two parts: the main body containing the chambers that will expand when the actuator is inflated, and a bottom layer containing a strain-limiting material such as paper. The two parts are molded separately and then glued together. With the use of an oven to accelerate the curing process, the actuator parts can be cast and assembled in less than an hour. An overview of the process is provided below.
Process overview
|
|
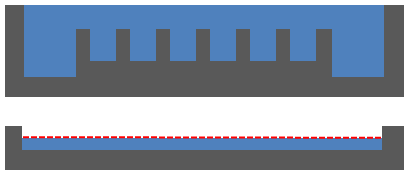
Mix elastomer and pour it into the molds. Fill the main body mold completely; fill the base mold halfway then put a piece of paper on it to serve as the strain-limiting layer. |
|
|
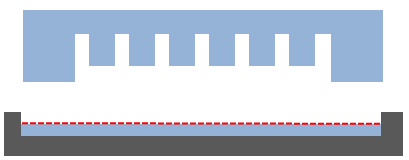
Cure both parts, and demold the main body. |
|
|
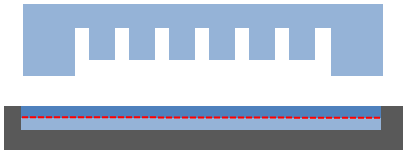
Fill the remaining half of the base mold with uncured elastomer. |
|
|
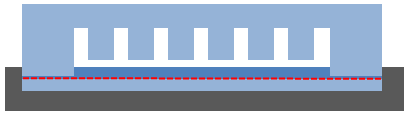
Using the uncured elastomer as glue, bond the main body piece to the base. |
|
|
Cure the two pieces together. |
 |
Demold the final actuator. |

Bill of Materials
This section will give a list of items that are used in this project with selected links to suppliers. You can download a more detailed Bill of Materials sheet here.
Note: Many of the items listed are just examples and you can use your own discretion to substitute parts which are easier or cheaper to obtain.
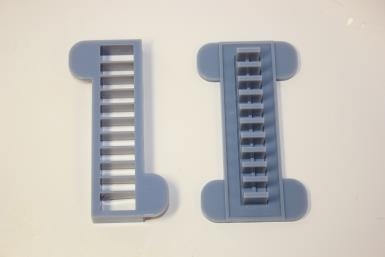
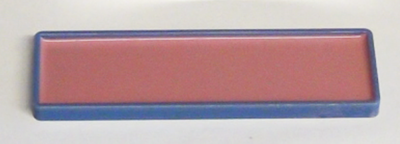
Molds
|
|
| Chamber Mold (top and bottom parts) |
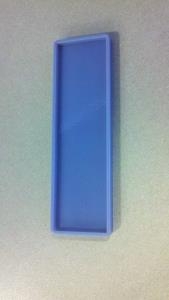
Bottom Layer Mold |
Click here to download the .stl files for these molds. You can then use a 3D printer to create the molds.
If you would like to modify the molds, click here to download the SolidWorks solid models.
Materials
|
|

|
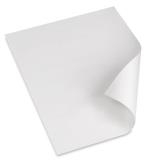
| Piece of office paper, cut to fit bottom mold |
|
Pneumatic tubing/hose. |
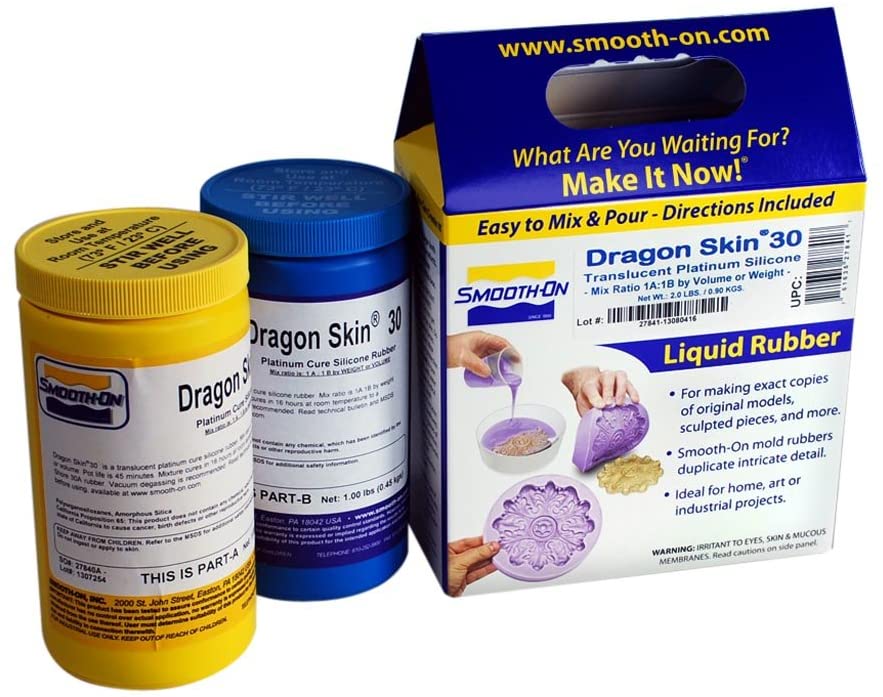
*Alternative: Elastosil M4601 2-part silicone rubber* has similar material properties to Dragon Skin 30 and can be substituted here. See the Design section for a discussion of other materials options.
Tools
|
|

|
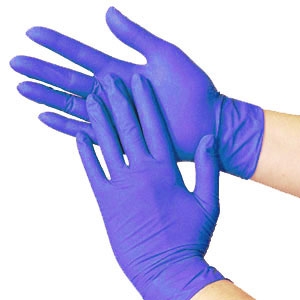
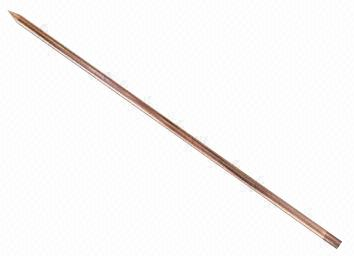
| Lab gloves | Thin (2-3mm) rod for piercing hole for tubing | Syringe (or air pump) to inflate the actuator |
Equipment
|
|
|
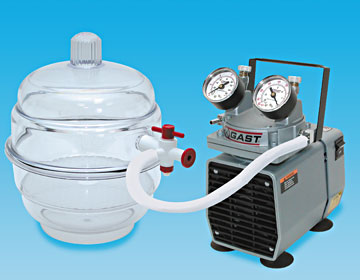
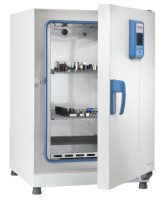
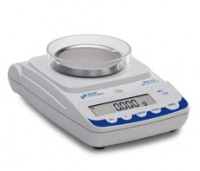
| Vacuum chamber | Lab oven (set to 65°C) | Mass scale |

|
|
|
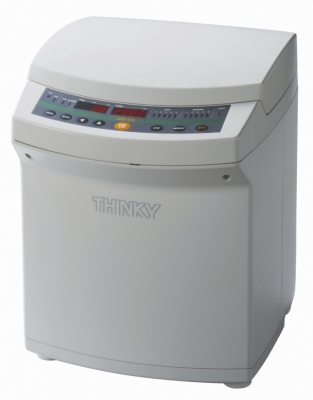
| Mixing cups | Centrifugal mixer |
| PneuNet Molds .STL Files (.zip) | 27 KB | |
| PneuNet Molds SolidWorks Files (.zip) | 729 KB | |
| bom_pneunet.xlsx | 10 KB |
Step 1: Prepare Elastomer
Measure
Elastosil needs to be mixed in a 1:9 ratio (by weight) of Part A:Part B. In this example, we will prepare a total of 80g of Elastosil. For these molds, you will probably not need the full 80g; anywhere between 50g and 80g should be fine.
(Note: if you are using a different material, see the manufacturer instructions regarding the mixing ratio and adjust the following instructions accordingly)
Take the bottle of Elastosil Part A (red fluid) and shake vigorously. Measure out 8g in the cup, pouring slowly so you don’t overshoot. If you do overshoot, pour some back into the bottle or add more part B later to compensate and maintain the 1:9 ratio. |
|
Now add 72 g (8 g x 9) Elastosil Part B (white). Being accurate within 2-3 grams is okay. If you pour too much, you can remove some material with a spatula. This should give you 80 g total material in the cup. |
Mix
|
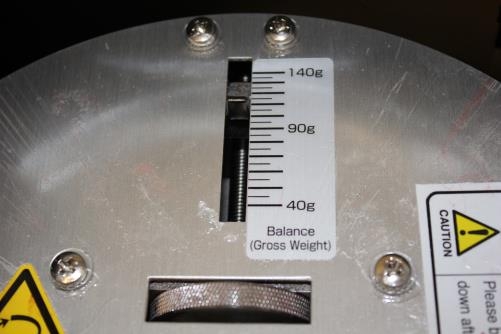
Open the mixer and remove the cupholder/adapter. Weigh the combined cupholder+cup+elastomer assembly and adjust the mixer balance to match this weight, by spinning the dial. Place the cup in the mixer and run the mixing program. |
|
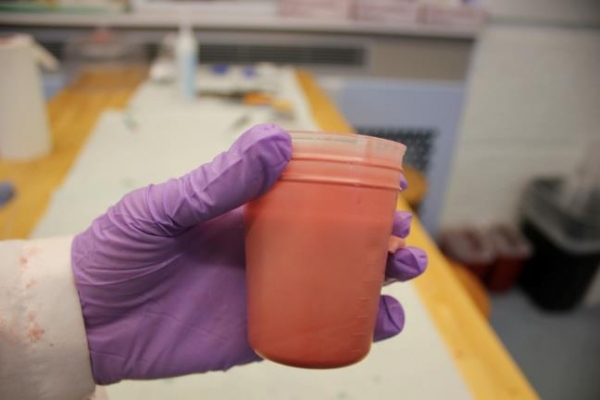
Remove the cup from the mixer and adapter. If the cup is stuck, you can pry it out with a screwdriver. The material should not have any streaks; if there are, mix again. |
Step 2: Pour Elastomer
Pouring
|
Slowly pour mixture into the main chamber mold, making sure that each chamber fills up. |
|
Fill the base mold to half of its depth with Elastosil, tilting the mold until it is evenly spread out. |
De-gas
|
Place molds in vacuum chamber, turn on the pump, and degas for 10 minutes or until the formation of new bubbles slows down. When removing the molds, make sure to let air back into the chamber gradually by, only partially opening the valve at first. If you open it all at once, the sudden flow of air into the chamber can flip your molds over. |
Pop bubbles
|
Use the tip of a spatula to pop the bubbles that have been drawn to the surface – this is mainly for cosmetic reasons, as unpopped bubbles may cure and show up in the final product. |
|
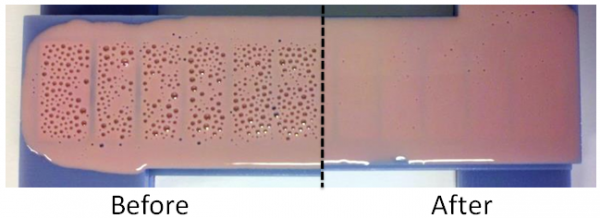 |
Do not go deep into the mold or pop too fast, as this can just create more bubbles – just move the spatula back and forth on the surface. You don’t need to get every single bubble, just the large ones. |
Remove excess Elastosil
|
Using a straightedge (even a piece of cut cardboard) wipe off excess elastomer. |
|
 |
Make sure that the tops of the chamber dividers are still visible. This is to ensure that the chambers remain separate in the final cured piece. |
Add base paper layer
|
Pop any bubbles in the base mold and add the piece of paper on top of the Elastosil. Press the paper gently so it sticks, but not so hard that it gets submerged. |
Cure
|
Place the molds in the oven at 65°C for 10 minutes. |
Top off mold
|
Check if the level of Elastosil in the chamber mold has dropped (i.e. if the mold has leaked). If it hasn’t, return it to the oven for 10 more minutes to finish curing. If it has dropped significantly (for this design, more than 2 mm), it needs to be topped off so that the top walls of the chambers are not too thin. Pour on extra Elastosil, clean off excess with a spatula (or use your fingers), and return it to the oven. |
Step 3: Assemble Actuator
Remove main body from molds
|
Using a flathead screwdriver, pry one end of the molds apart, then work your way around each side. Be careful not to pierce the actuator with the screwdriver. Next, use the tabs on the sides of the molds to pull the mold pieces apart. It is okay to pull very hard, as this material is hyperelastic and can stretch quite significantly before tearing. |
The mold will probably deform during this process; that is not a problem. It can be fixed by placing the empty mold back in the oven for about 10 minutes so the plastic softens, and then taking it out and putting it on a flat surface with a weight on top of it.
Join main body and base
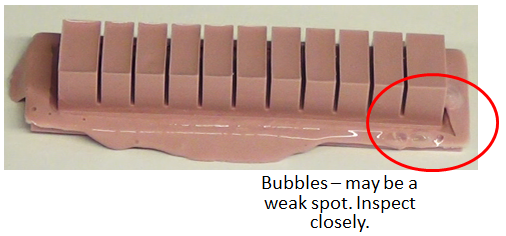
Examine the bottom of the main body/chamber piece. It should look something like this:
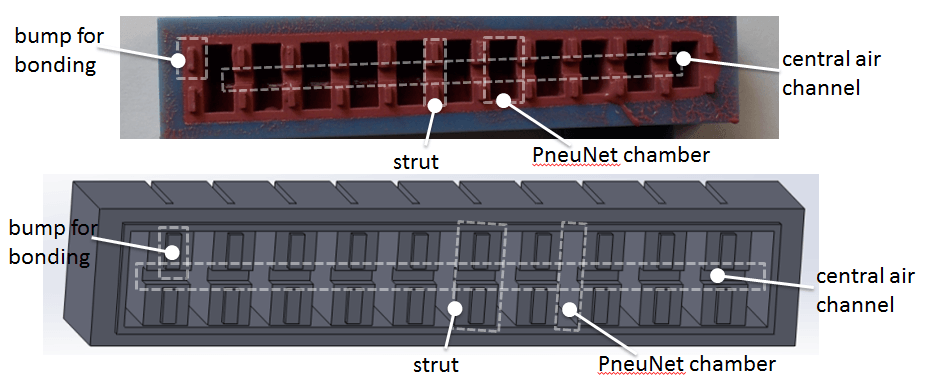
In addition to each of the chambers, there is a shallow groove running down the long axis of the actuator. This is the channel that supplies air to each the chambers. It is important not to block this channel when gluing the two parts of the actuator together, otherwise the chambers will be cut off from the air supply and the actuator will not function.
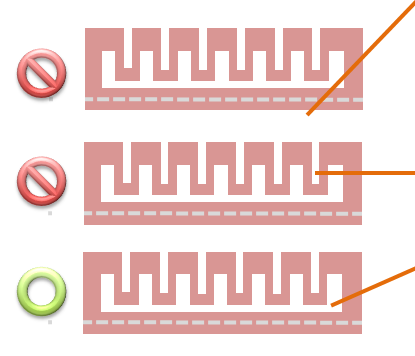
At the same time, however, the bond between the top and bottom pieces of the actuator needs to be complete so that the chambers do not leak. This means that the edges and struts of the actuator all need to be slightly submerged into the base piece before curing. The little bumps sticking out of the bottom of the top piece should be embedded into the base piece as well, further helping bonding.
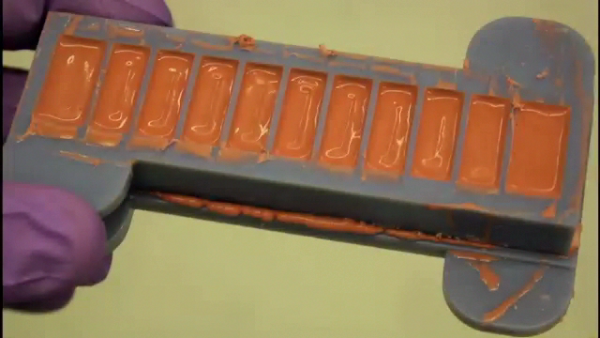
|
|
Remove the base from the oven and fill the remaining half of the base mold so that the Elastosil is almost at the brim. As the Elastosil in the cup may have started curing by this point so that it is no longer pourable, you can use a spatula or other tool to scoop and spread it into the mold. If the material in the cup has become too viscous, make a fresh mixture. You will only need about 10g. Place the top piece of the actuator on the base so that it settles into the uncured Elastosil, and press down gently. If you press too hard, the central channel of the actuator may become blocked. Make sure to press down around the edges as well to ensure a good seal. Place the joined parts back into the oven to cure for 5-10 minutes. |

Inspect
|
|
Remove the cured actuator from the oven, and peel it from the mold. Look it over and make sure there are no holes or thin spots. If necessary, patch with extra material and cure again. |
Step 4: Connect Air Source
Make hole for tubing
Using a thin metal rod, pierce the end of the actuator, an equal distance from both sides and about 1/8” (3mm) from the bottom. Aim the rod slightly downwards and don’t push it in too far. The goal is to reach the central channel without puncturing any of the actuator’s walls.
Insert tubing
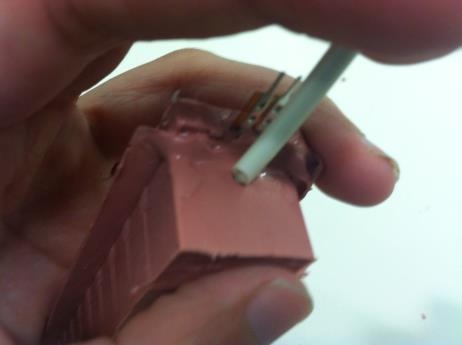

Take a piece of tubing and put it over the thin metal rod to reinforce it, then push it into the actuator through the hole you just made. Once the tubing is secure, remove the metal rod.
Actuate
Attach a bike pump, syringe, or other air source to the end of the tubing, and inflate the actuator to make it bend.
Find leaks & repair
If your actuator does not inflate you've either blocked the main air channel (in which case there's nothing you can do), or you have a leak. If you can't find the leak source, submerge the entire actuator under water, inflate, and watch for where the bubbles come out. To plug leaks, cover the hole with some extra mixed elastomer and put inside the oven to cure.
If it seems like something has gone wrong and your actuator will not inflate, it may be instructive to dissect it and try to find the problem. The silicone can easily be cut using a scalpel.