Fabrication
There are many different methods of fabricating McKibben actuators, depending on the desired specifications and intended application. However, the general fabrication process is as follows:
- Get inner tubing (can be off-the-shelf or custom-molded) and cut to length
- Cut mesh to length and seal one end
- Optional: Modify end braid angles (helps prevent ends from fraying)
- Pull mesh over inner tubing
- Add air line and seal/clamp
- Optional: Coat actuator with outer layer of elastomer (for faster deflation)
Example Fabrication
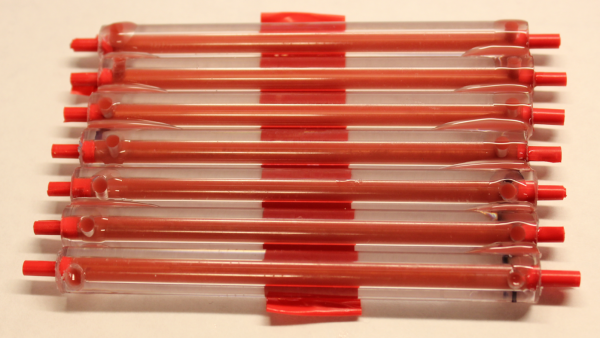
The actuator made in the below guide can be made in under 10 minutes using entirely off-the-shelf parts. Though this is one specific fabrication process, it demonstrates the more general process outlined above.
Materials

-
Party balloon (long thin kind used for making balloon animals)
- This will be used for the inner bladder, other types of elastic tubing would work also
- Braided mesh sleeving
- Barbed connector (use one that fits your pressurized air source for easy attachment later)
- Zip tie
- Lighter
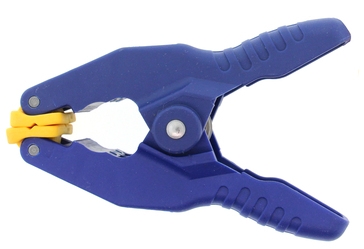
- Nut, washer, or similar tool with a hole diameter smaller than the braided mesh
Assembly

|
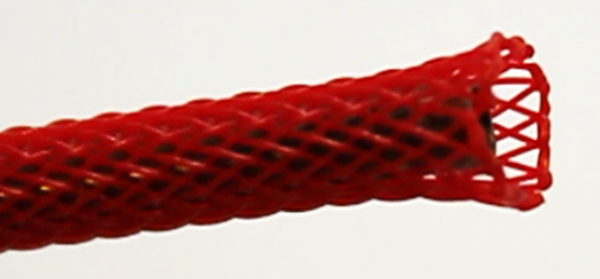
Cut a piece of mesh 4-5 inches long. Cut a piece of party balloon about the same size. |

|
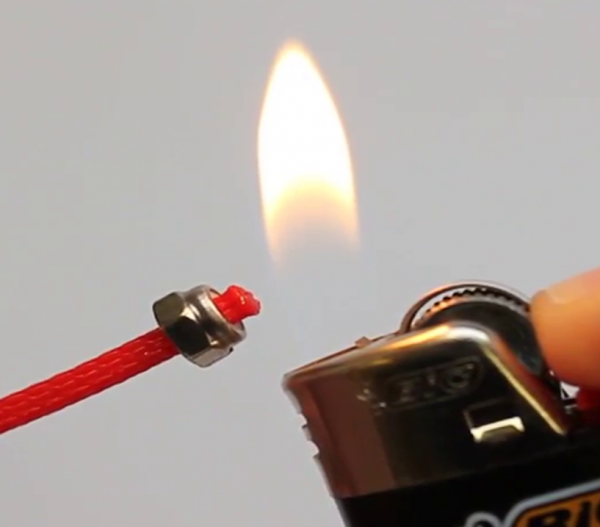
Gather the strands of one end of the mesh and hold them together with a tool, leaving 3-4 mm sticking out the end. Several tools can be used, i.e. pliers, a metal fixture, etc. Here we use a nut. |
|
|
Hold a flame very close until the strands melt and fuse into one clump. |

|
|
Remove the nut. The end should not fray even when the mesh is compressed. |

|
|
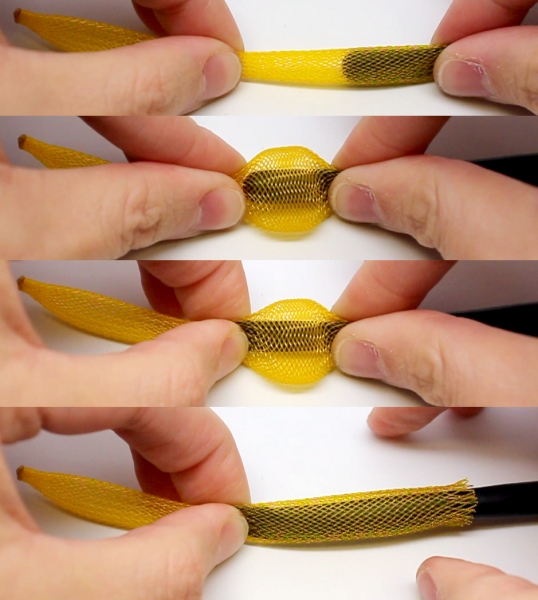
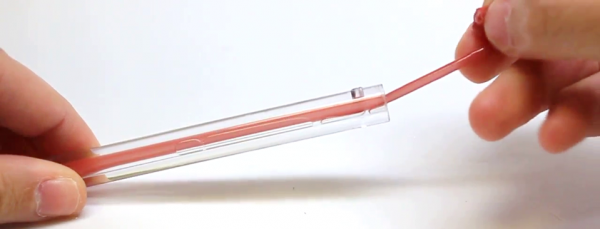
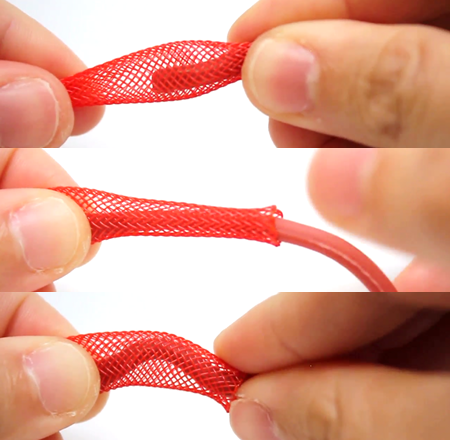
Put the balloon in the mesh. Insert the balloon 1-2 cm without fraying the mesh too much, then use the following “inchworming” process [Video]:
|

|
Trim away any frayed mesh and trim the balloon to match the mesh length. |
 
|
Insert the barbed connector, with the larger end going into the balloon. Use the zip-tie to secure the mesh and balloon onto the barbed connector, clamping onto the narrow section immediately after the barb. |
Actuation

|
Trim the excess zip tie ends, then connect the actuator to a pressurized air source like a hand pump or wall valve. |
 
|
Pressurize the actuator. It should contract about 25% of its original length. Be careful not to over-inflate as it may pop. If your actuator leaks, you can re-do the zip-tie clamping after adding some padding around the barbed connector, or use thread wrapping instead of the zip-tie. |
Inner tubing
There are various options for the inner tubing used in making McKibben actuators. Below are some rough guidelines on the different options and their advantages/disadvantages.
Balloons
Party balloons are good for quick prototyping as they are easy to buy and modify. However, they are not very reliable. Also, as they are made of latex, they cannot be cast in silicone (latex inhibits silicone curing) and can trigger allergic reactions in some people, which is a limitation when it comes to medical applications.
Another option is custom-made balloons of the kind used in medical procedures (i.e. stent placement). These are more reliable, but also much more expensive.
Bought tubing
Purchasing rubber tubing makes fabrication much easier since it's just off the shelf.
However, there are fewer options -- for geometry, selection is limited to standard diameters/sizes, and typically it is difficult to get low-modulus tubing (the softest tubings on McMaster are still too stiff for use in McKibbens). This means that actuators made with bought tubings generally require higher pressure.
When selecting off-the-shelf tubing/choosing a supplier, it's important to look at shore scale of durometer, wall thickness, and modulus at the % strain range that you will be working in (generally <100%).
Some supplier options:
- Kent Elastomer Products, Inc. -- low durometer latex
- Specialty Silicone Fabricators (SSF) -- low durometer silicone
Self-cast tubing
With self-casting, it is possible to make tubing with much lower durometers than is commercially available, which enables very low threshold pressures. It is also possible to make the whole actuator monolithic (e.g. end caps) and lends itself to casting in a matrix of the same material. However, self-cast tubing is time-consuming to make and has lower yields (can get up to 80% with experience).
There are several methods of self-casting tubing, two of which are described in this documentation:
1) 3-D printed mold in 2 halves
Pros:
- Can make tubing of any ID & OD desired
- Demolding is easy
Cons:
- 3-D printing can get expensive
- Molds are hard to clean and material is fragile (alignment posts tend to snap off)
- Messy, lots of leakage, wasted elastomer
- Long rods bend, causing off-center inner cavity and non-uniform wall thickness
- Resulting tubing has “web” on side
2) Molds made using off-the-shelf pipes
Pros:
- Works well for small, thin-walled tubing
- Easy to make many in parallel
- Mold materials are cheap
Cons:
- Does not work well for longer tubes
- Making the molds requires more manual work (compared to 3D printing)
- Tube outer diameter determined by the inner diameter of off-the-shelf plastic tubing, which comes in discrete sizes (so limited customization)
Custom tubing (method 1)
Materials
 |
 |
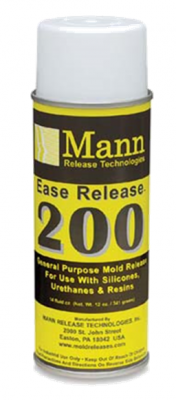 |
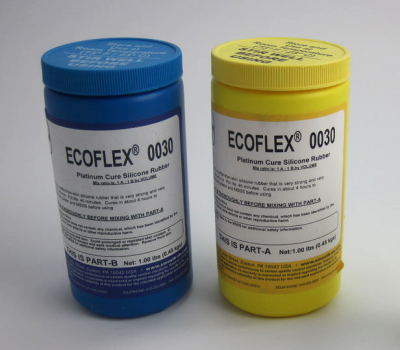
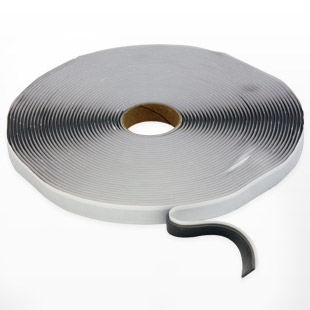
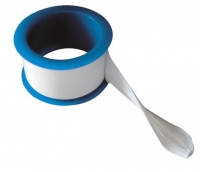
| Ecoflex silicone rubber (2-part) | vacuum bagging tape | mold release |
 |
 |
|
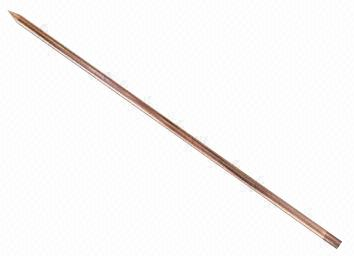
| teflon tape | thin metal rod to mold inner cavity |
Tools
 |
 |
 |
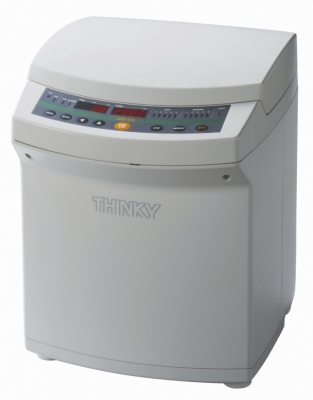
| Thinky mixer | Thinky mixing cup | syringe |
 |
 |
|
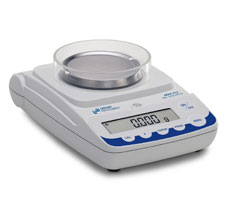
| mass scale | clamps |
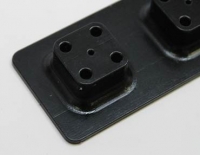
Mold components
 |
 |
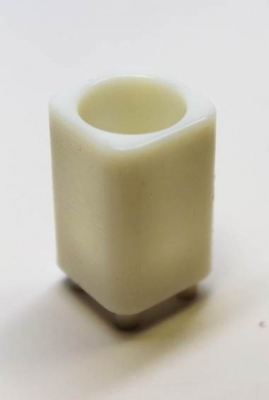 |
| base stand | ||
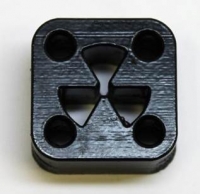 |
||
| mold body (2 pieces) | alignment piece for top of rod | reservoir |
Prepare molds
Once 3-D printed, the molds should be thoroughly cleaned as residual support materials may cause cure inhibition. Methods vary between plastics/printers, but here are some suggestions:
- Print with a glossy finish, then leave for 4hrs in a 70°C oven
- Clean with soap and water, then IPA, then dry in the oven
- Do a sacrificial molding out of Ecoflex
Assemble molds
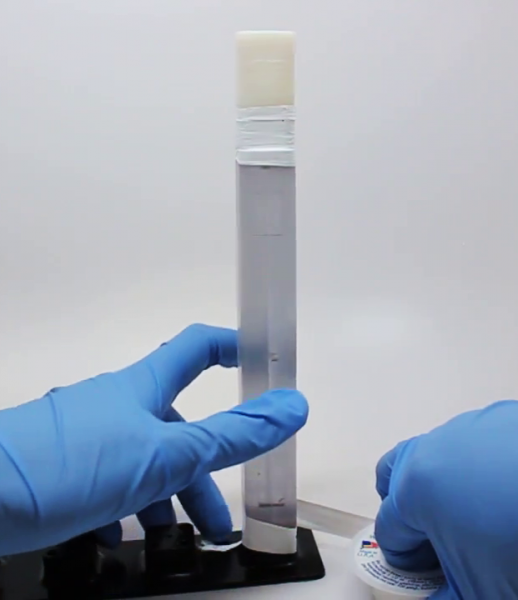 |
In a fume hood or other well-ventilated area, spray the inside surfaces of the mold and the inner rod with mold release (hold the can about 20cm above the molds). Let dry for a few minutes. Place the two halves of the mold together, combine it with the reservoir/alignment piece and base stand, and seal the seams by wrapping them with Teflon tape. |
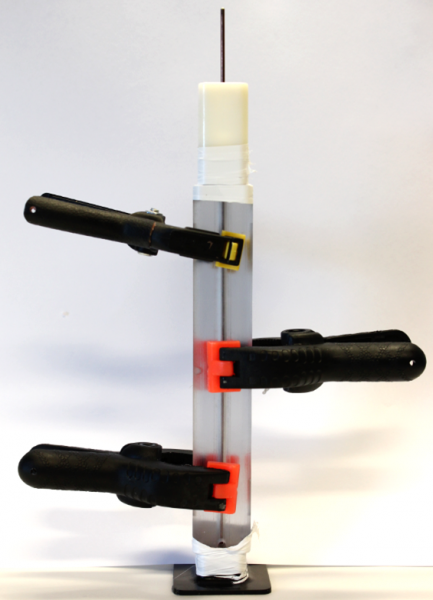 |
Add several clamps to hold the mold halves tightly together. Stagger the clamps so that the mold stays balanced upright. Make sure the inner rod is straight (roll it around on a flat surface to check), then insert it into the mold. It should lock into the corresponding hole in the base piece. |
Mix elastomer
Make the elastomer for molding the inner tubing. The amount will vary depending on the size of your actuator, but make 20g more than you need in case of leaks.
- For a low stiffness actuator, use Ecoflex 00-30, which is mixed in a 1:1 ratio.
- For a high stiffness actuator, use Elastosil M4601, which is mixed in a 1:9 ratio.
Weigh out and combine the two parts of the selected elastomer in the appropriate ratio, and place in a Thinky mixer.
Fill syringe
Move any PTFE tape out of the way to expose the injection hole on the mold. Depending on the nozzle of the syringe and the dimensions of the injection hole, you may need an adapter, i.e. a Luer fitting or a snipped off piece of a disposable pipette, so that it fits snugly into the injection hole.
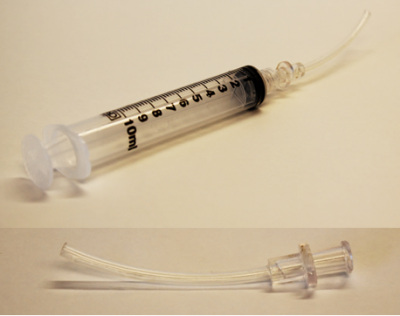 |
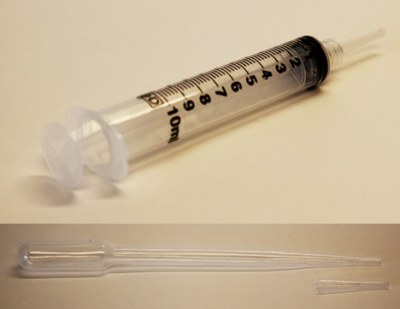 |
| Luer adapter | pipette adapter |
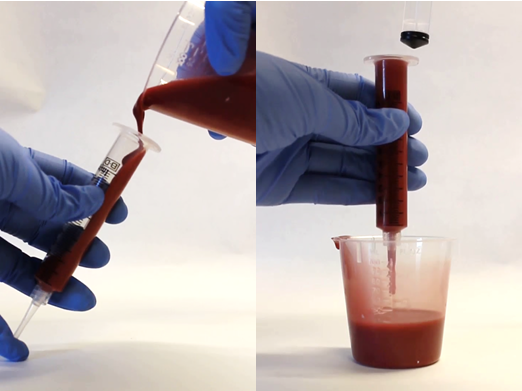 |
Fill the syringe with Ecoflex. However, to avoid air bubbles and since the material is very viscous, the syringe should be filled from the top. Remove the plunger, block the nozzle with a finger, then slowly pour the mixed Ecoflex into the syringe until it is almost full. Hold the syringe over a cup (for spillage) then re-insert the plunger, pushing it in until it locks with a popping noise. |
Inject
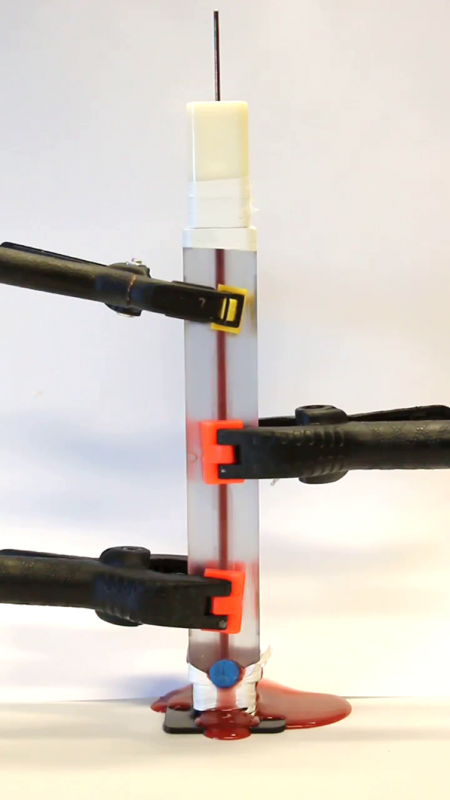 |
Slowly inject the Ecoflex into the mold until some of it enters the reservoir at the top of the mold. There will probably be some leakage, but if it isn’t major, continue – otherwise, plug with more clamps/tape. Remove the syringe, then plug the injection hole with clay. |
Cure
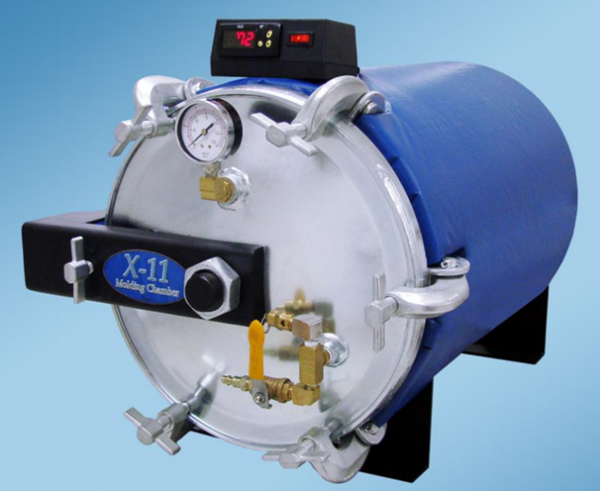 |
Place the mold in a pressure oven set at ~75 psi for at least 1 hour, and let it cure for 4 hours total before demolding. |
Demold
Pry open the molds. You may need to use pliers on the side notches to initially force the mold open. Gently remove the molded tubing. Inspect it for holes or sections where the wall thickness is very uneven, and cut away these parts.
Plug end
Mix a small amount of Ecoflex.
|
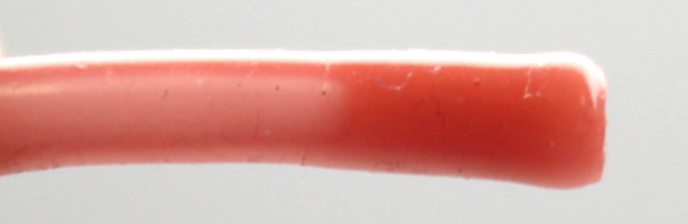
For these actuators, the inner channel is small enough that you can simply dip the end into elastomer, and capillary action will pull some elastomer into the tube to create a plug. Wipe off excess elastomer from the outside of the tube, then heatgun for a few seconds until the material is no longer tacky. |
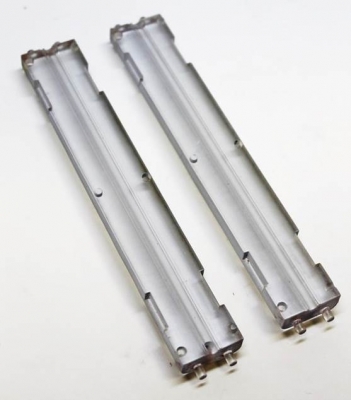
Custom tubing (method 2)
Mold fabrication

- Cut a 90mm length of clear plastic tubing (i.e. polycarbonate) that has 1/8” inner diameter.
- With a #32 drill, make 2 holes, each ~5 mm away from the tube end. These will be the injection port/exhaust holes.
- Sand/file the cut ends to smooth them out.
- Use a blade to slice away any burrs.
|
|
Cut a short length of 1/16” dia. metal rod, a few mm longer than the plastic tubing. File the rod ends until they are smooth, so that they will not stab/tear the molded tubing later on. Wrap tape around each end of the rod, so that it kind of looks like a little barbell. These taped ends simultaneously center the rod within the mold, and plug the open holes. Electrical tape is good because it is slightly compressible. |
Mold assembly
|
|
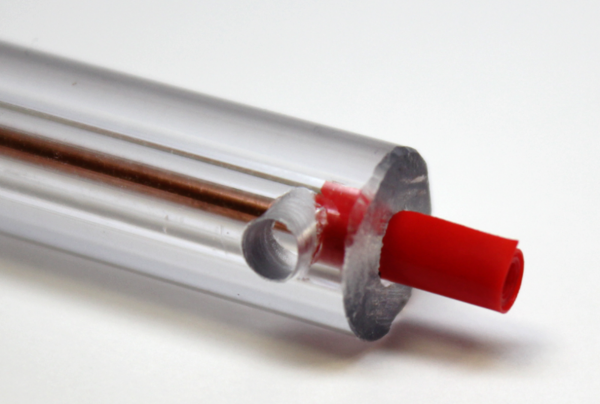
Remove the plugs and try fitting them into the end holes. They should fit snugly – if they don’t, adjust the length of tape wrapped around the rod. Once the plugs are properly sized, insert the rod into the tube, then insert a plug on either end, centering the rod. It is okay to partially obstruct the injection/exhaust holes, but don’t completely block them. |

Inject
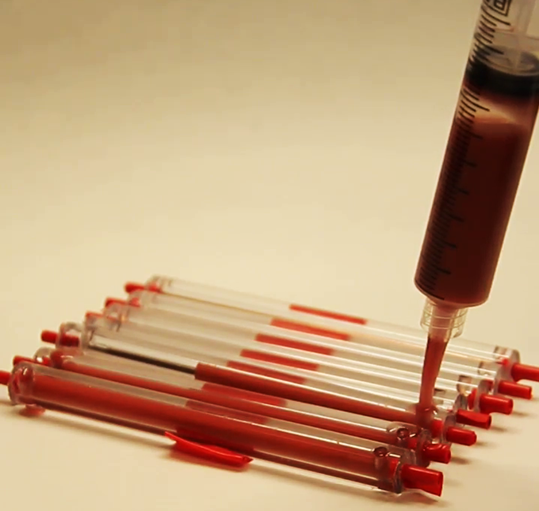 |
Fill the syringe (procedure shown in other method) Align the mold(s) so that the injection/exhaust holes are facing up. You can place the molds on piece of tape so they stay in this orientation and don’t roll around. Slowly inject elastomer into each mold until it slightly overflows out the exhaust port. |
Cure
|
|
Place in a pressure oven set at ~75 psi for at least 1 hour, and let it cure for 4 hours total before demolding.
|

Demold
 |
Twist off/pull out the tape plugs. Grip the inner rod using pliers, and pull it out slowly. |
|
|
Grab one end of the molded part. You might have to fish out the end with a rod or other thin tool. Pull out the tubing, going slowly so that the elastomer unsticks itself as you go, without stretching the tubing too much. Injecting IPA helps the tubing come out much more easily. |
Plug end
Mix a small amount of Ecoflex.
|
For these actuators, the inner channel is small enough that you can simply dip the end into elastomer, and capillary action will pull some elastomer into the tube to create a plug. Wipe off excess elastomer from the outside of the tube, then heatgun for a few seconds until the material is no longer tacky. |
Preparing braided mesh
Materials
 |
 |
 |
|
Braided mesh sleeving (i.e. TechFlex)
1/8” dia, cut to 75mm long piece |
Metal support rod
(slightly larger diameter than mesh) |
Lighter |

Lock end
|
Push the mesh onto the support rod, leaving a few mm hanging off the end. |
 |
Hold a flame 2-3 mm away from the mesh, rotating it slowly, until the loose strands melt and fuse into a ring. |
 |
Remove the mesh from the rod. |
Close other end
 |
Gather the strands of the other end into a bundle and hold them together with a tool. There are several ways to do this – i.e. a M2.5 lock nut is used here – such as clamping forceps, a metal fixture with a hole in it, a washer, etc. |
|
|
Hold a flame 2-3mm away until the ends melt and fuse, into one clump this time. |

Check
 |
Check that the ends are secure by compressing the mesh against a flat surface. It should not fray. |
Add mesh and finish
Slide on braided mesh
 |
The next step is to insert the molded tube into the mesh. Because the tube can only move through the mesh when it is compressed/expanded, you need to use an “inchworming” process [Video: Insert Tube]:
|
 |
It takes some practice and a lot of repetition. Continue until the tube is almost at the closed end of the mesh. |
Insert air hose
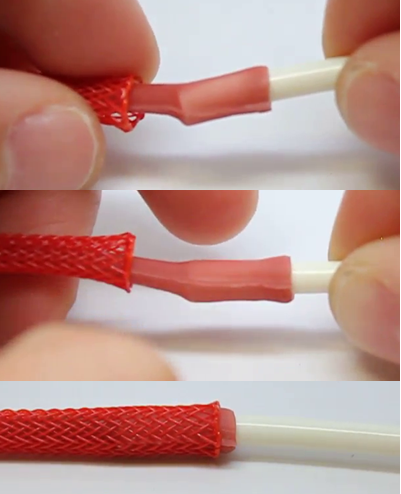 |
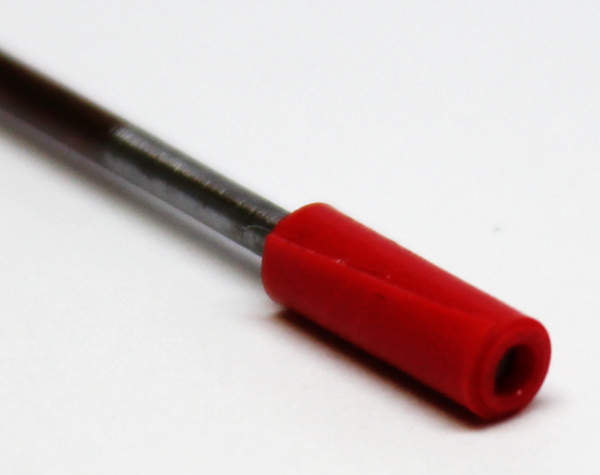
Insert the air hose into the molded tubing – there should be about 10mm of overlap. Make sure that it is centered and that the elastomer is not stretched unevenly on one side (like in the first image). Use the “inchworm” method again to insert the overlap region into the mesh. |
Secure hose and mesh
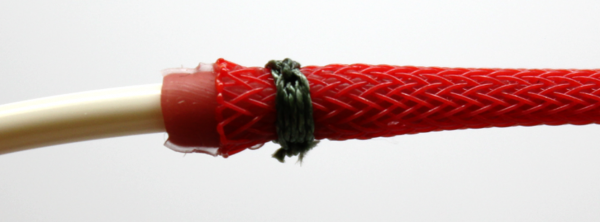 |
Tie the mesh and tube onto the air hose using nylon thread. Make 3-4 wraps around the center of the overlap, then secure with a knot (square knot works well). Tighten the knot with pliers. Trim off the excess thread. |
Coat
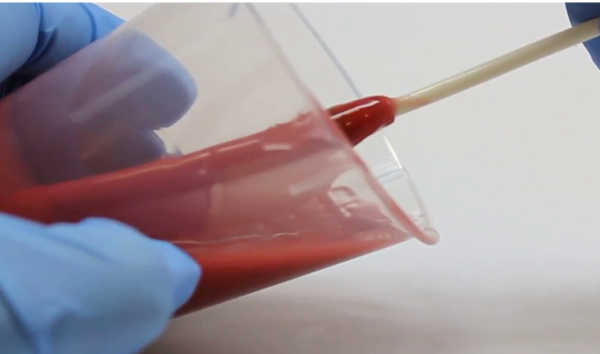 |
Coat the actuator with elastomer, either dipping it or coating it with a brush or gloved finger. Wipe off excess elastomer so that only a thin layer remains, and keep rotating the actuator to keep the coating even all around. Heatgun to cure. |
