This section presents the steps required for the fabrication of the robot, as well as the list of materials and tools needed. The CAD files of each part of the prototype can be found at the end of each sub-section.
List of Tools and Materials
 |
Dragon Skin 10A silicone rubber The pneumatic actuators and the end-effector are made of Dragon Skin 10A silicone rubber by Smooth-On, which has a good compromise between elasticity and tear strength. |
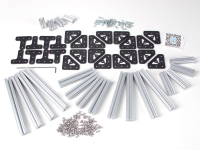 |
OpenBeam 12 beams of 30cm long are required to build the frame of the base of the manipulator. In order to join the beams together, some A-brackets and bolts are needed as well. |
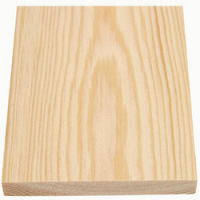 |
Wooden plank A wooden plank of 30cm x 30cm was used on top of the beam frame as a fixation platform for the manipulator and the servos. |
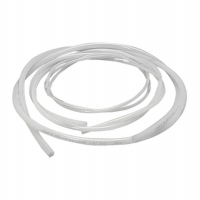 |
Polyethylene tube Polyethylene tube of Ø4mm is used to connect the pneumatic actuators to the valves. |
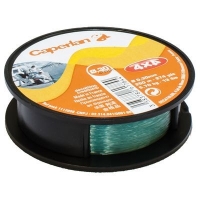 |
Fishing line Fishing line of Ø.35mm functions as our cable-tendons. It is very resistant and thin. |
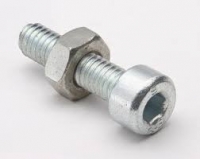 |
Bolts and nuts We used 4 bolts of Ø4mm to fix the manipulator to the wooden plank. The required length of these bolts depend on the thickness of the wooden plank selected., A total of 22 bolts of Ø2.5mm and 10mm long and 3 bolts of Ø2.5mm and 30mm long are used in the assembly of the manipulator. |
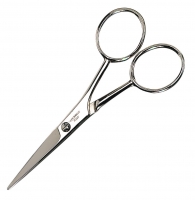 |
Scissors We used scissors to remove silicone excess from the actuators. |
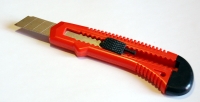 |
Cardboard cutter Same as the scissors, the cutter is use to clean and detail silicone and plastic parts. |
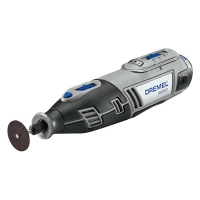 |
Dremel tool The Dremel tool is used to detail the plastic parts in case the 3D printer left some plastic residue. Since we are working with silicone rubber, it is important to check for plastic edges that can puncture the silicone or prevent any other piece to fit in place. |
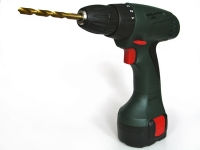 |
Electric drill Same as above, the drill is used to finish the holes in the plastic pieces and to make some holes in the wooden plank so that the manipulator and servos can be attached in place. |
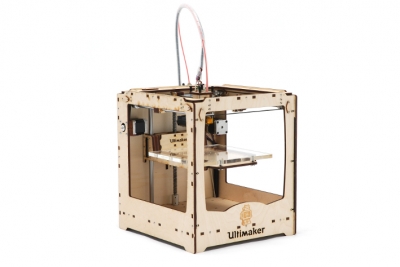 |
Ultimaker 3D printer A Ultimaker 3D printer was used in the fabrication of all the rigid parts of the manipulator. |
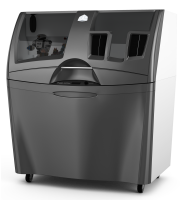 |
ProJet 460 plus 3D printer We had the fortune of having access to a ProJet plus 3D printer. With it, we were able to print plaster molds for the silicone parts, since the plastic molds are quite difficult to handle. |
