
This page will go over the steps to create Design 1 of the PDS.
Step 1:
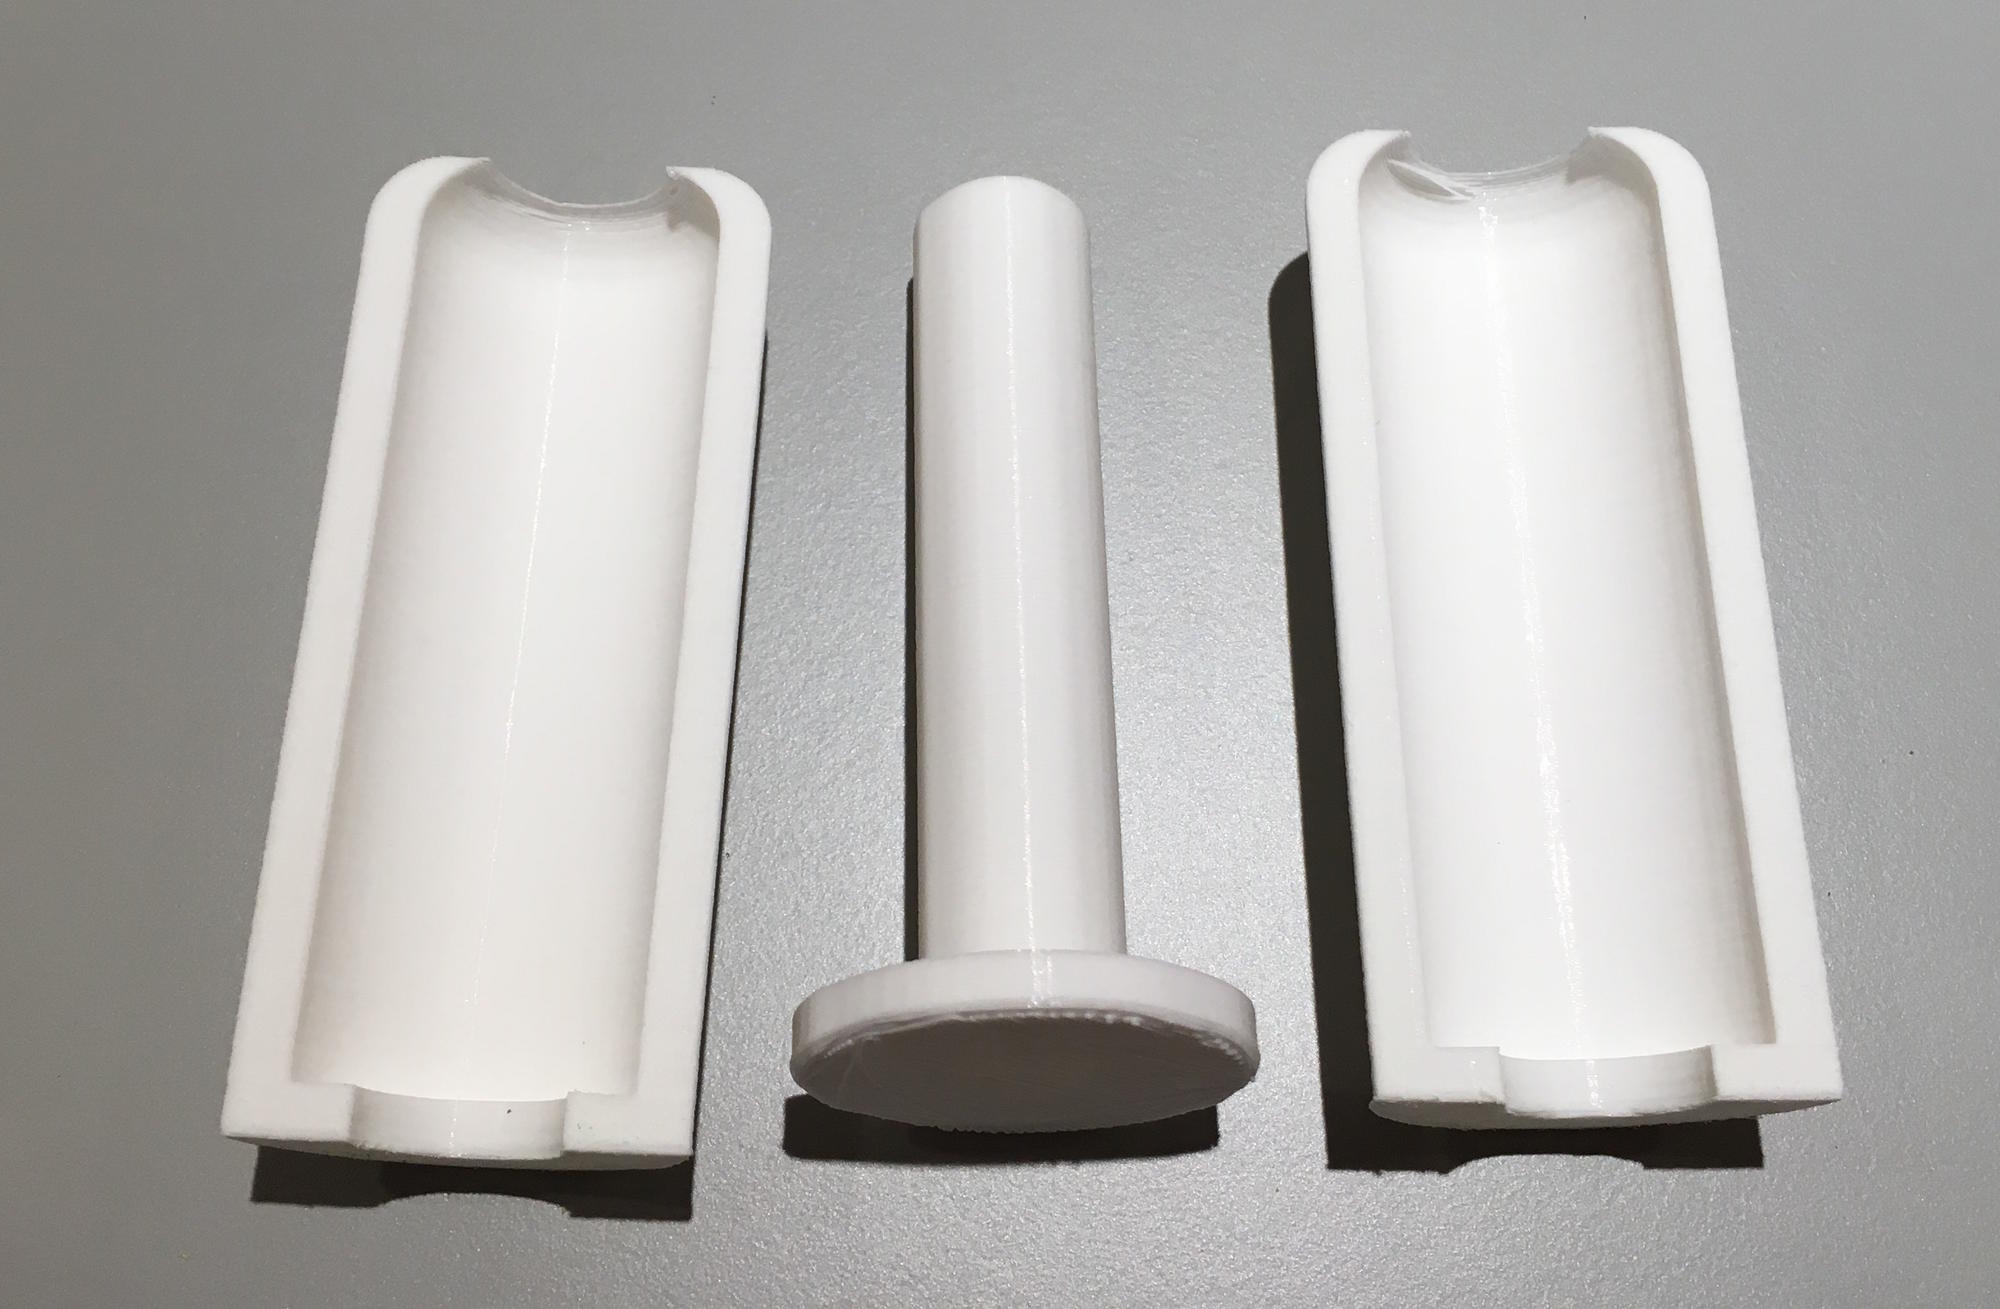
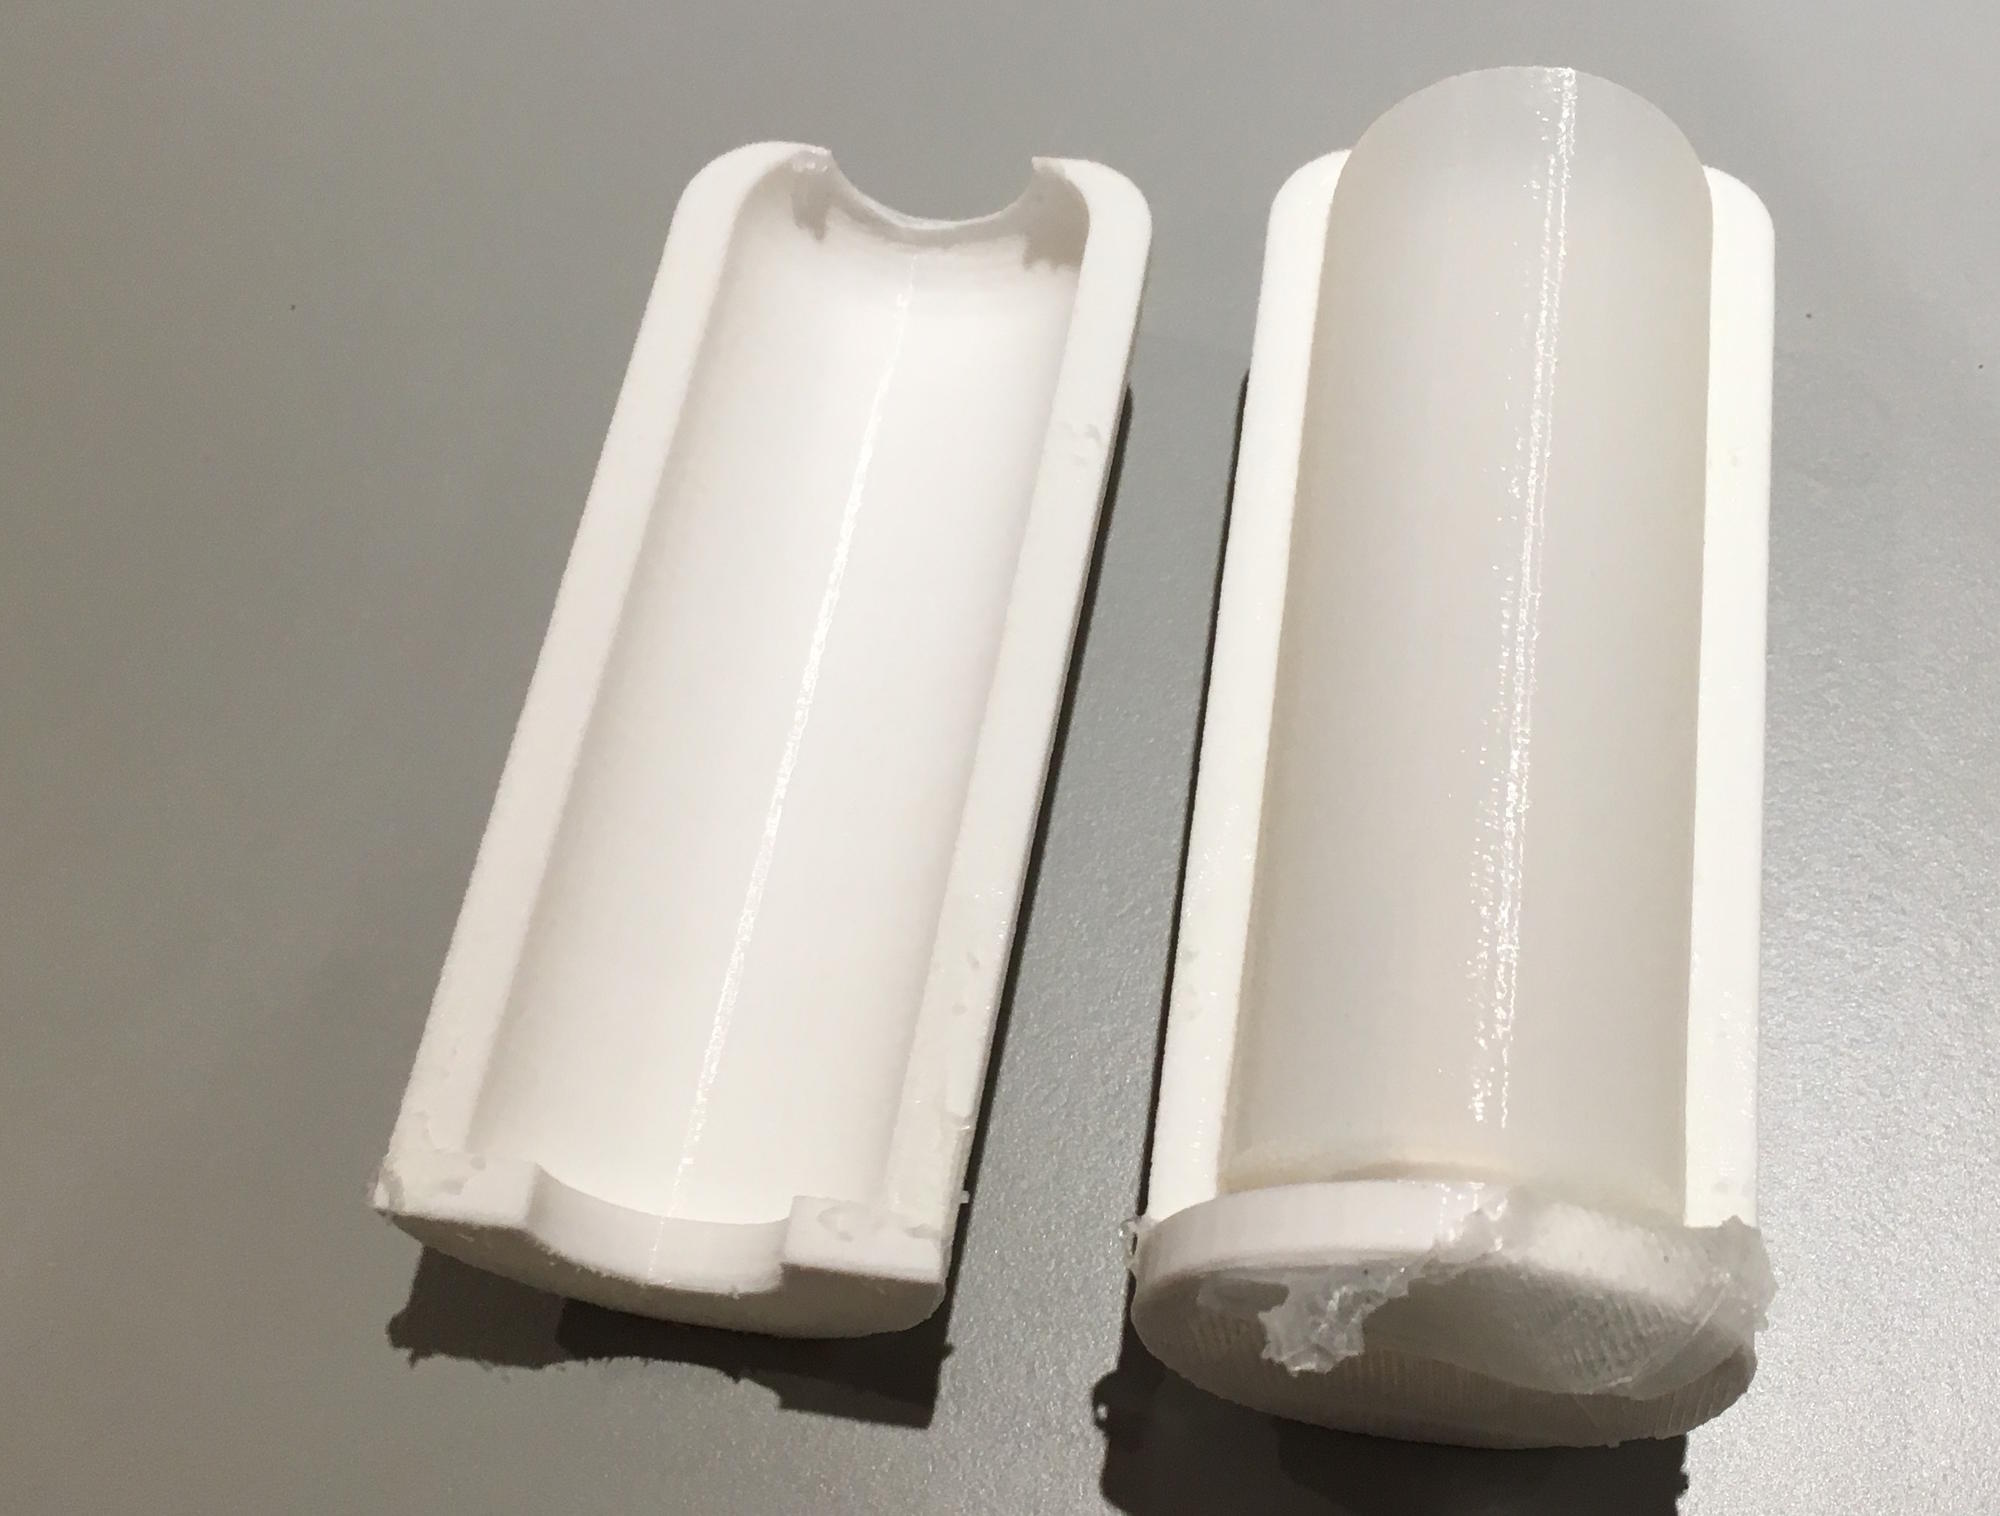
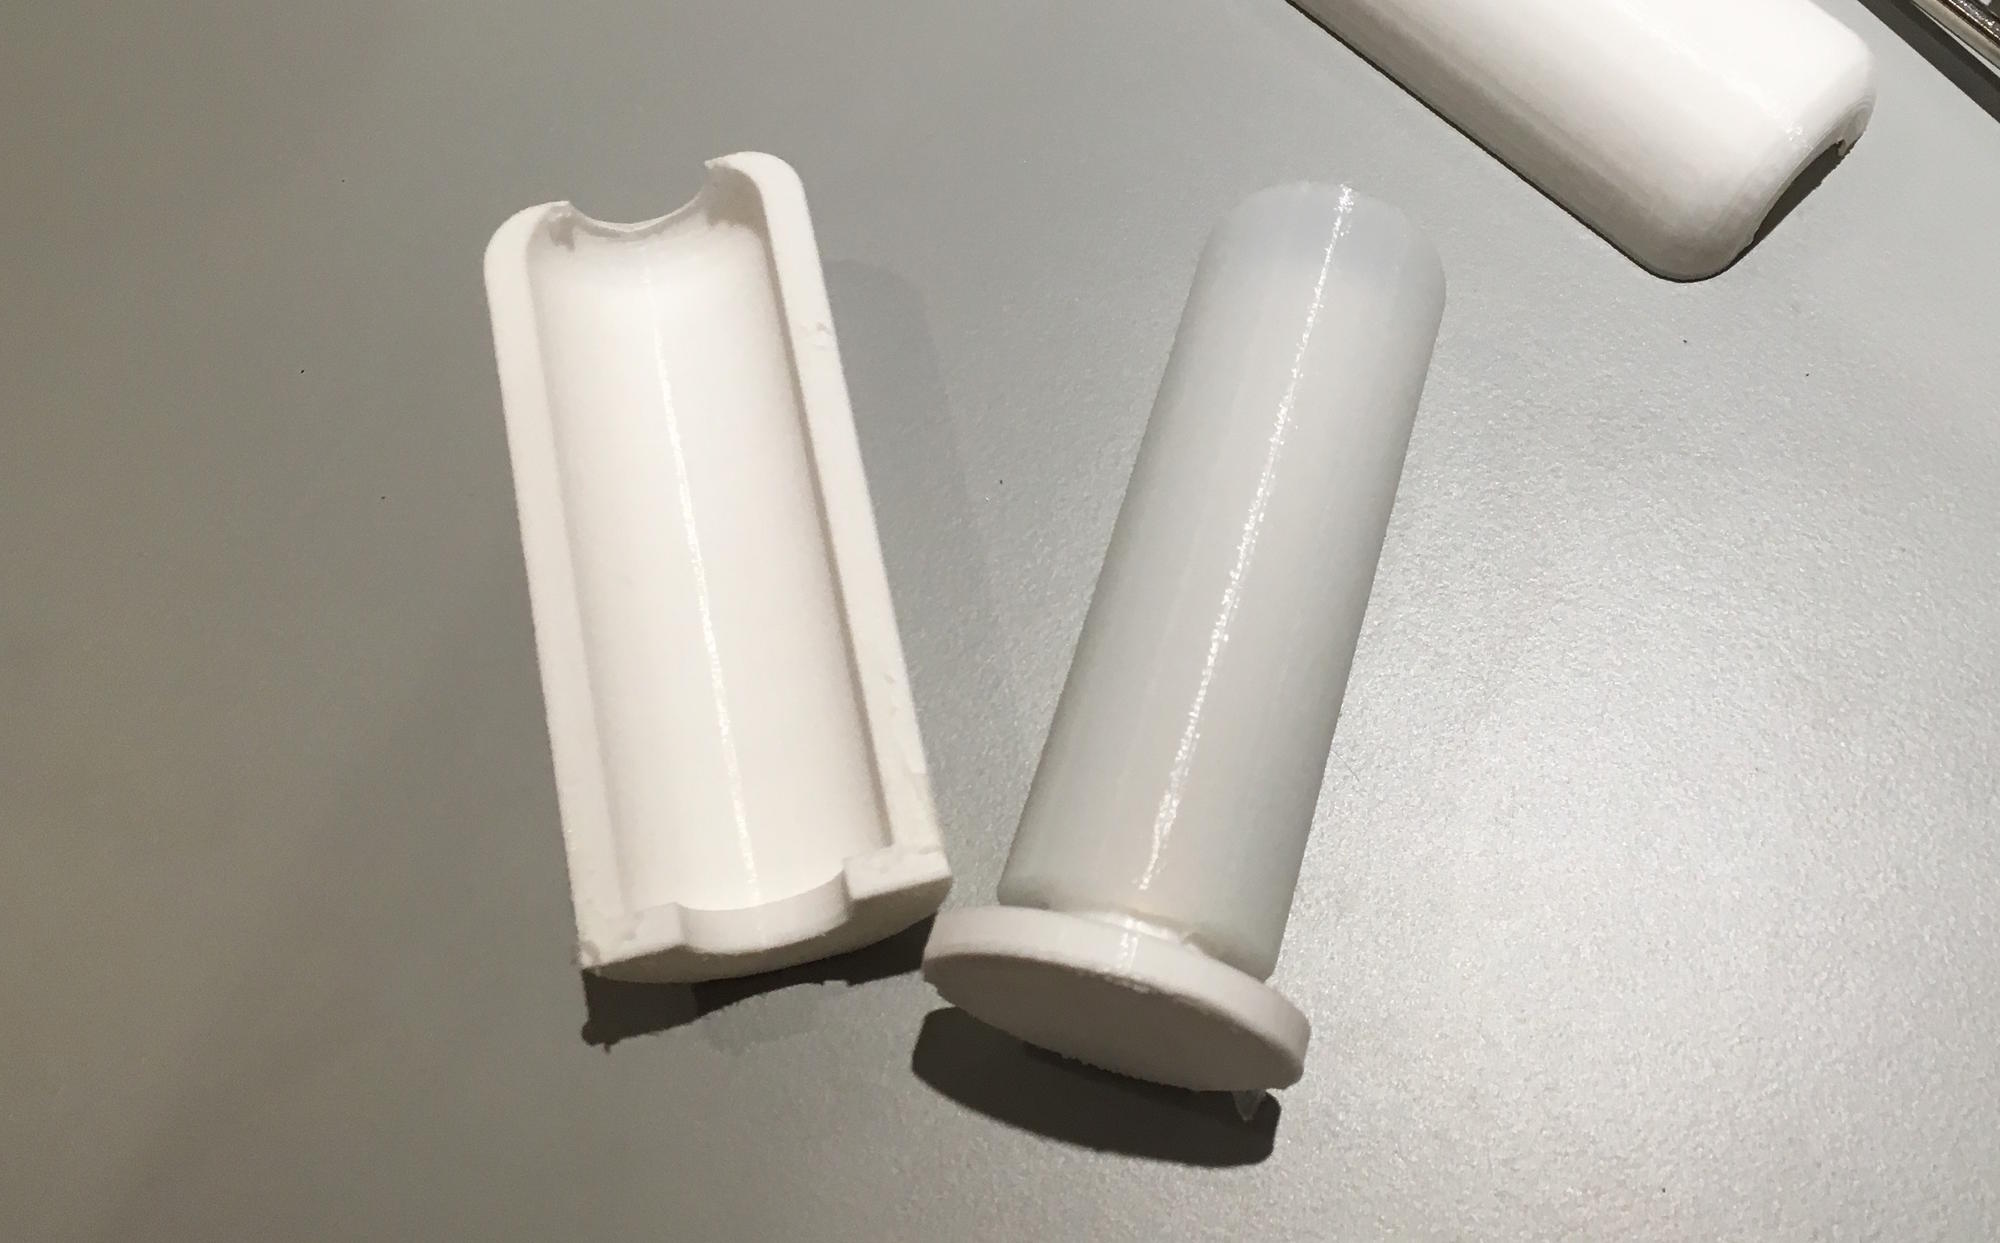
Begin by printing the .STLs for three-part mold that are found on the Downloads page. Print 1x design1_core.STL and 2x design1_outer.STL. Supports are not necessary for printing.
Step 2:
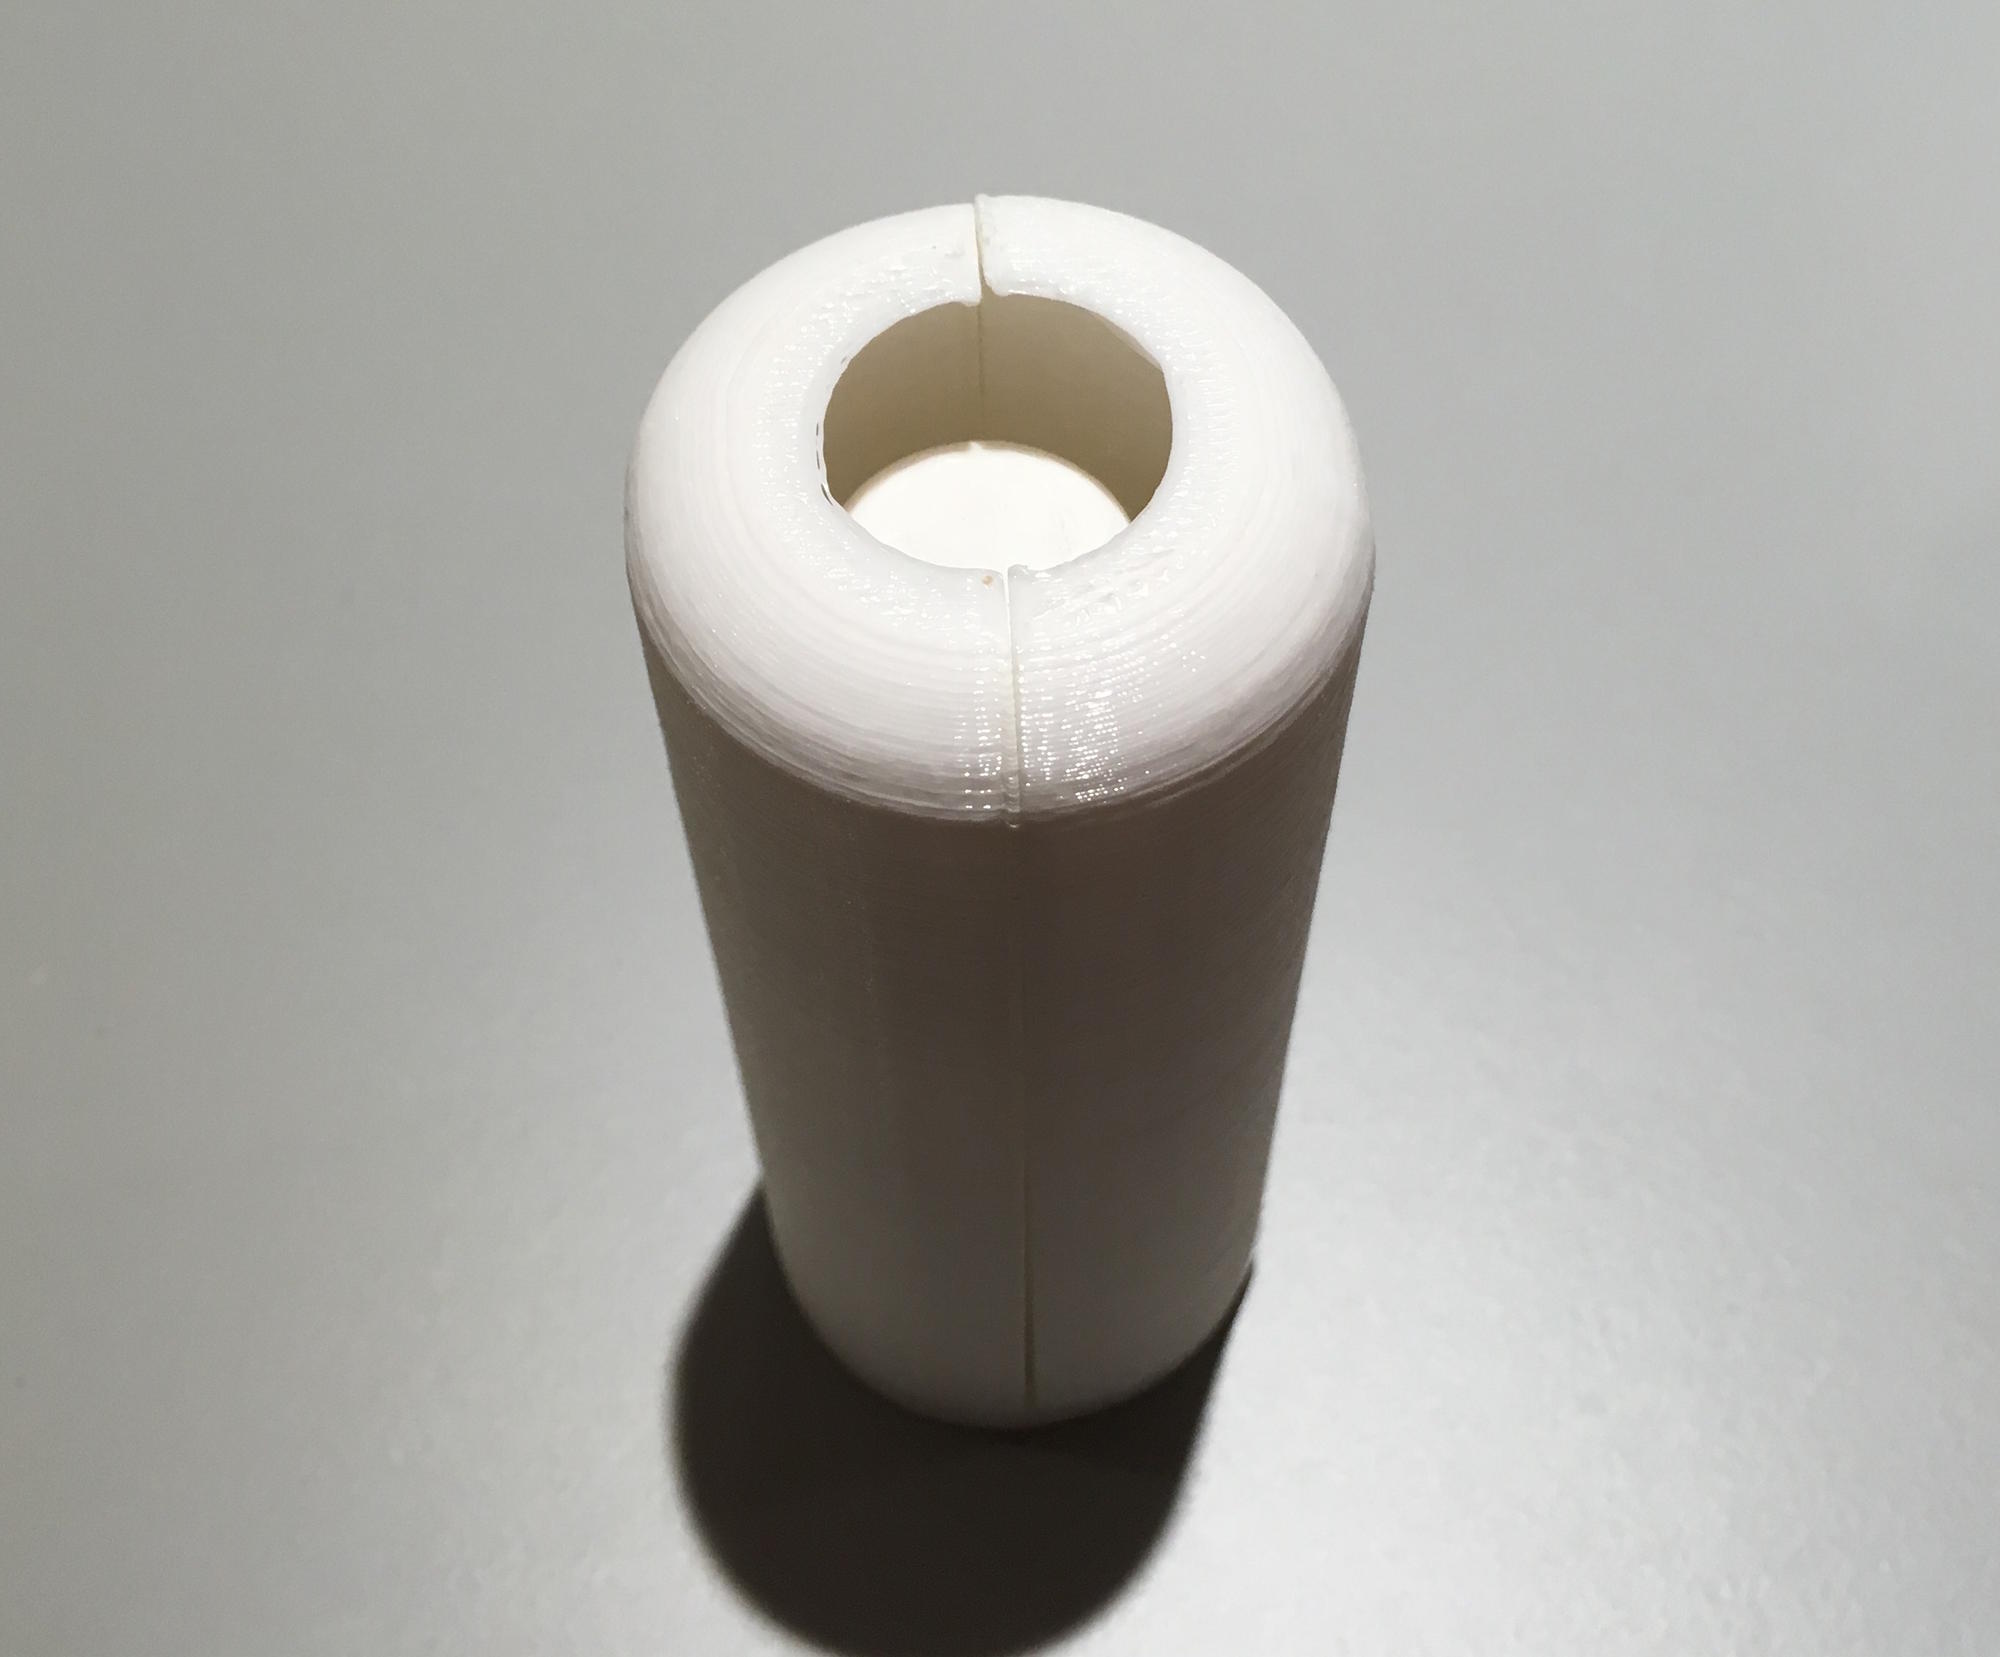
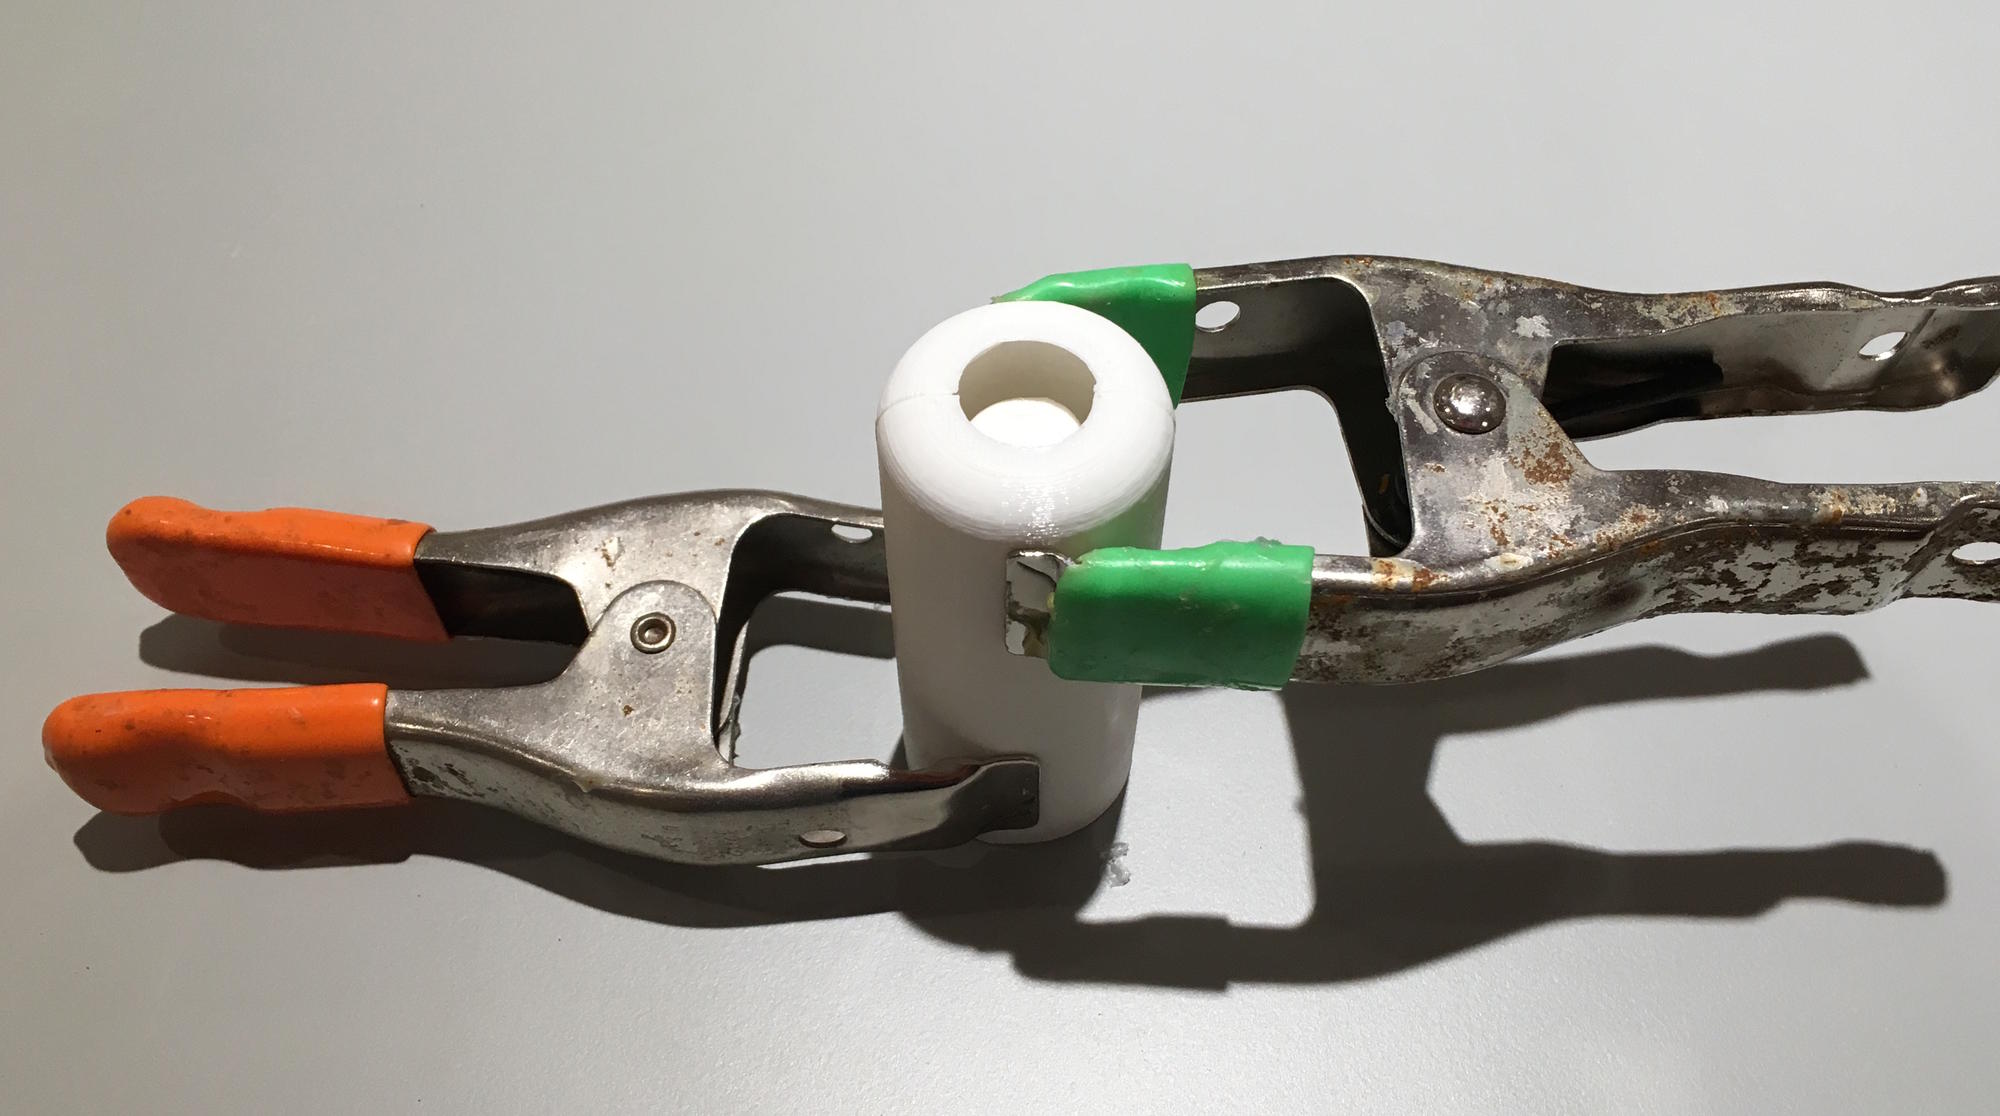
Assemble the mold with the two outer pieces surrounding the inner core. Put the two clamps around the mold.
Step 3:
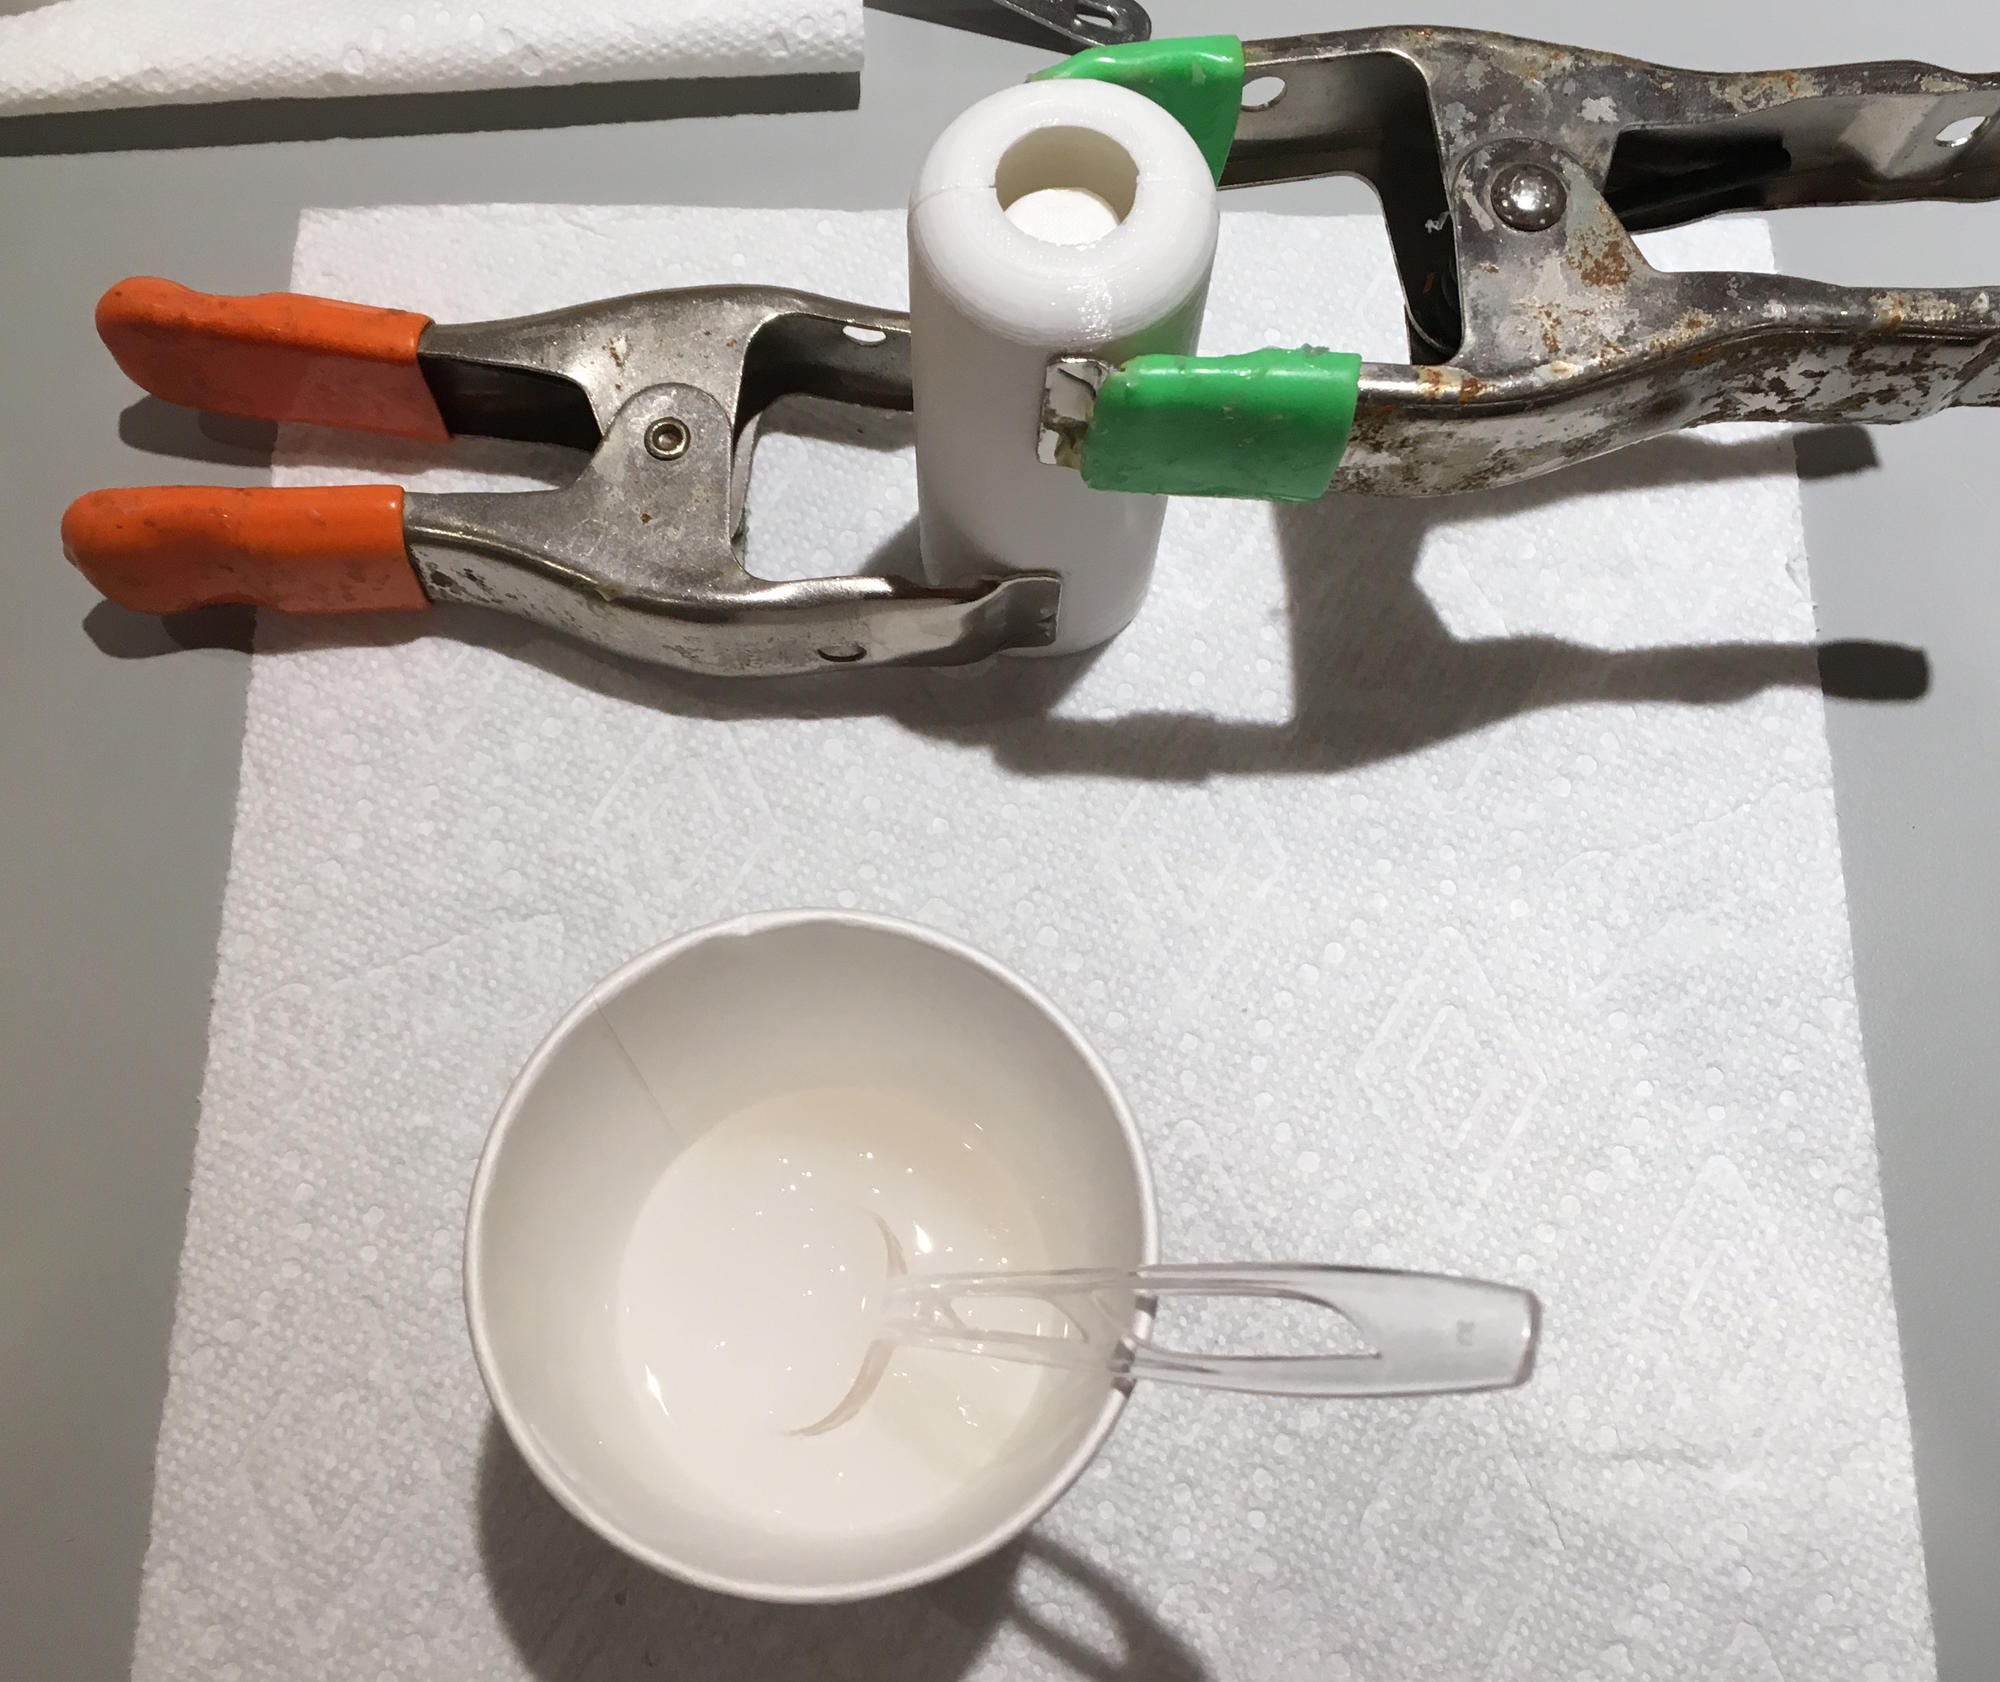
Measure out 25ml of Part A and Part B of the Ecoflex 00-30. Put both parts in a cup and mix together thoroughly with a spoon.
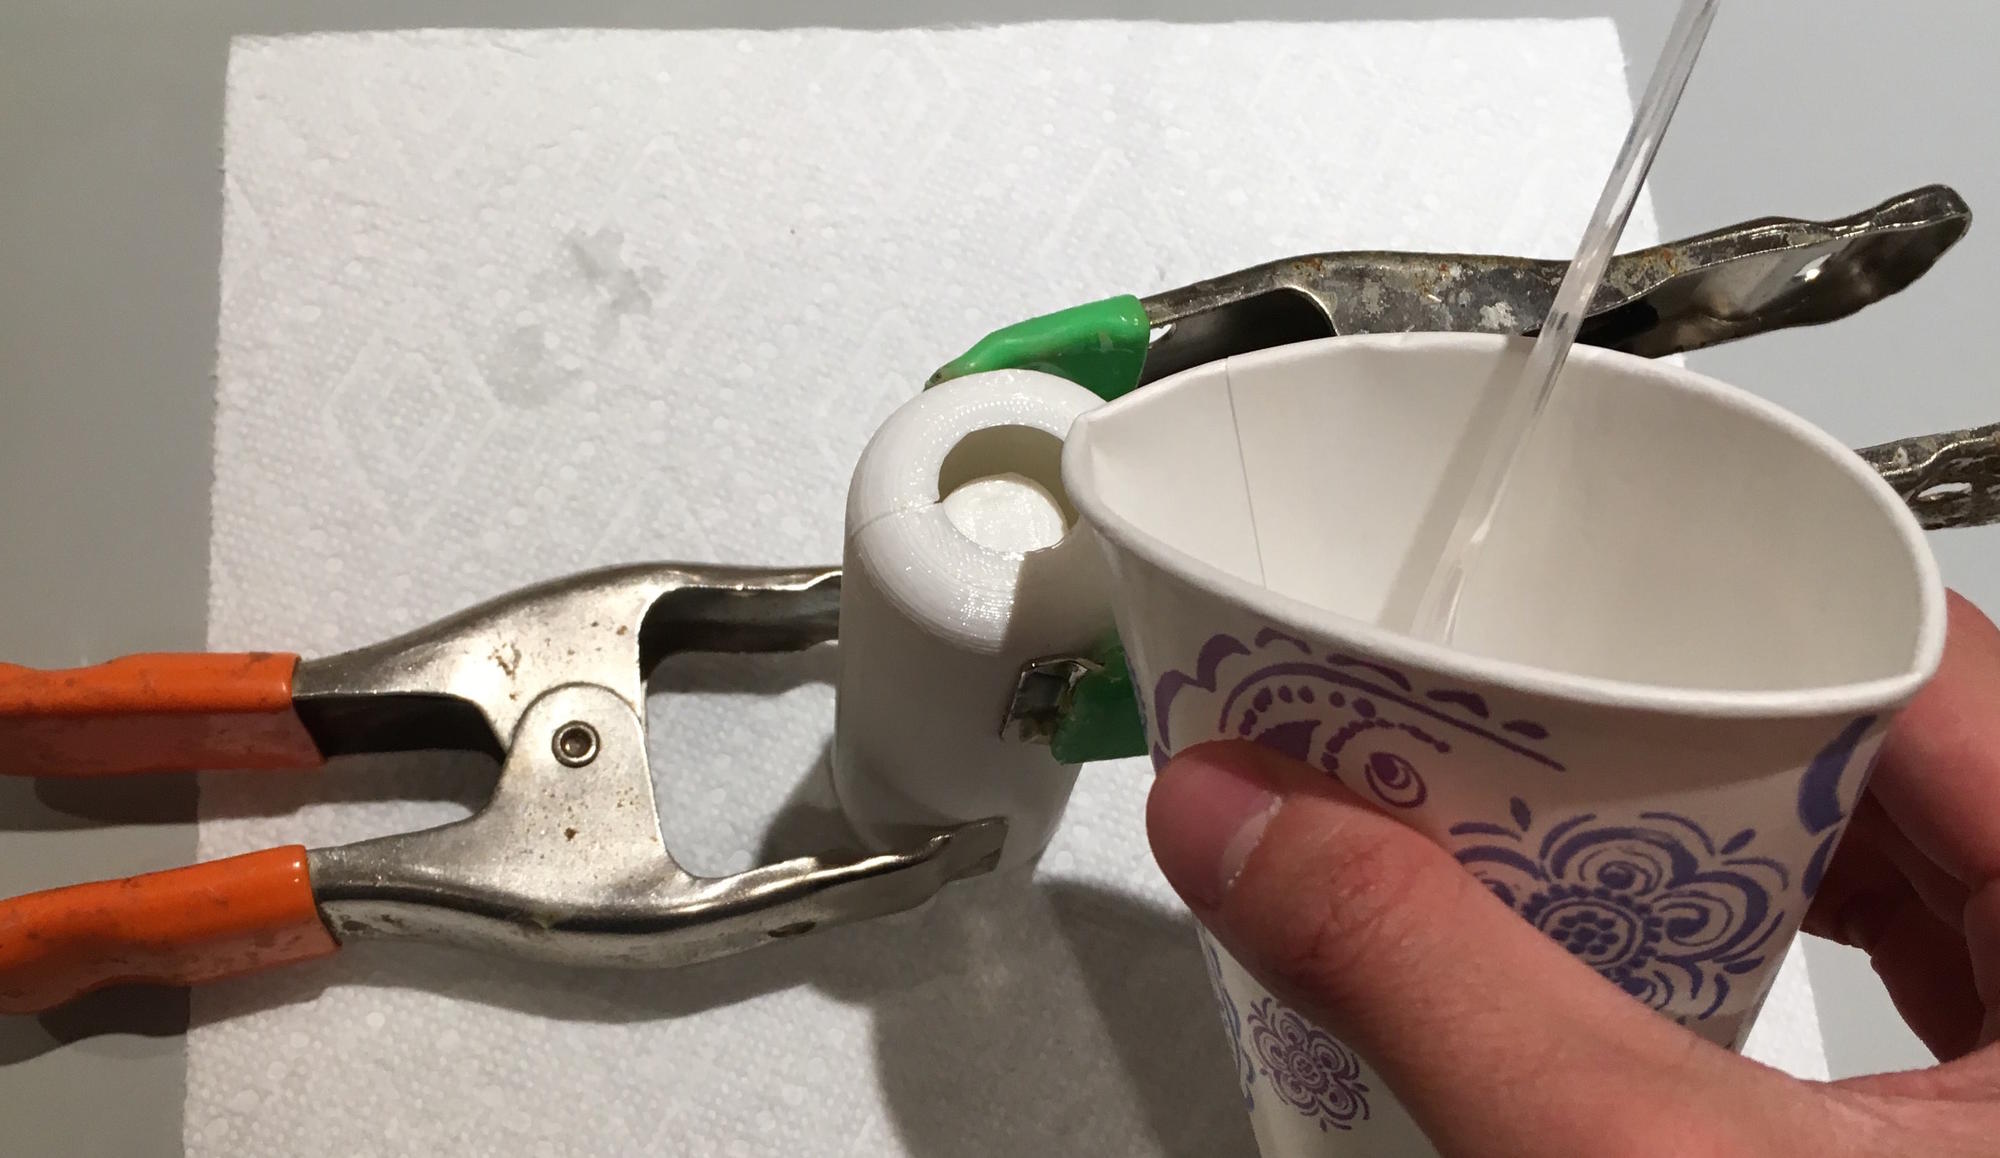
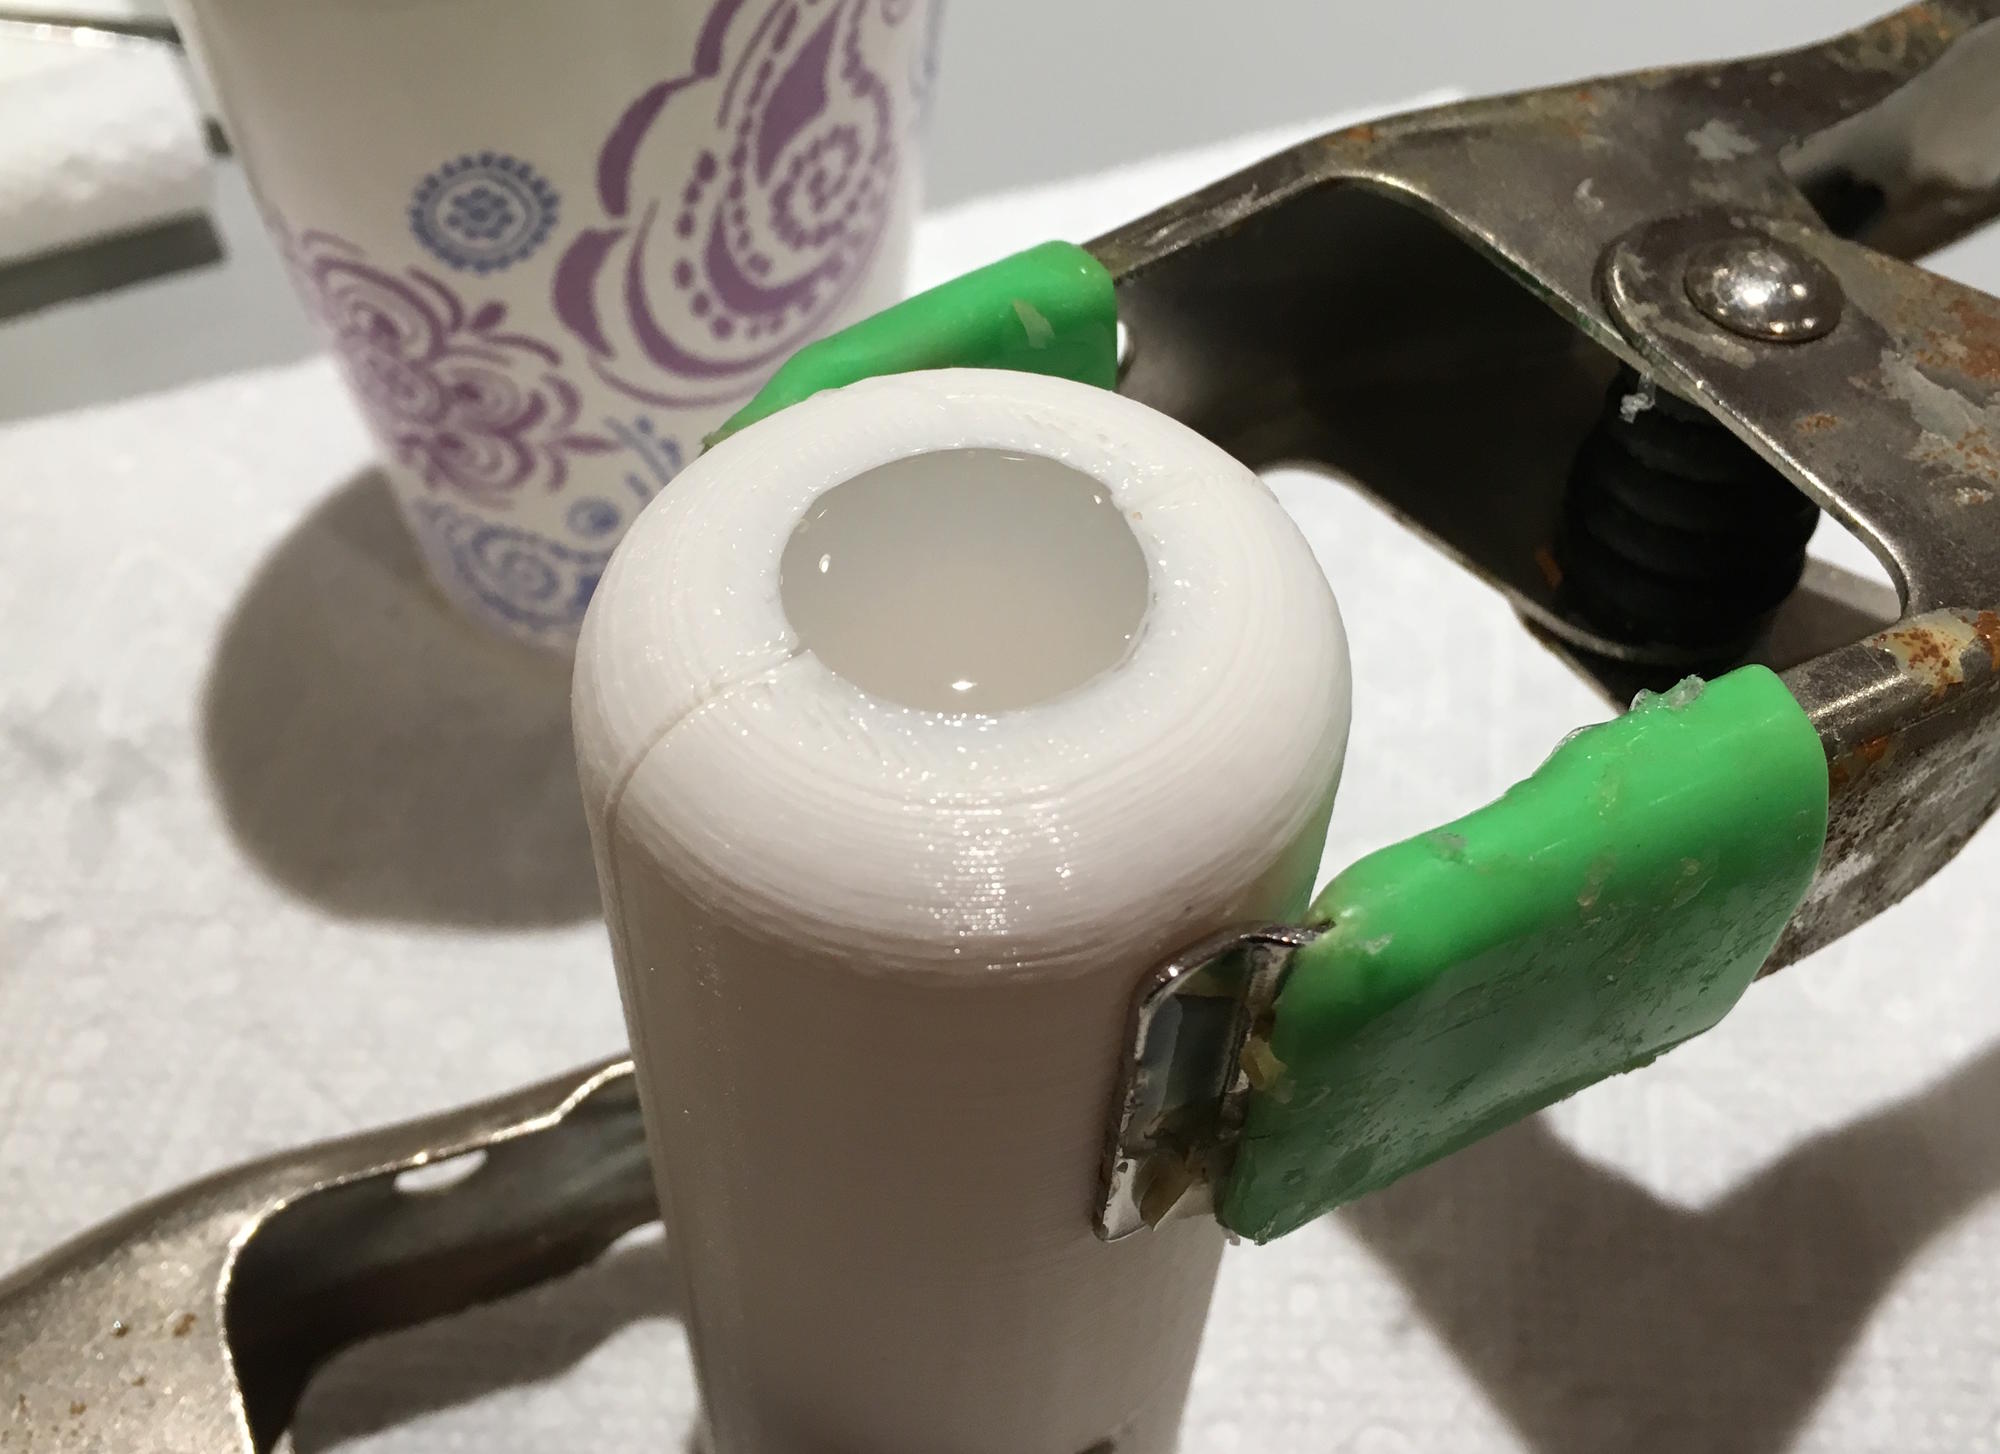
Step 4:
Pour the mixed Ecoflex into the mold slowly and steadily and stop occasionally to let bubbles escape. Fill the mold to the brim. Let the silicone cure for 4 hours.
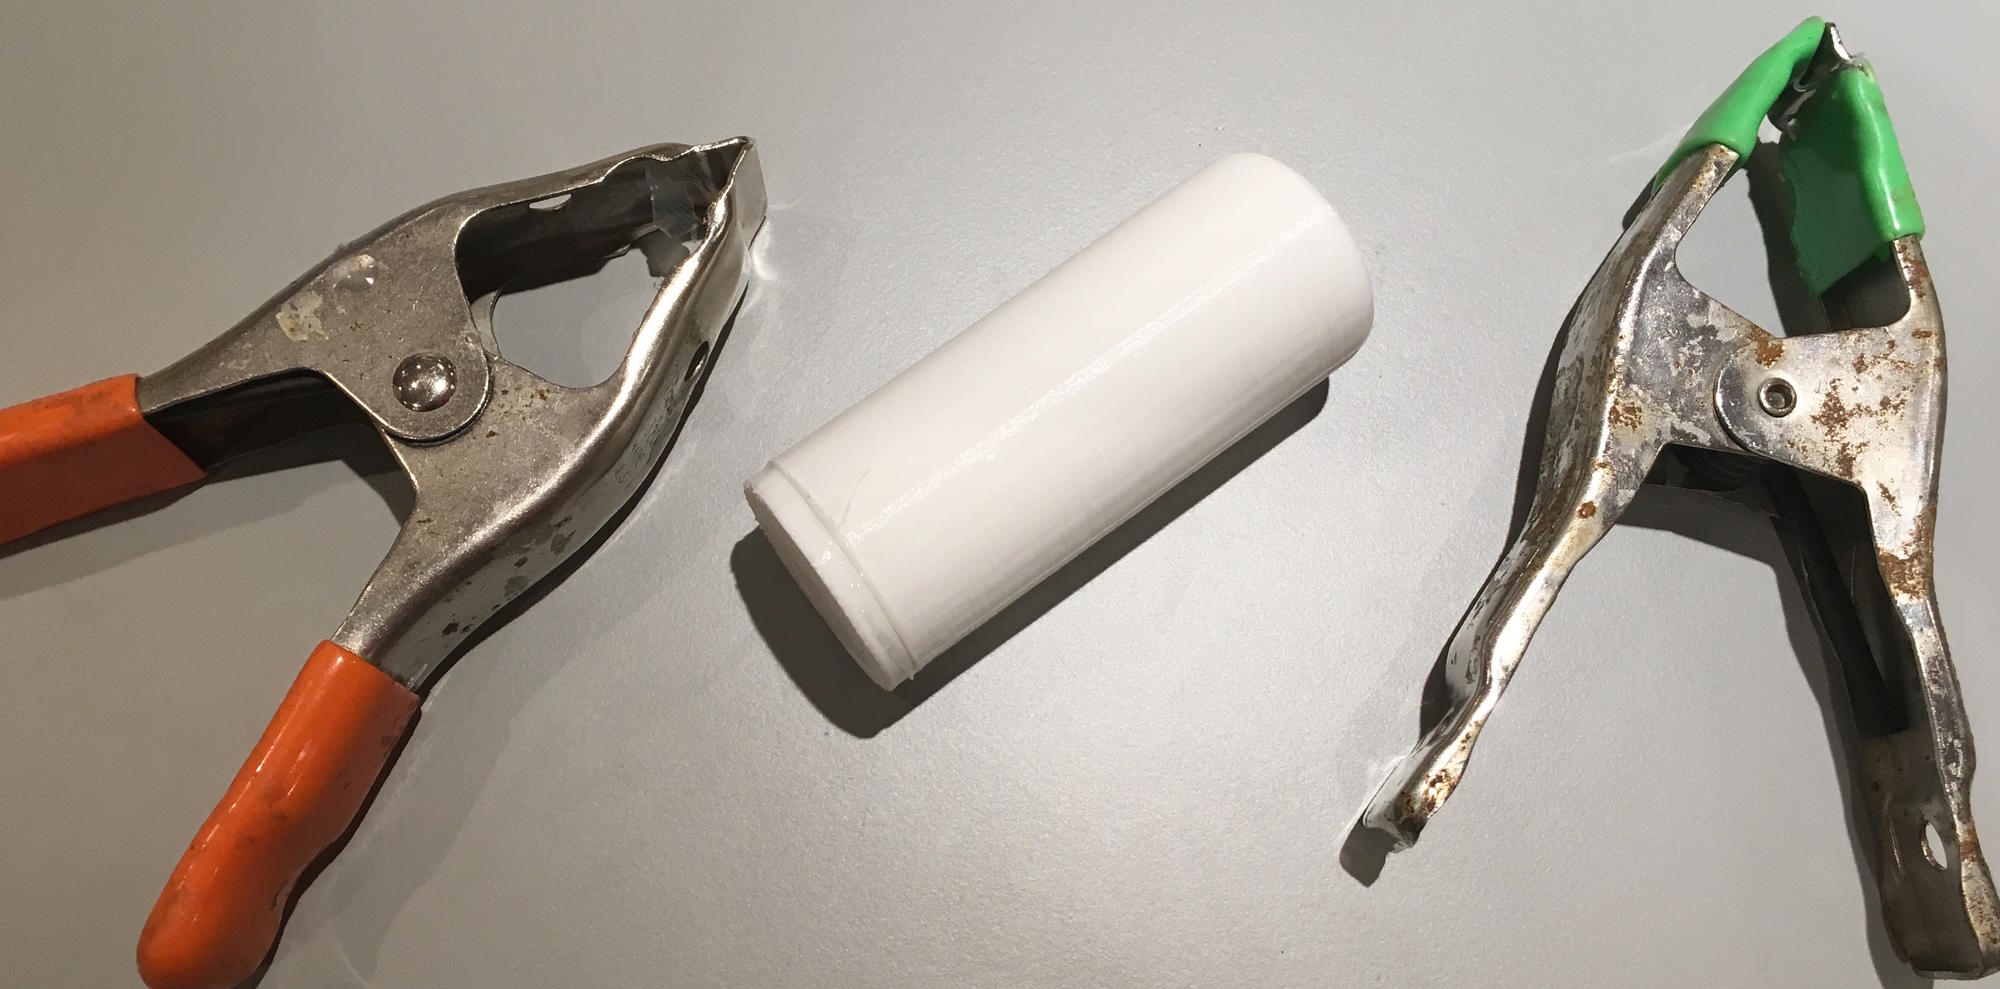
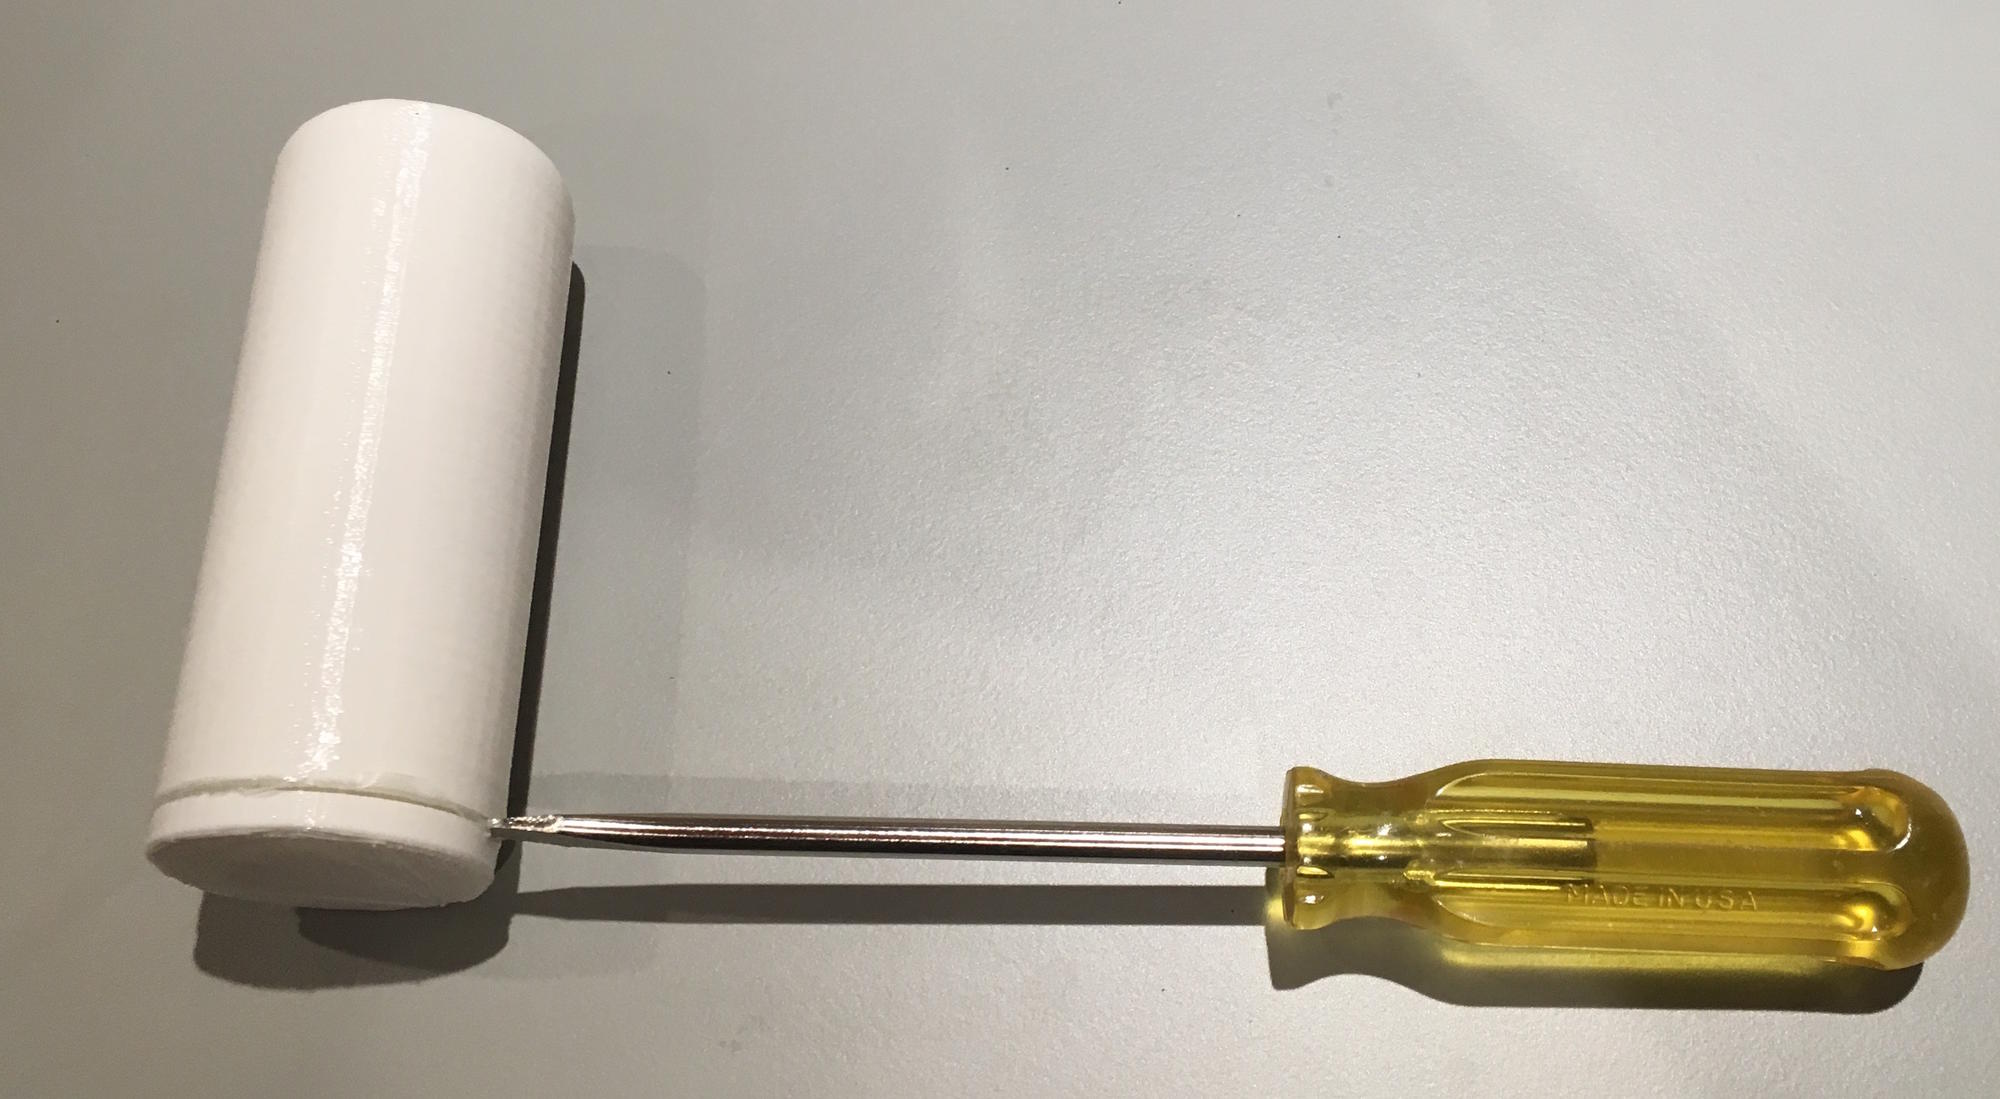
Step 5:
Once the Ecoflex has cured, take the clamps off of the mold and use a screwdriver to pry apart the mold. Pull the cast off of the core.
Step 6:
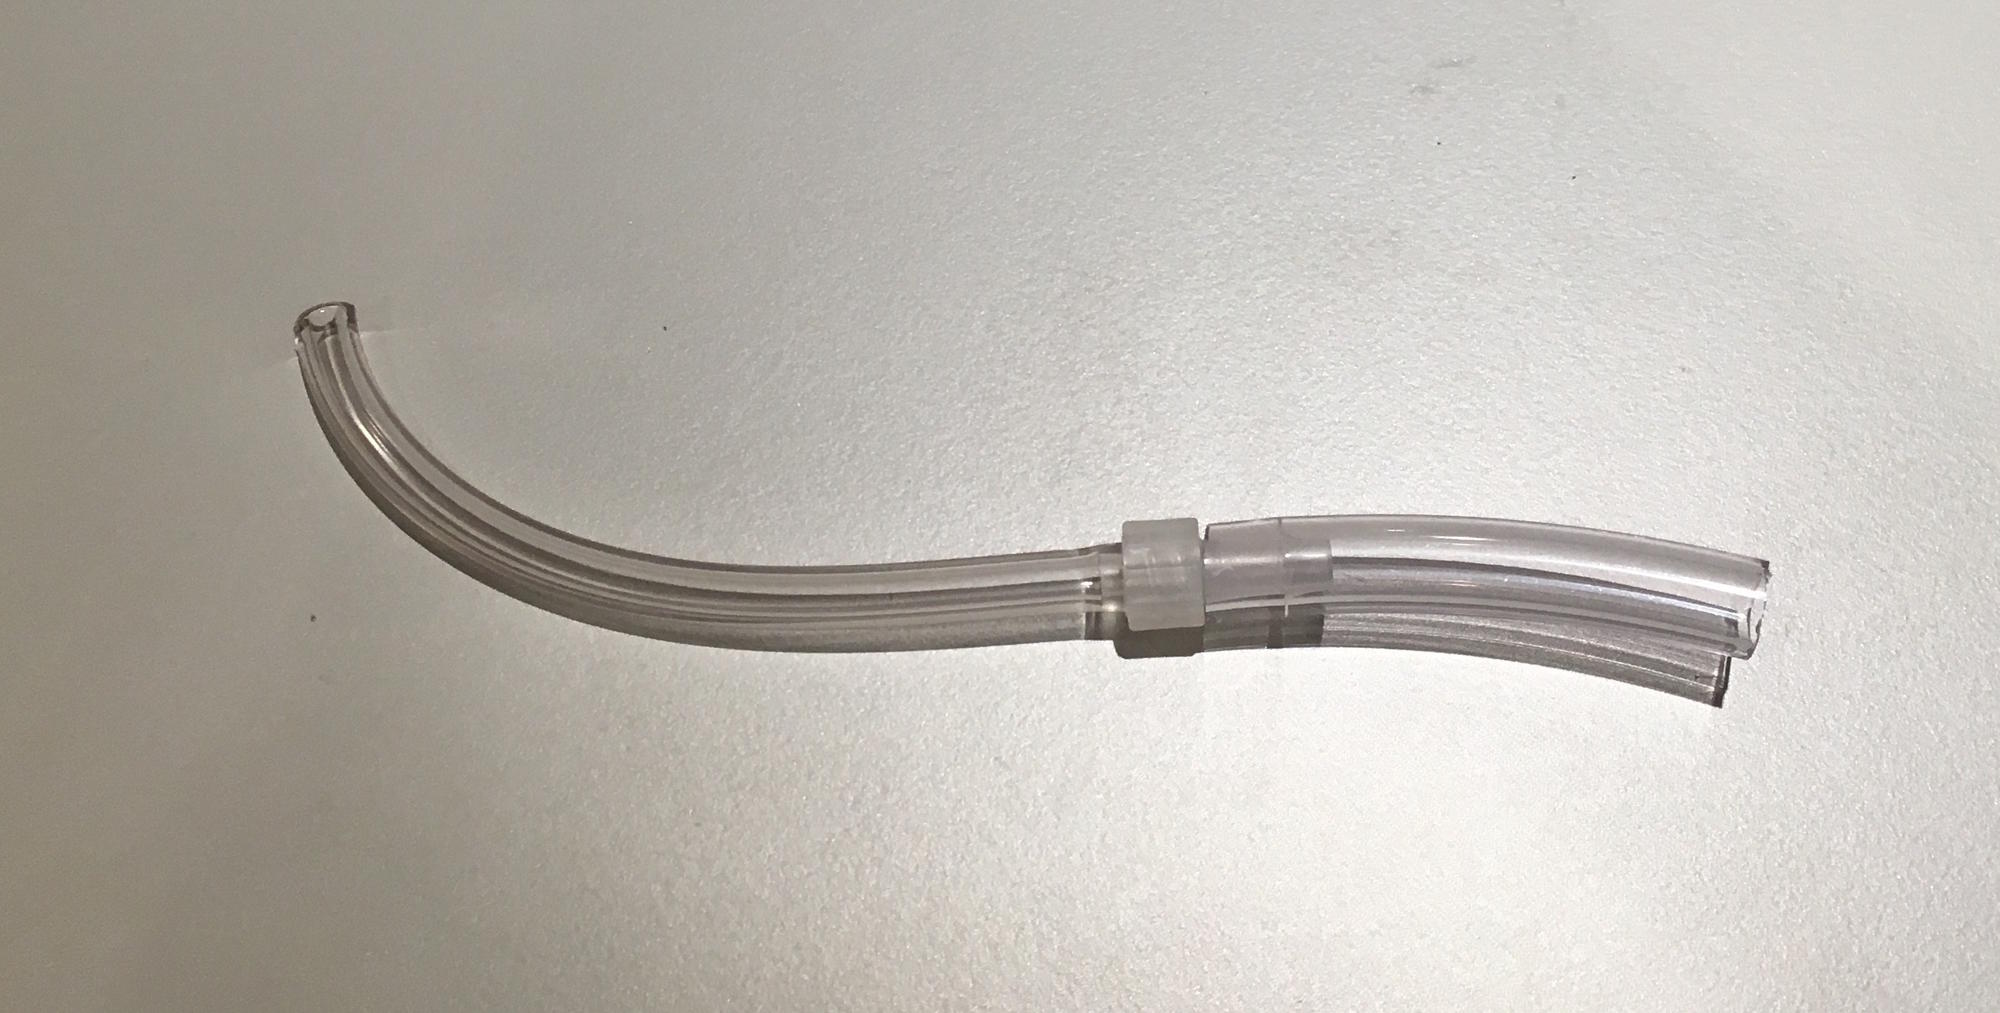
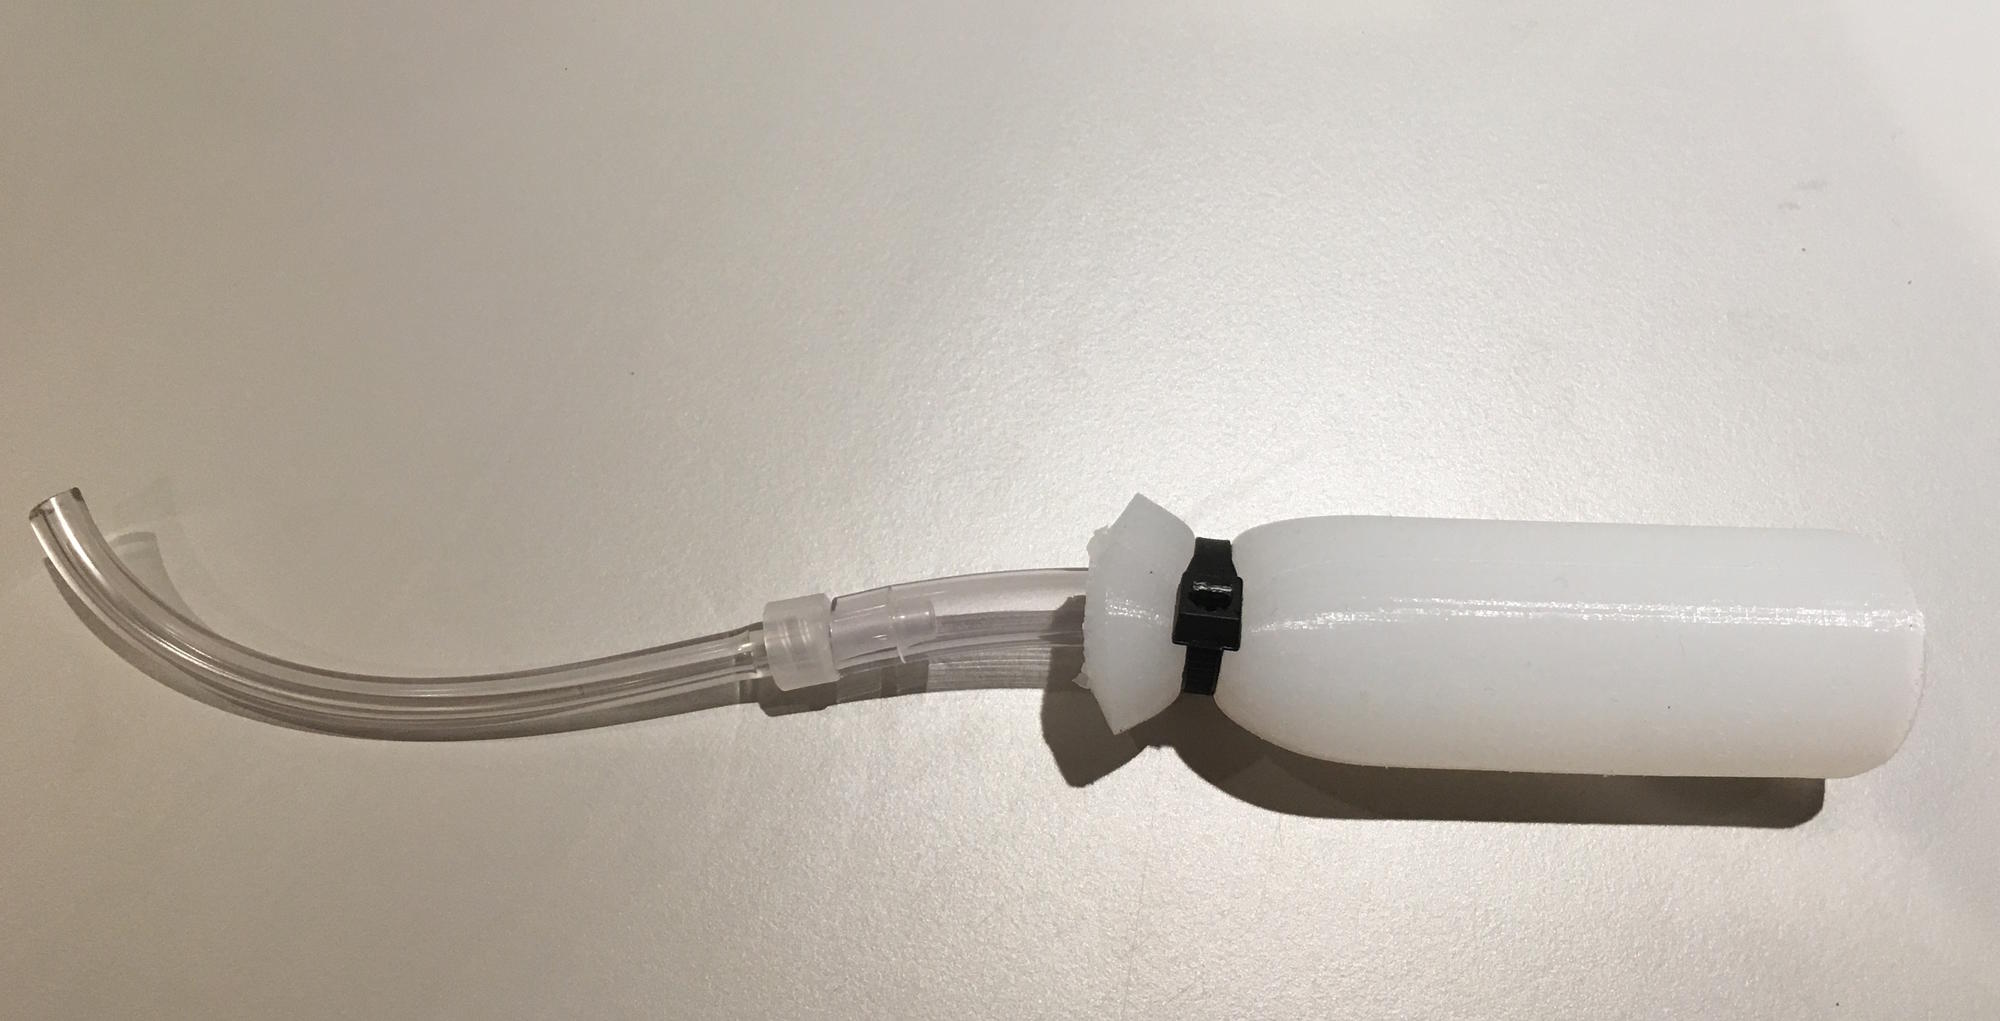
Attach the lengths of 1/4" and 1/8" tubing with the luer fitting.
Step 7:
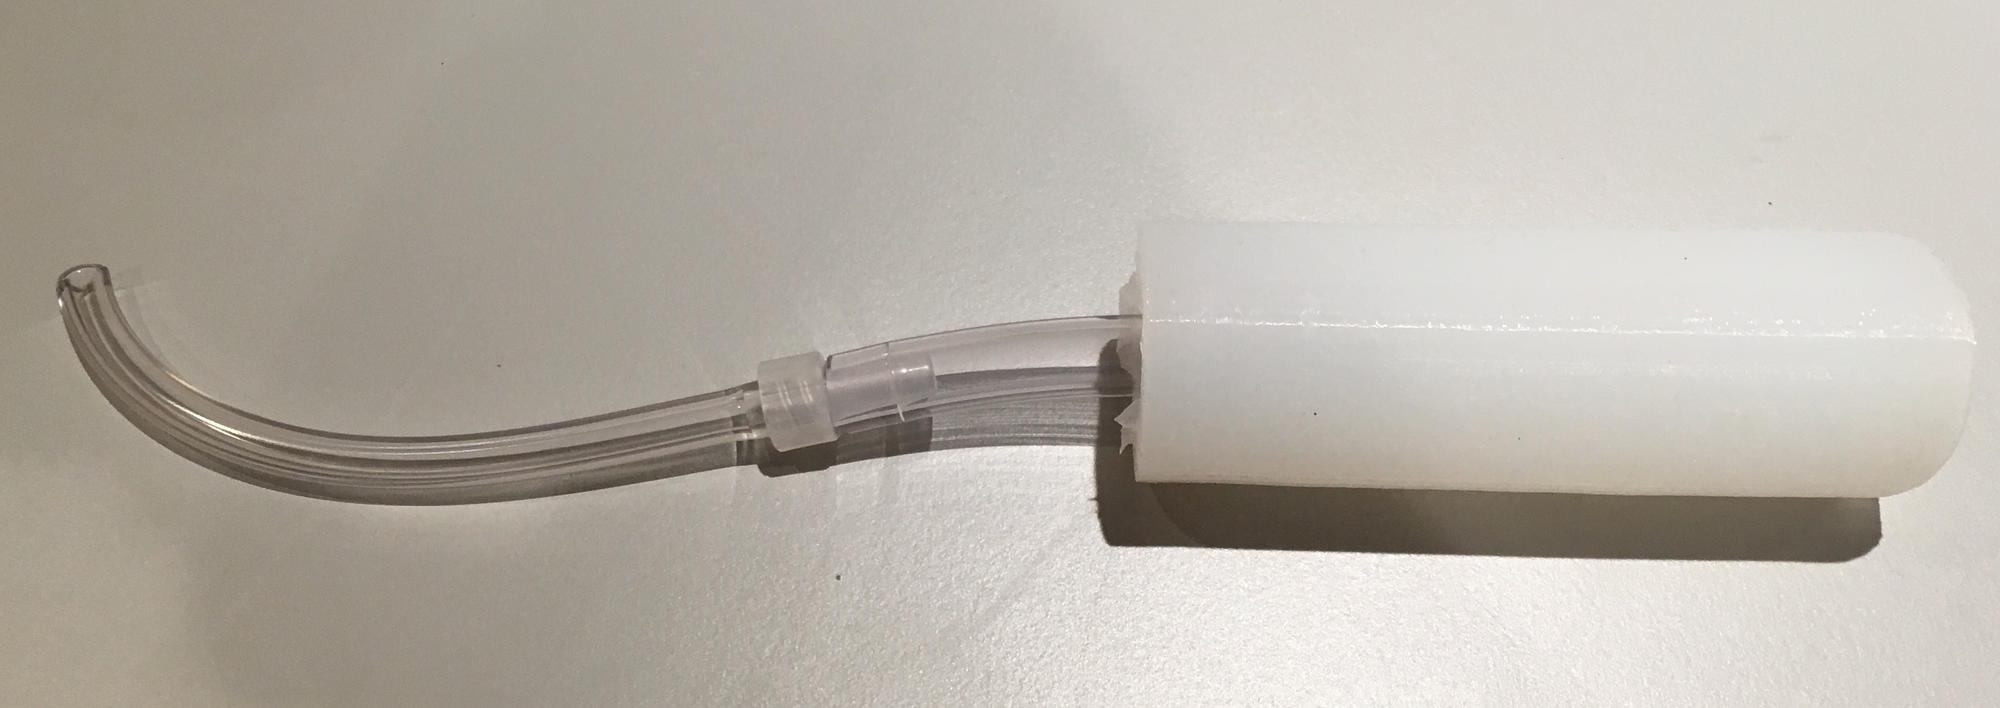
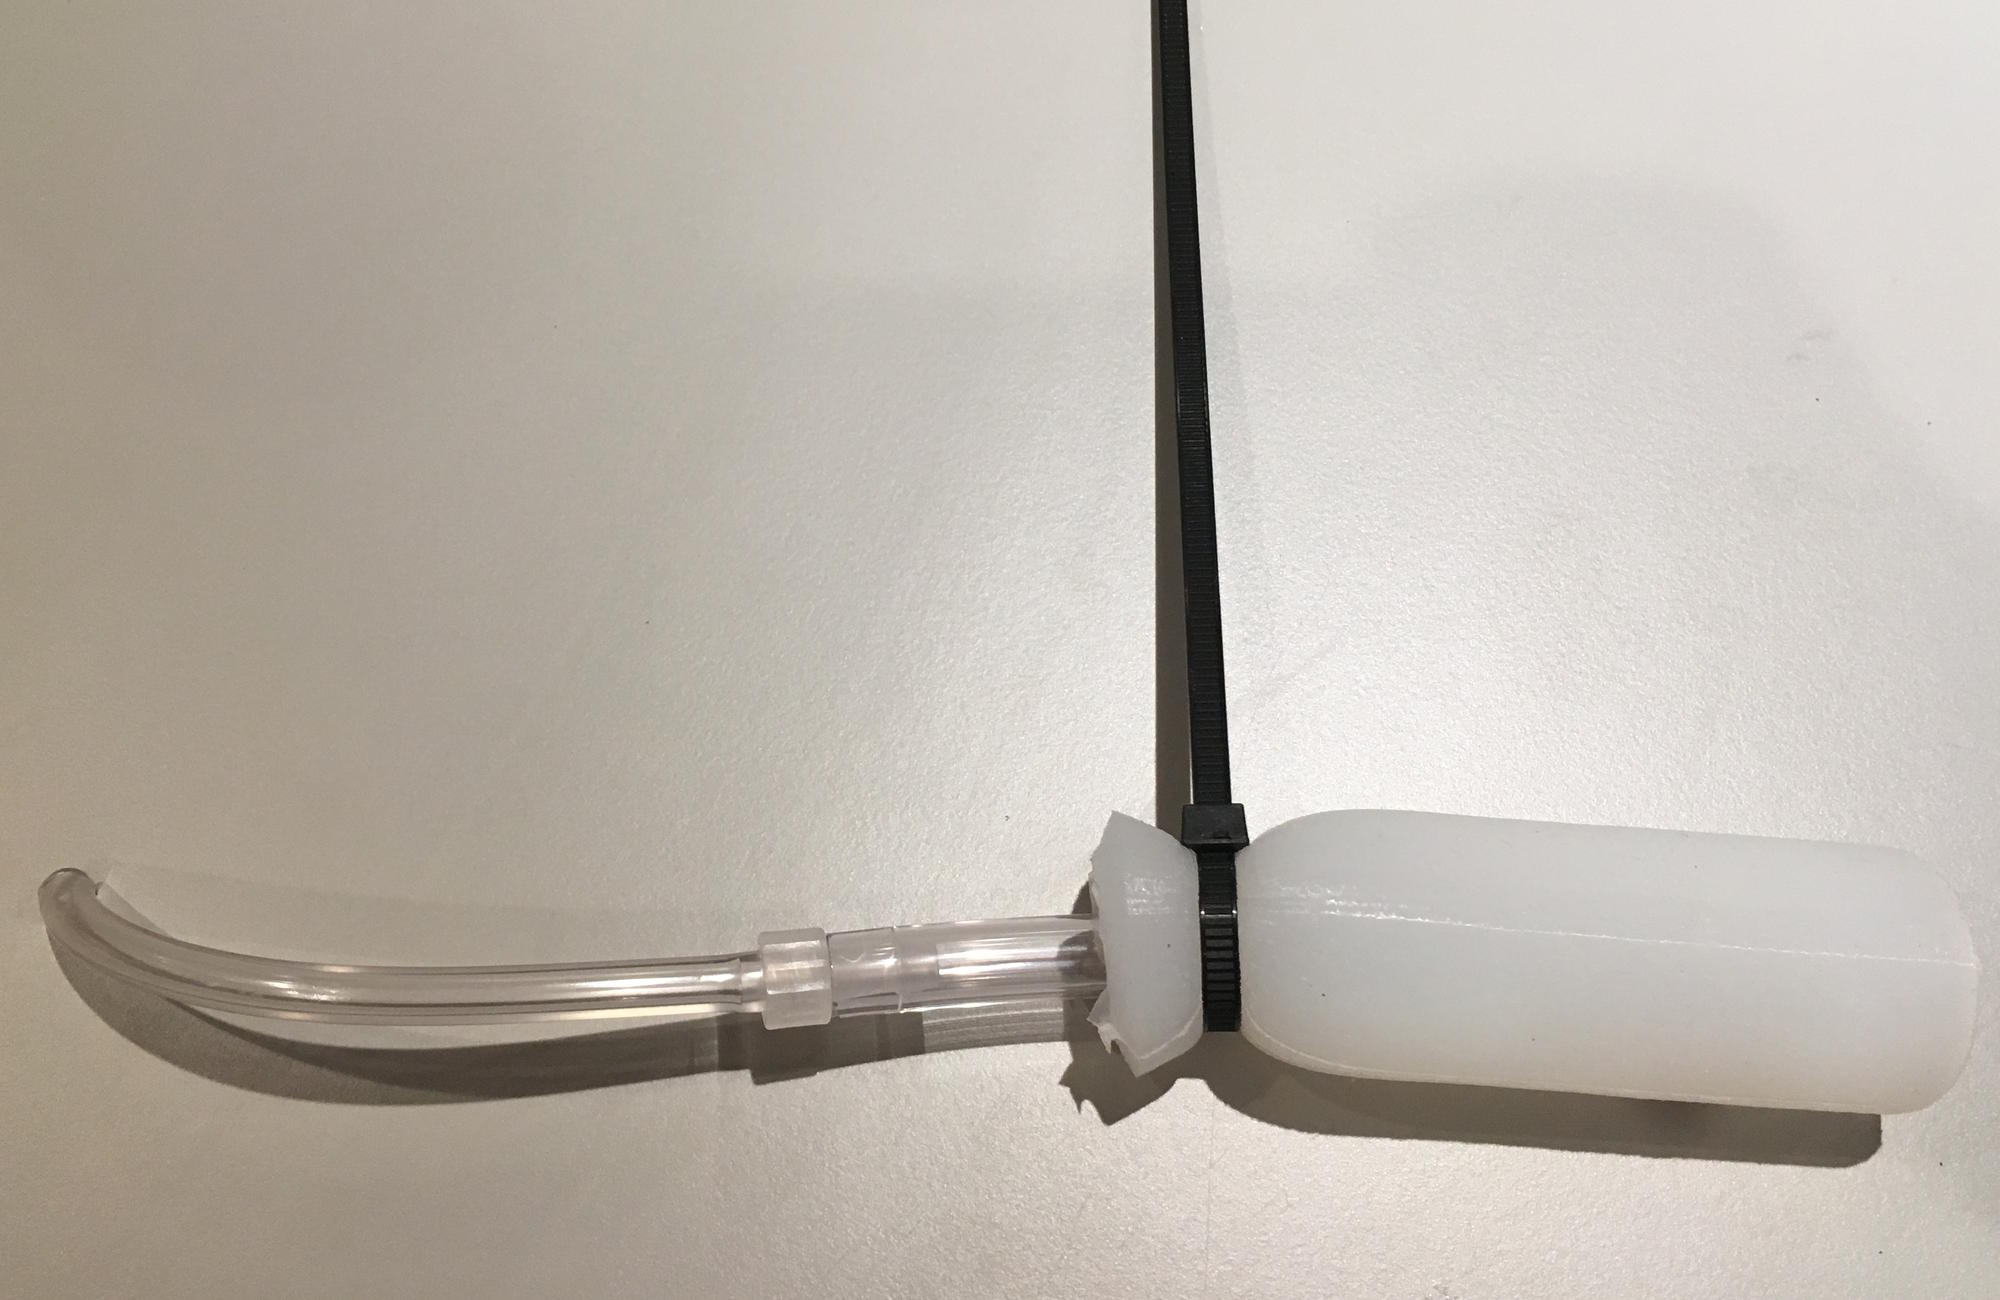
Insert the 1/4" end of the tube into the open end of the silicone cast. Secure a zip-around around it and tighten it into place, securing the tubing.
Step 8:
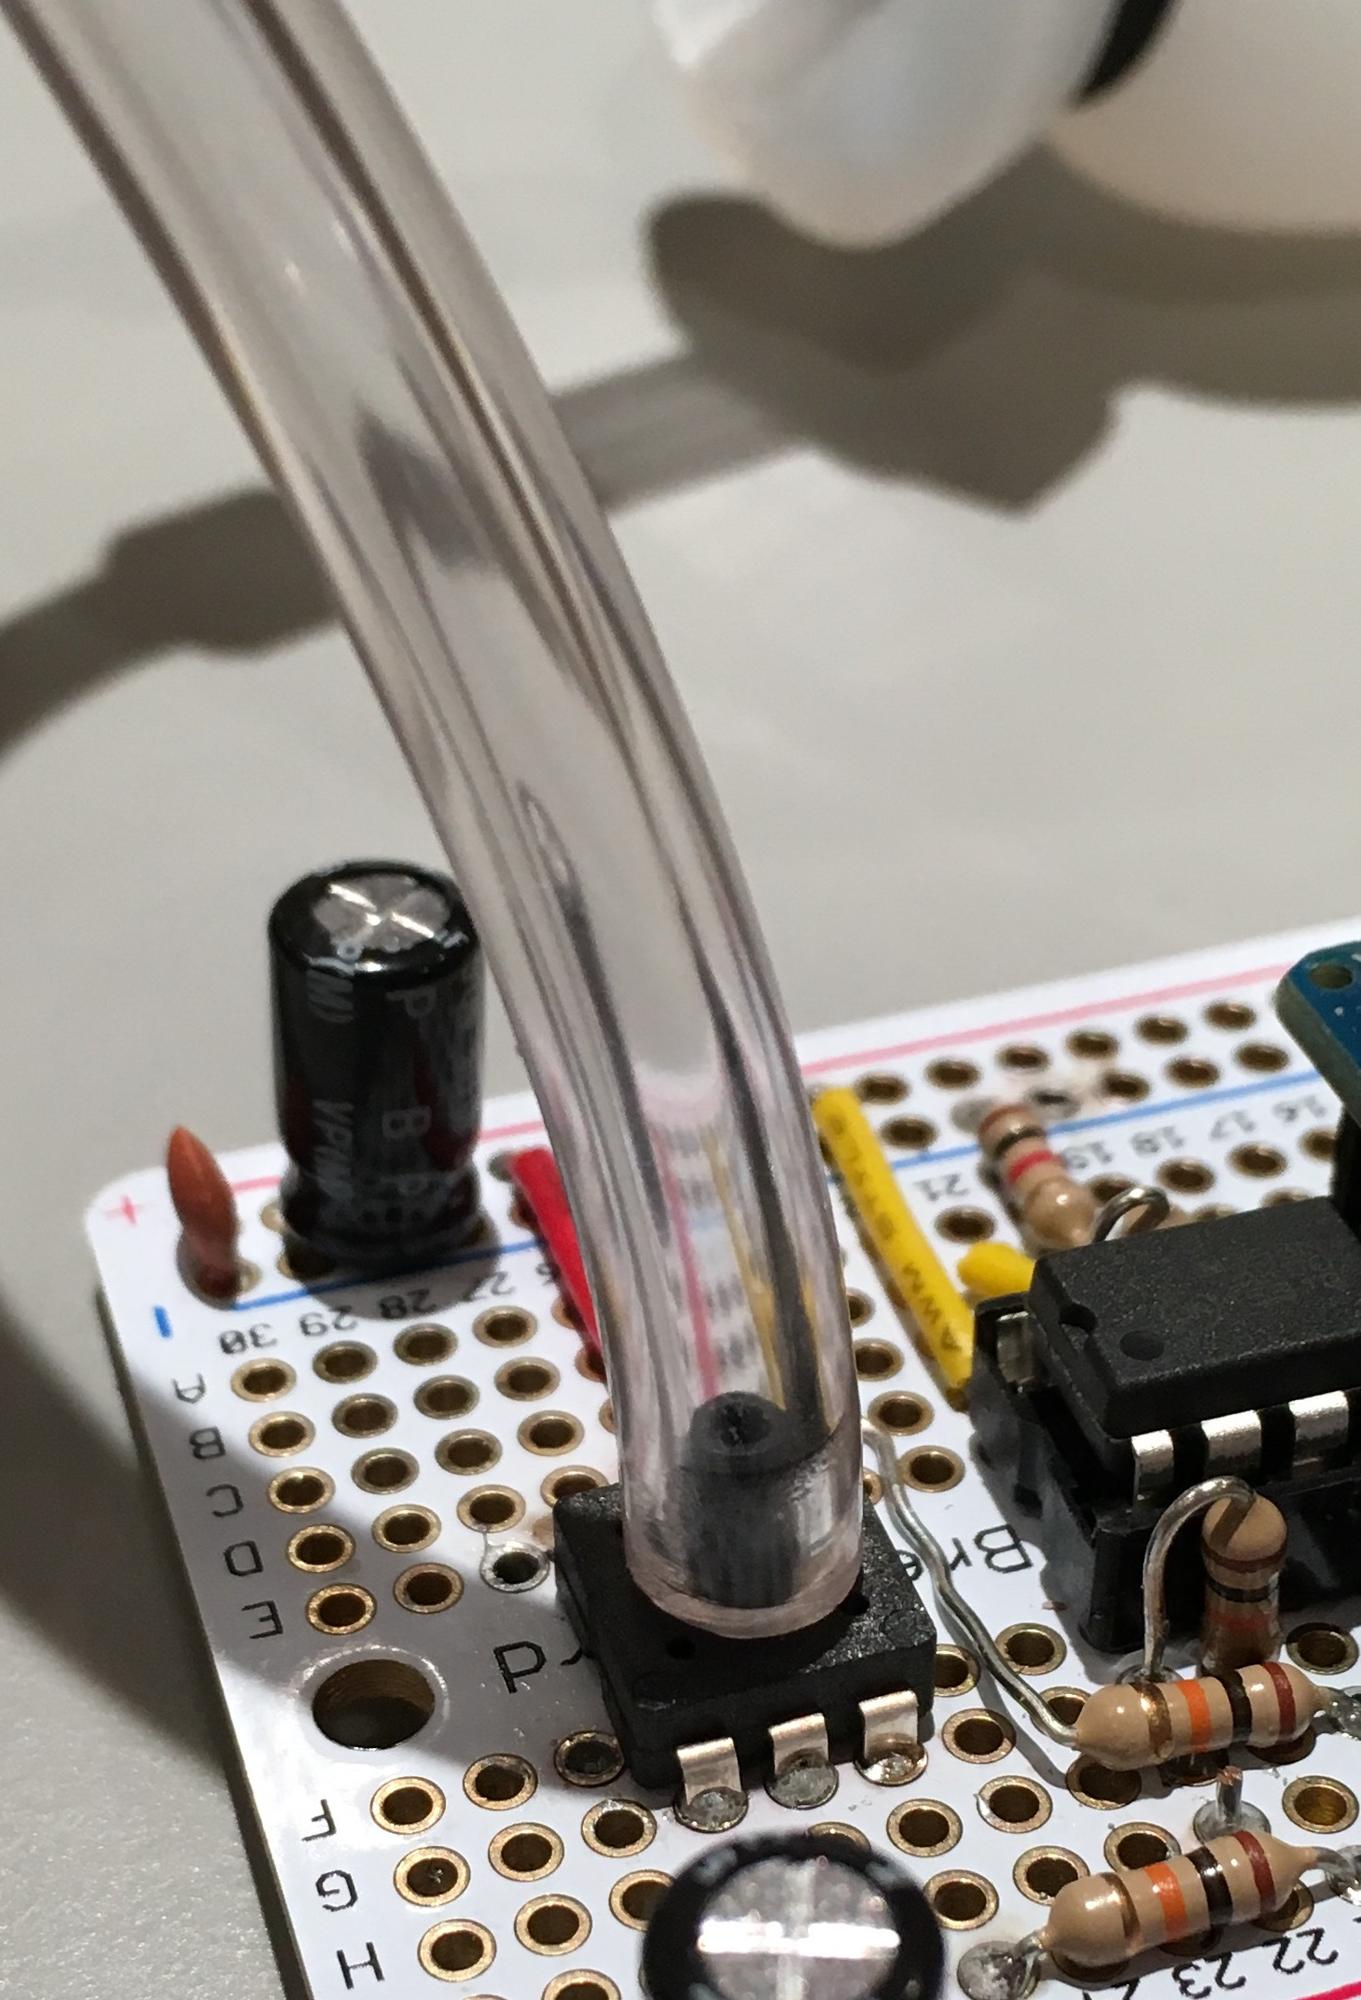
Connect the 1/8" end of the tube to the pressure sensor on the electronics.
Instructions on how to operate Design 1 can be found in the Testing section.