Once you've woven the Smart Braid, it's time to attach it over the tube and assemble it into an actuator. For this step, you'll need a 30 cm length tubing, gasket maker and super-glue. Also two of each of the following: barbed couplers, tooth-lock washers and hose clamps.
Materials

- Smart Braid
- 30 cm silicone tube (1/4" ID)
- Two barbed tube couplers (1/4")
- Two hose clamps (1/4")
- Two external tooth lock washers (from McMaster)
- Silicone sealant
- Super glue
Assembly
 |
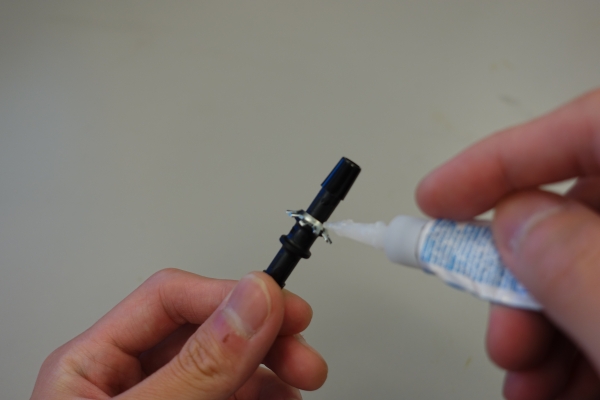
Apply super glue to the concave surface of the washers and affix to the barbed tube couplers, teeth facing inward. |
 |
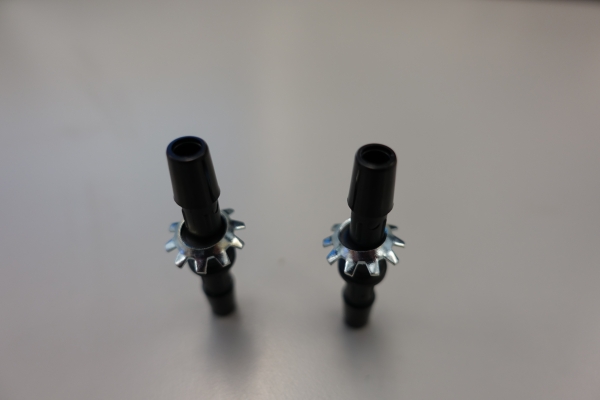
Allow the tube couplers to dry upright, with the washers' teeth facing down. Ensure that the washer is as flat as possible (i.e. normal to the coupler axis). Leave the coupler to dry for about a day. |
 |
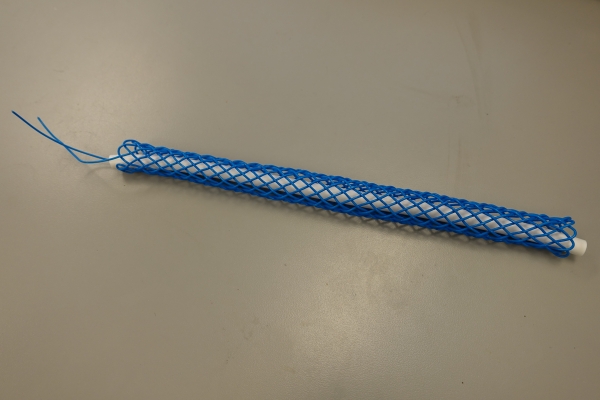
Slip the silicone tube through the Smart Braid; its length should fit the braid just right. Fit the tube connectors into the silicone tube with the washer teeth facing outwards, and hook the loops at the end of the Smart Braid to the washer teeth. |
 |
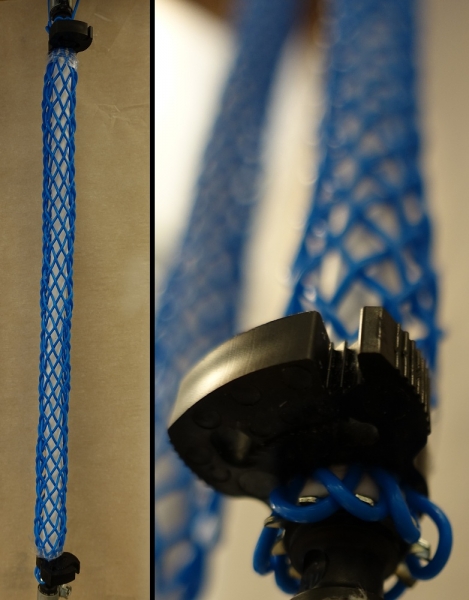
Attach the hose clamps afterwards on both ends of the Smart Braid. Optional: wrap some scotch tape around the end of the actuator before attaching the hose clamps to ease the clamping process. |
After the smart braid is assembled, the inductance will need to be measured with a device. Two possible methods have been outlined in the modeling section.
