Lens

|
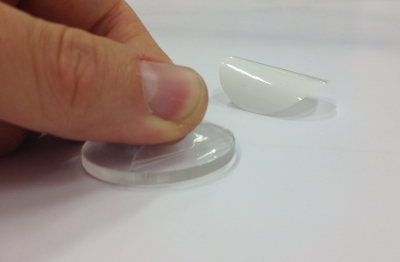
Download the lens.dxf file and laser cut the lens from a 3mm thick acrylic sheet, without removing the acrylic's protective film. The edge of the lens will be tapered slightly from the laser cutting process, with one side having a slightly smaller diameter than the other. This side will be pressed into the tip first , and is considered to be the bottom part of the lens. |
|
Remove the protective film from the bottom part of the lens, and begin removing the top layer, leaving a flap for easy removal later. |
|
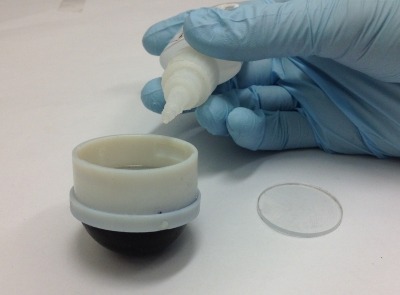
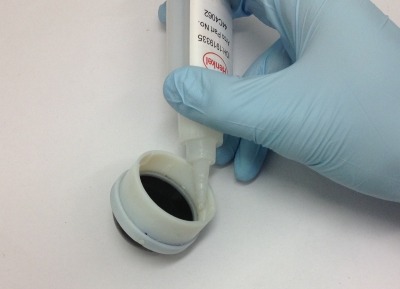
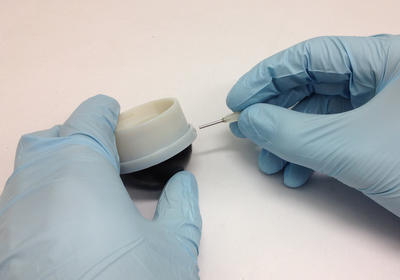
Apply Loctite glue around the inside lip of the tip.Spread the glue thinly to avoid it contaminating the lens. |
Press the lens into the tip with its small diameter downwards, ensuring it has been pushed all the way down to the lip, and hold until the glue dries. |
|
|
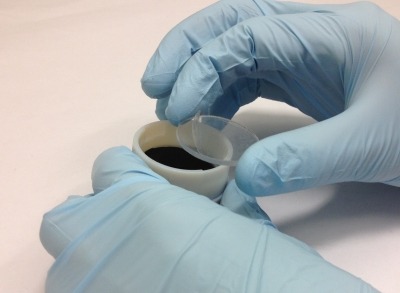
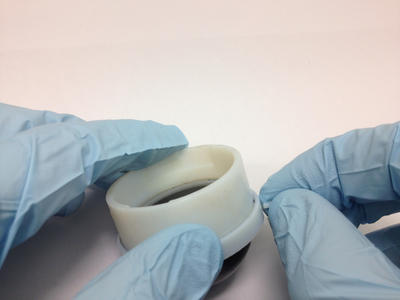
| Apply a small amount of glue around the edge of the lens to complete the seal. | Finish removing the top layer of protective film (tweezers can help for this step). |
|
|
|

Silicone gel
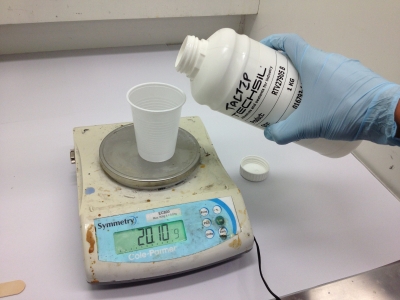
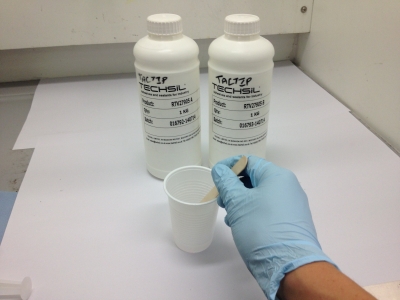
| Measure out 15g of RTV27905 part A in a plastic cup. | Pour 15g of RTV27905 part B in the same cup. | Mix the 2 components together vigorously. |

|
|
|
|
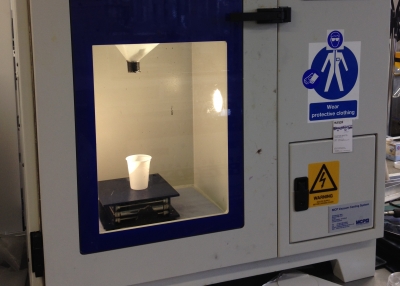
Place the mixture in a vacuum chamber for 5-10 min to eliminate bubbles. Note that if you are able to mix the 2 components of the gel within the vacuum chamber, this will result in less air being trapped in the gel. |
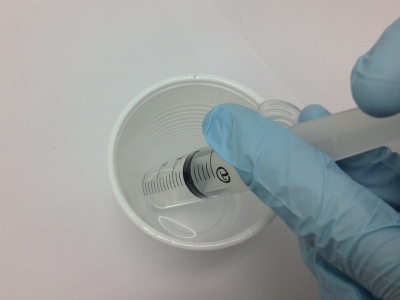
| Insert the needle into the hole in the side of the tip. Have some kitchen roll ready in case the gel leaks. | Fill the syringe with gel, and wipe it down with kitchen roll to avoid gel coating the outside of the tip. |
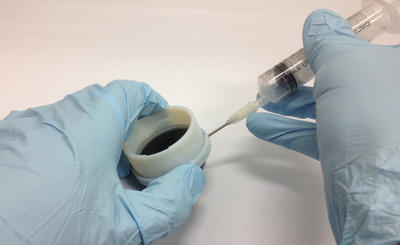
Push the syringe into the needle and fill the tip with gel, angling it so that bubbles can escape through the air hole in the tip. |
|
|
|
|
Once the tip is filled with gel, remove the syringe and plug the hole with the 3d-printed plug. |
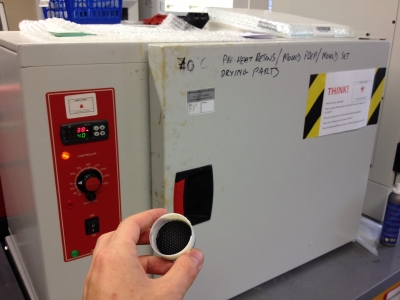
Finally, leave to cure for a minimum of 48 hours (if available in an oven at 40 degrees celsius. |
|
|