Molding Process
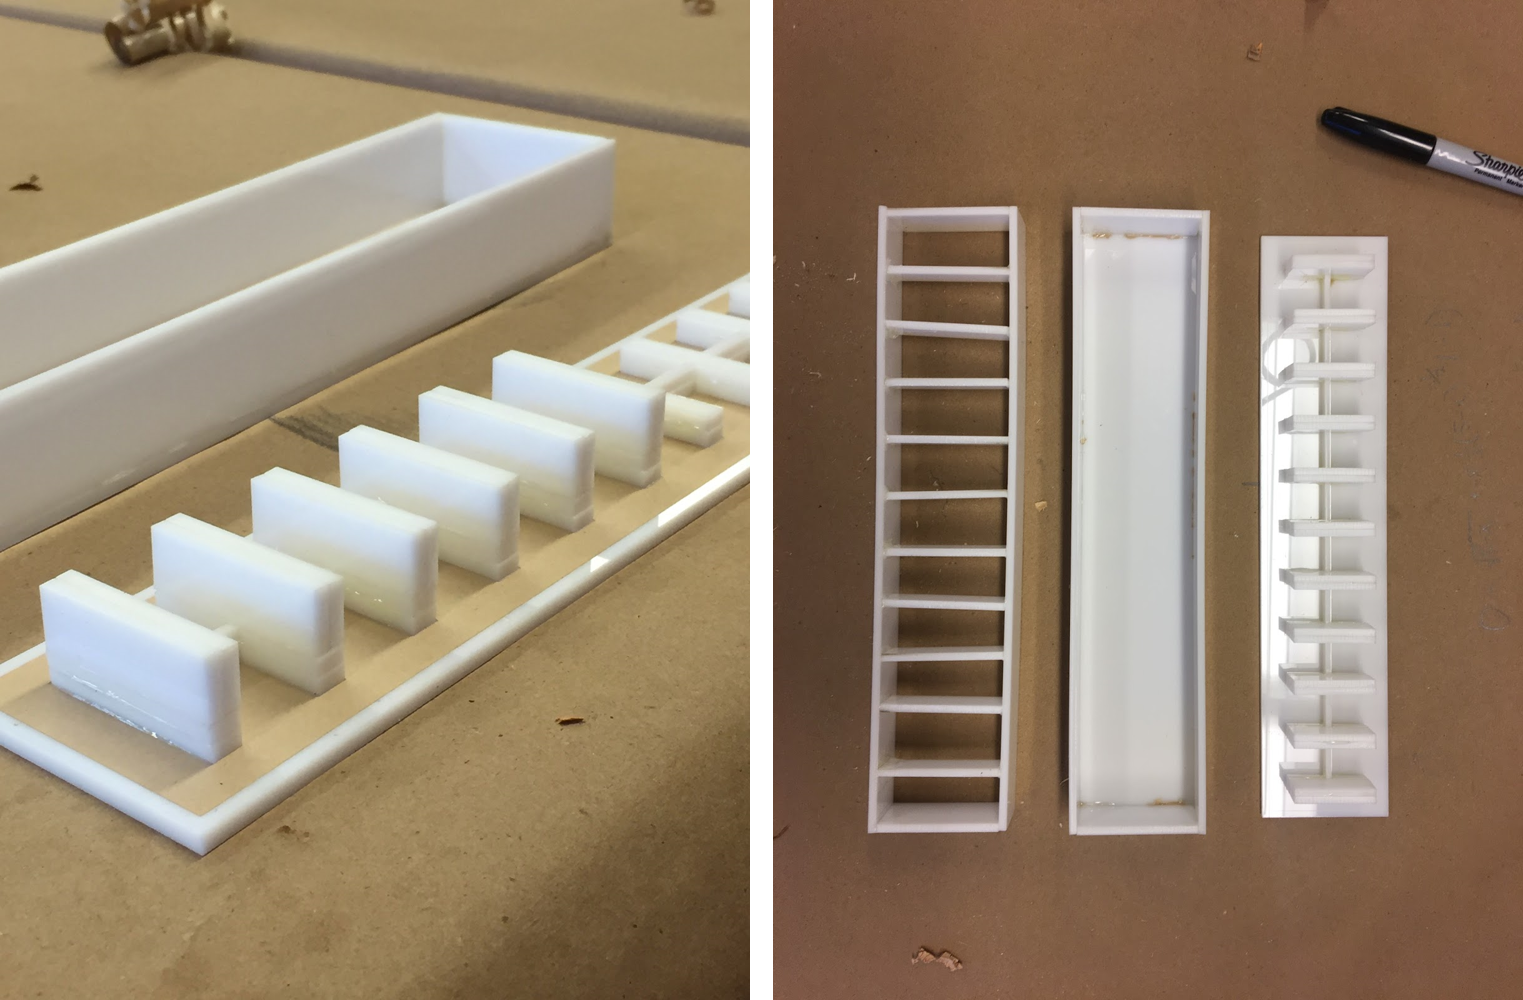
When we started the project, we decided to build a silicone actuator to learn about soft robotics and help inspire us. The actuator file was found through the soft robotics toolkit website, but we were having trouble with our 3D printer, resulting in a poor mold. While troubleshooting that, we decided to laser cut our mold out of acrylic and assemble it with a two part epoxy. The mold, as well as the silicone actuator, is shown below:
| Figure 37 and 38: The Original Mold |
|
This is our first mold of the silicone actuator. This was laser-cut out of acrylic material.
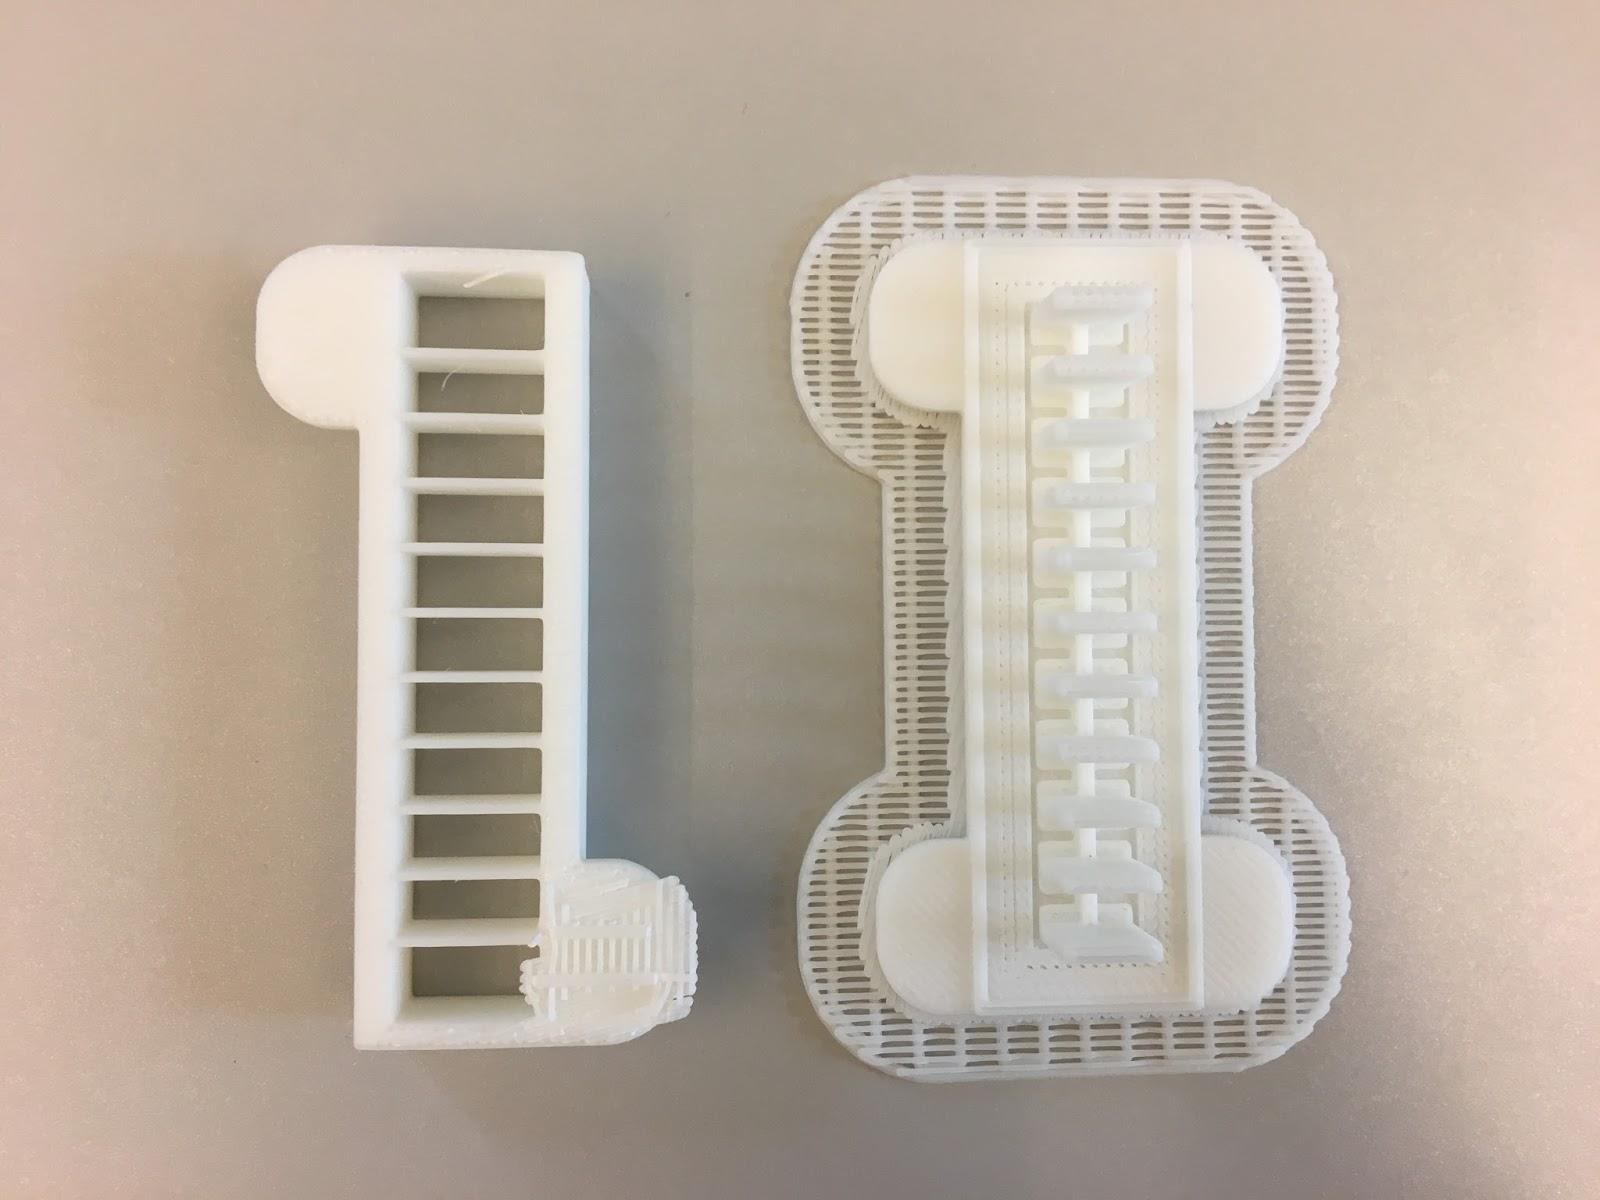
The team found that the mold was both too large and required too much acrylic to laser cut each time. Our school then invested in a proper 3D printer from which we were able to 3D print the file:
| Figure 39: 3D Printed Mold |
|
| This figure displays the 3D printed mold. |
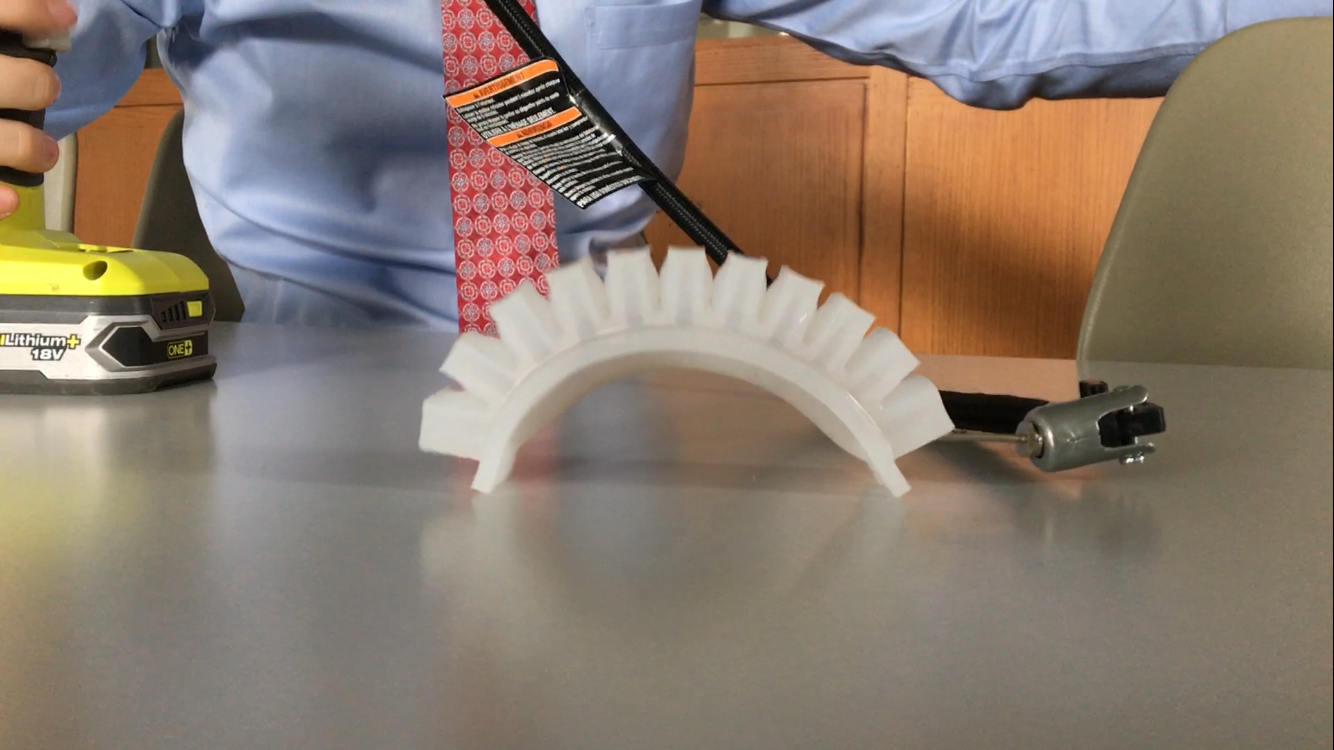
With this mold, we created a small silicone actuator that we were able to inflate:
| Figure 40: Inflated Silicone Actuator |
|
|
The above figure displays the inflated silicone actuator. |
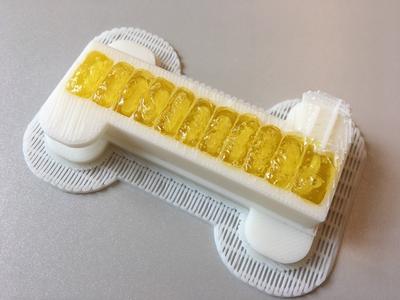
We then started testing the same mold but adding melted gummy bears instead of silicone.
| Figure 41 and 42: Candy Actuators | |
|
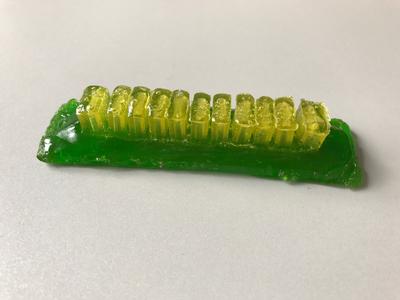
|
| The above figures display the candy actuators. | |
We noticed that there was still some minor improvements to be made to all of the molds which we used. We changed the molds by decreasing the size of the lower cavity/base as well as modifying the size and depth of each of the individual air pockets which allow the actuator to bend.
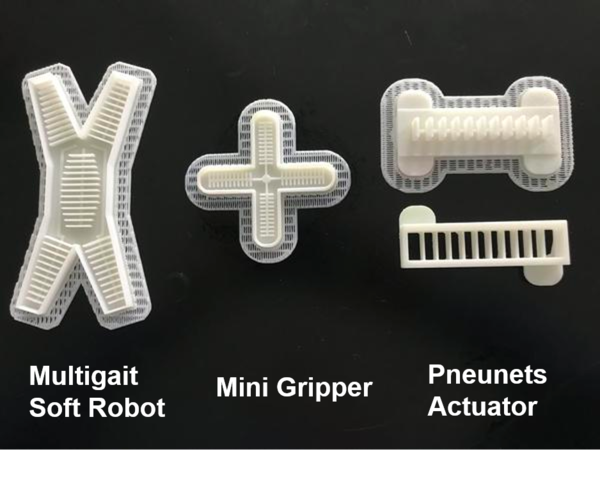
We used the following files to 3D print our molds.
1. Pneunets Bending Actuator from the Soft Robotics Toolkit.
2. Gripper Mold from Thingiverse
3. Multigate Mold from Dr. Whitesides
| Figure 43: Molds |
|
| The above figure shows the different molds we have 3D printed. |