Mold Fabrication
This section gives detailed step-by-step instructions for fabricating a mold to cast a PneuNet bending actuator out of acrylic sheet material by using a laser cutter. A top, middle, and bottom part are laser cut from the acrylic sheet and then glued together to create the mold. For an experienced user of the tools and equipment needed, the whole process can be done in approximately 20 minutes (followed by 20 minutes for the acrylic glue to cure).
Acrylic has been found to be a good material to use for creating the molds as it is easy to laser cut and glue together. It also has a hard smooth surface which makes it easy to remove the cast silicone parts. Transparent acrylic is preferential, as the acrylic glue used cures when exposed to UV light.
Bill of Materials
To create the molds, the following is needed:
Materials
- Acrylic sheet of 3-6mm thickness
- Acrylic glue (ACRIFIX® 1R 0192)
- M3 bolts (with a length that is greater than three times the thickness of the acrylic sheet)
- M3 nuts
Tools
- Small clamps
- Lab gloves
- Wrench and screwdriver for tightening M3 bolts and nuts
Equipment
- Computer running software for editing and laser cutting vector graphics files in .ai, .pdf, or .svg format (e.g. Adobe Illustrator)
- Laser cutter
Step 1: Laser Cutting Mold Parts
Open the design files on the computer in a program for editing .ai, .pdf, or .svg format vector files (Adobe Illustrator is used in this tutorial):
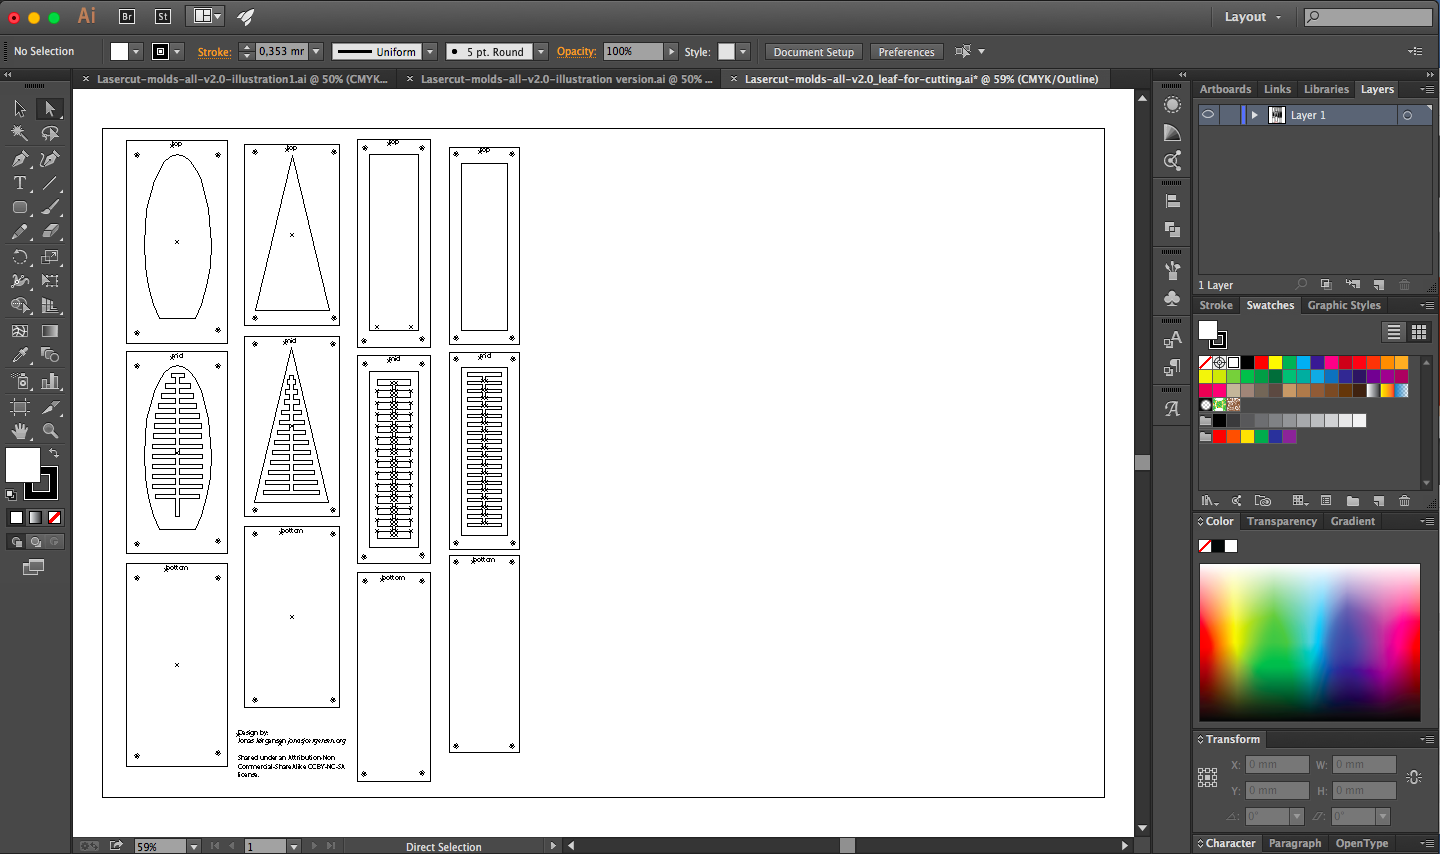
(Note: In Abobe Illustrator switching to view "Outline" (under "View") makes it easier to work with the design files.)
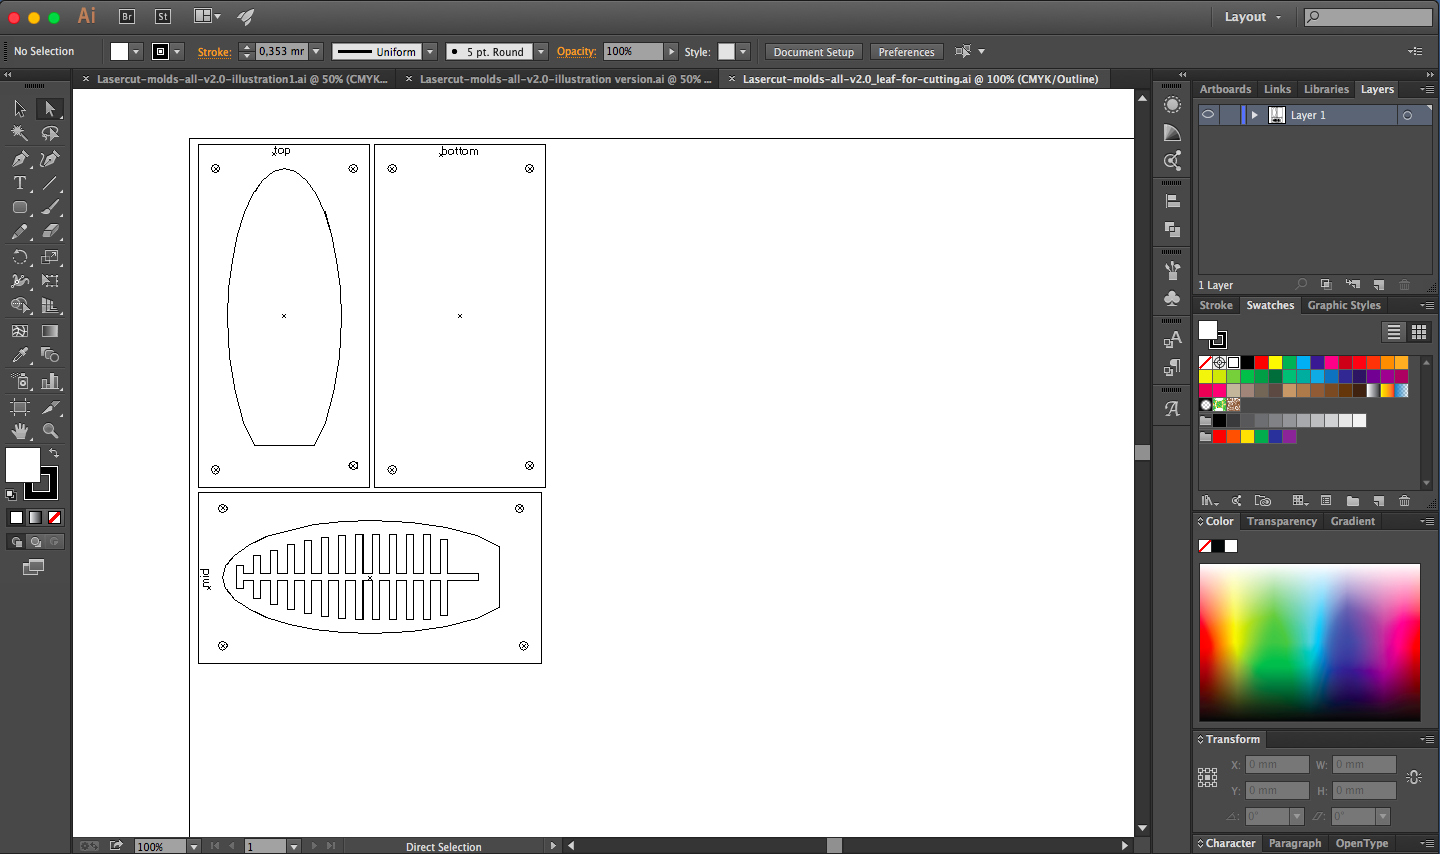
Arrange the mold parts that you will be laser cutting so that material use is minimized and so that they will fit onto your sheet of acrylic:
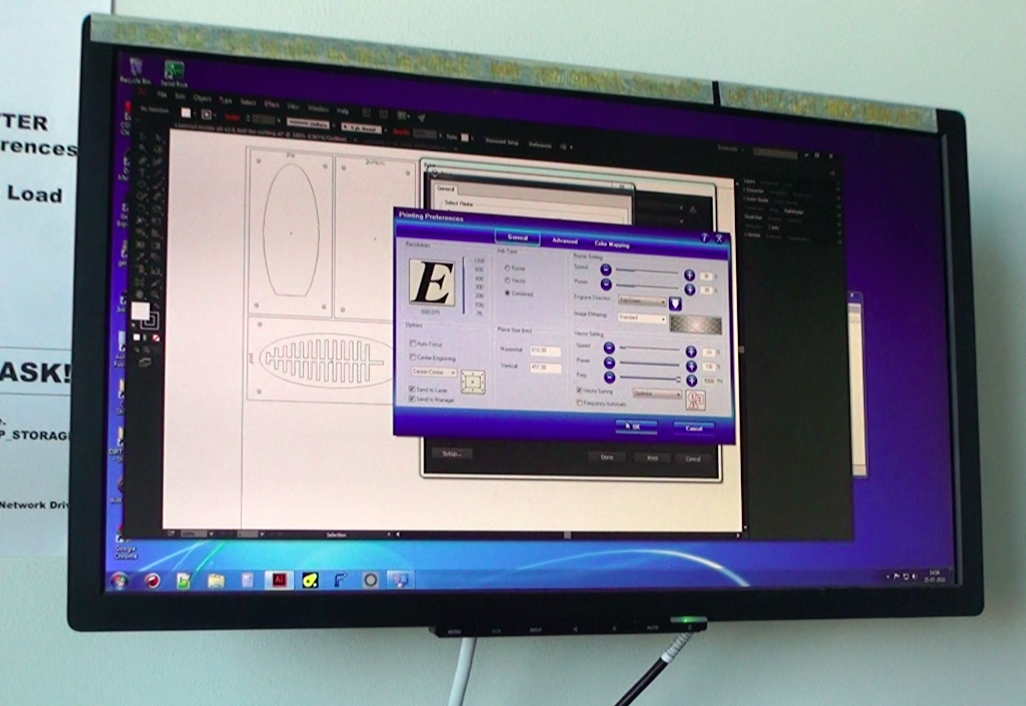
Chose a combined raster and vector laser cutting mode in the configuration box for the laser cutter. Choose settings for the laser cutter that are appropriate for raster engraving and cutting of the specific acrylic that is used (run some test with the material beforehand):
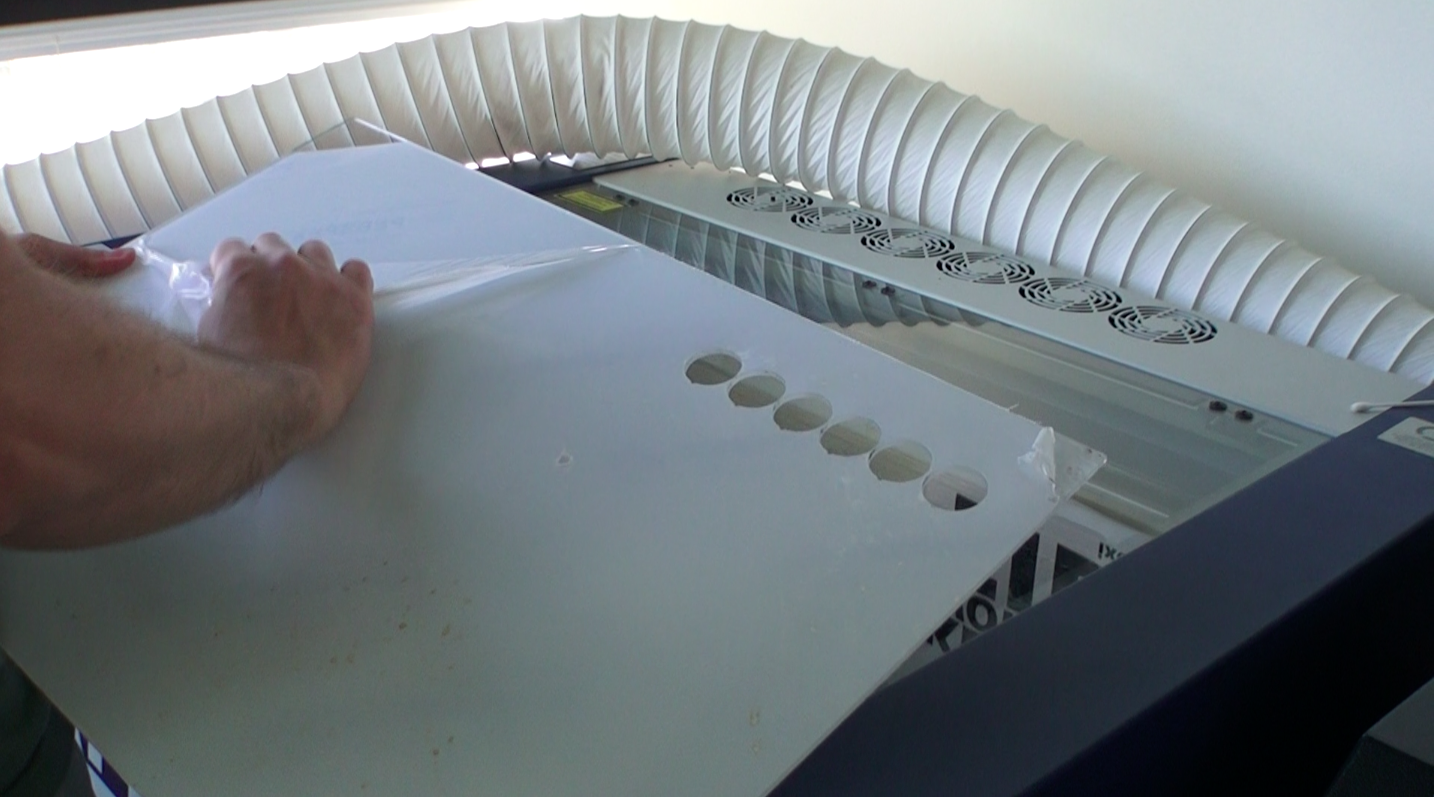
Remove the protective plastic film from the acrylic sheet and place it in the laser cutter:
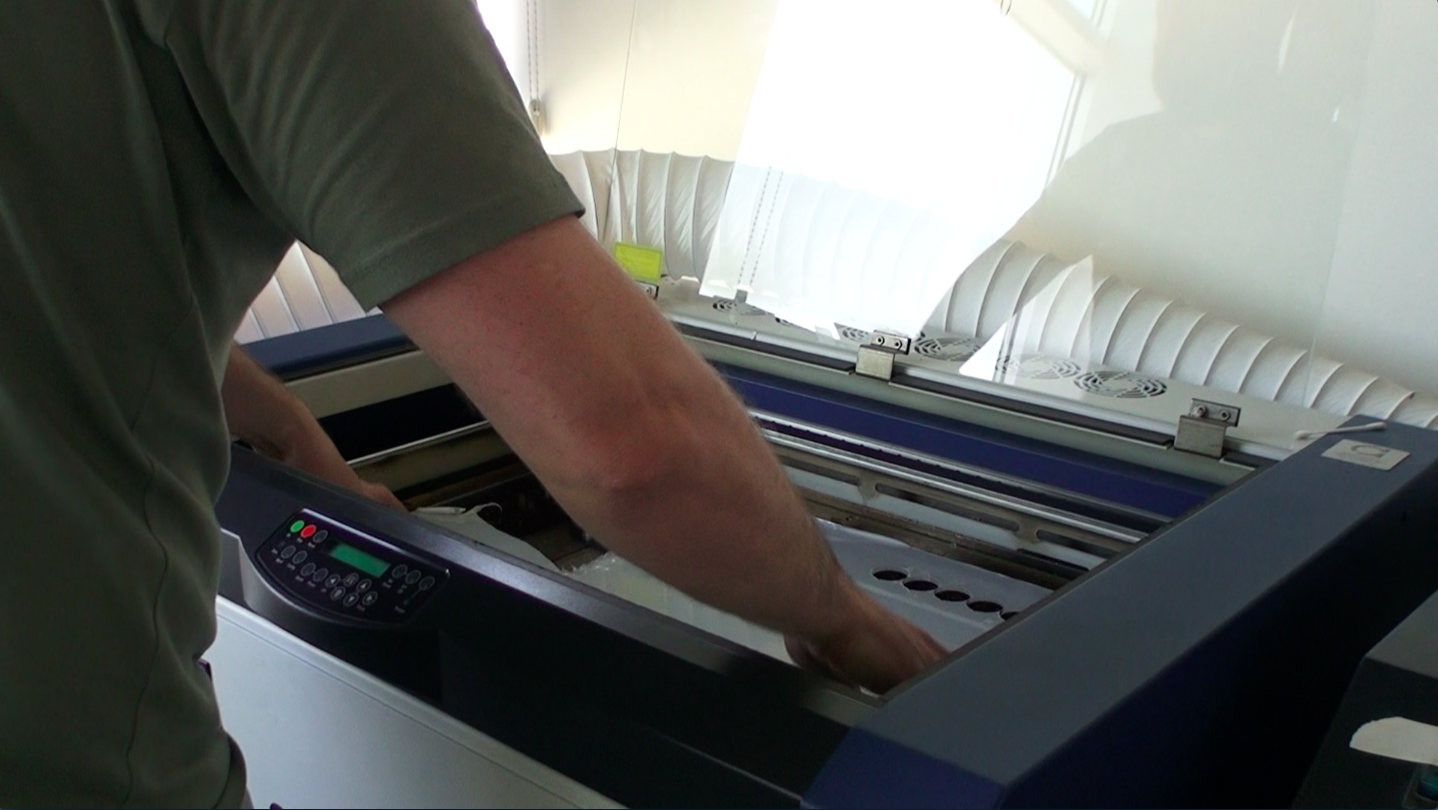
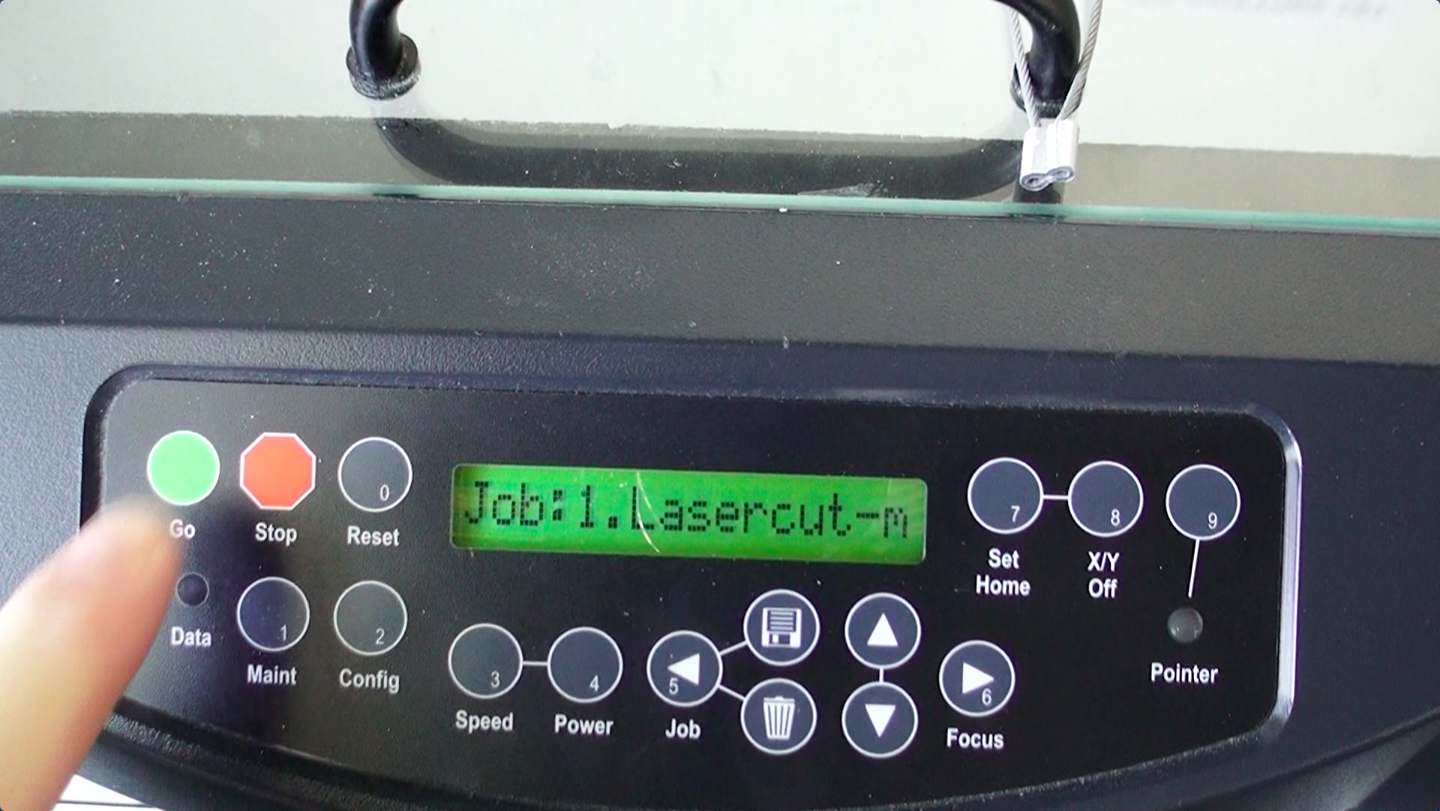
Close the lid of the laser cutter, switch on the laser cutter and the ventilation, and send the laser cutting job from the computer to the laser cutter and start the job:
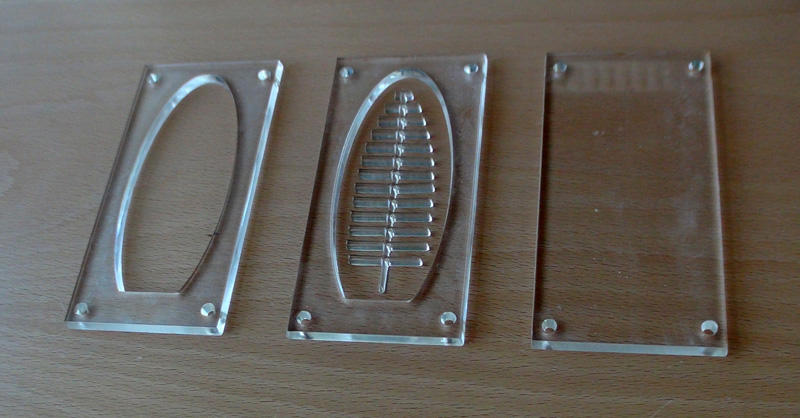
Gather the cut parts when the laser cutting is done:
Step 2: Gluing Mold Parts Together
Once the mold parts are laser cut, the gluing can start. Gather the following materials to make one mold:
- Acrylic mold parts (top, middle, bottom, and fishbone structure)
- 4 x M3 bolts
- 4 x M3 nuts
- Acrylic glue (ACRIFIX® 1R 0192)
- 2 x clamps
- Lab gloves
- Wrench and screwdriver (to tighten bolts and nuts)
Put on lab gloves before starting and make sure that you are working in an area with appropriate ventilation (see safety measures for the ACRIFIX® 1R 0192 glue).
First, the bottom mold part (engraved with "bottom") is positioned on a flat surface. A thin layer of acrylic glue is applied to its surface, but only in the area that will be covered by the middle mold part:
|
|
The middle part (engraved with "mid") is then placed on top of the bottom part:
|
|
The above procedure is repeated to glue on the top part (engraved with "top"):
|
|
After all three layers of the mold have been assembled, the four bolts are put into the holes in the corners, to align the three layers. Nuts are put on and tightened with the screwdriver and wrench:
|
|
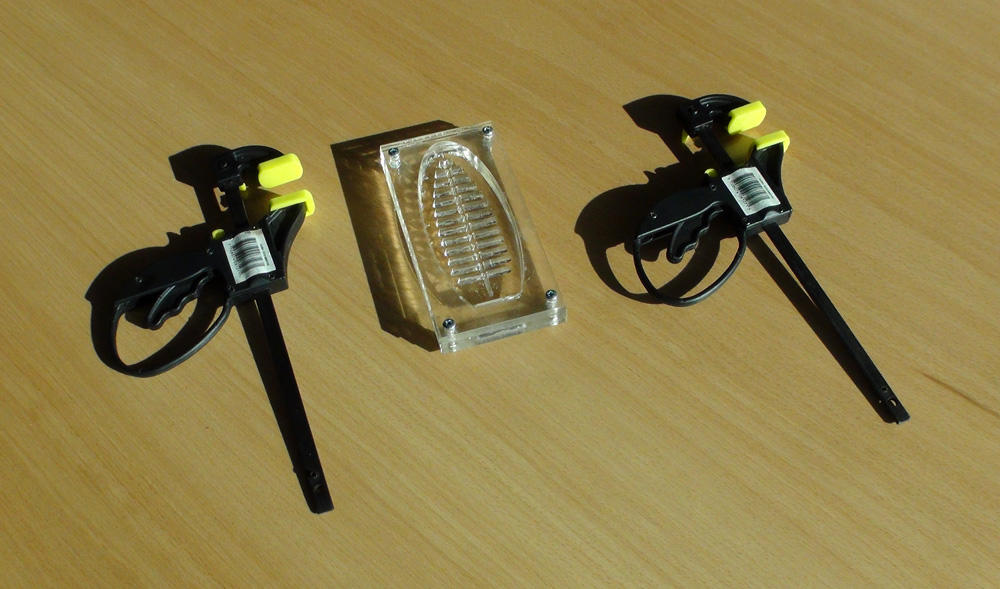
A thin layer of acrylic glue is now applied to the exposed mid-section of the middle mold part, where the fishbone structure will go. The fishbone structure is placed as precisely as possible in the middle of the mold and clamps are applied at both ends to hold it in place and maintain contact while the glue is curing:
|
|
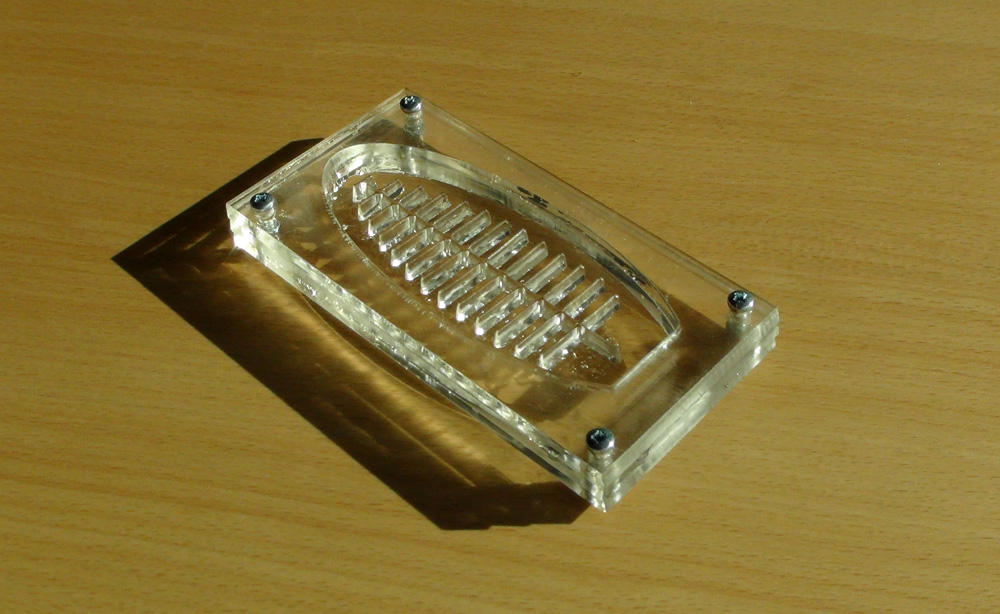
The mold is left to dry for 20 minutes or more (to ensure complete curing in 20 minutes place the mold in direct sunlight or in a UV chamber). The clamps can now be removed and the mold is finished:
|
|