Syringe Actuation and Arduino Control
1. Syringe Actuation
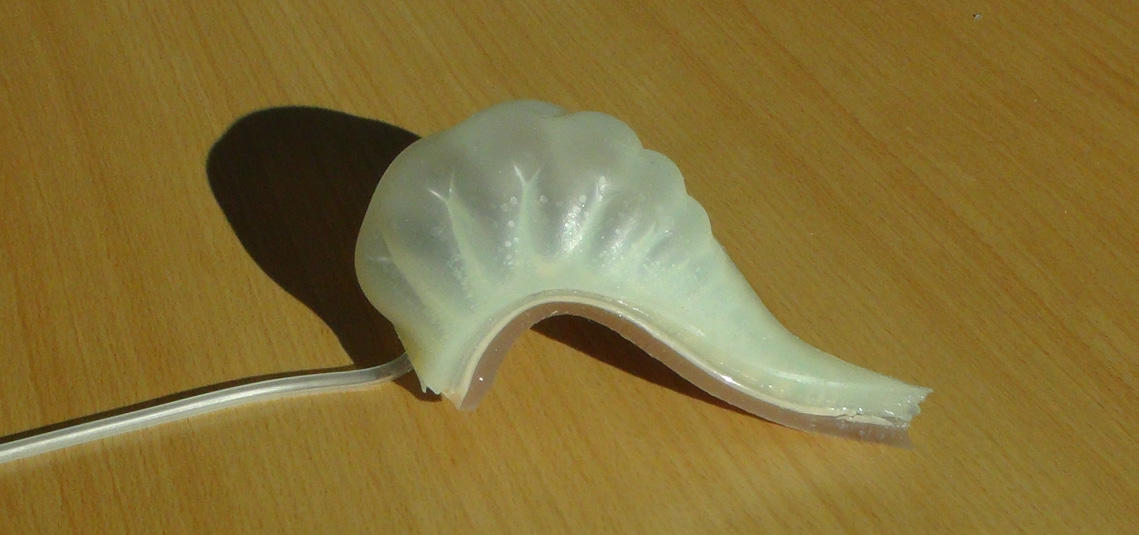
The easiest way to test the actuator is by using a syringe (60ml or more) for actuation by hand.
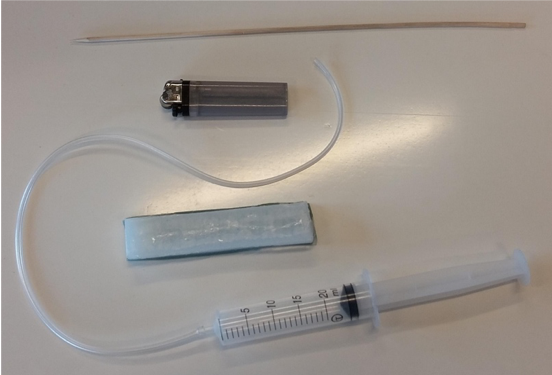
- The inner diameter of the tubing needs to be expanded a bit to fit onto the syringe nozzle.
-
Use a lighter and a bamboo skewer to do this by carefully heating up the end of the tubing while pushing in the skewer to expand the diameter of the tubing.
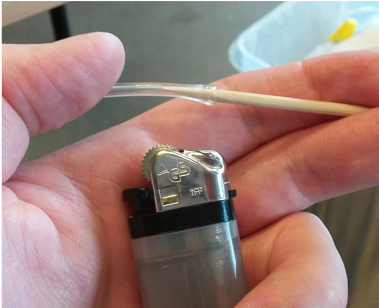
Expanding the PVC tubing by heating it - Once the end of the tubing is connected to the syringe, a tight seal can be attained by carefully heating it once again with a cigarette lighter and allowing it to cool off, as this causes the PVC to contract around the syringe nozzle.
The actuator can now be tested:
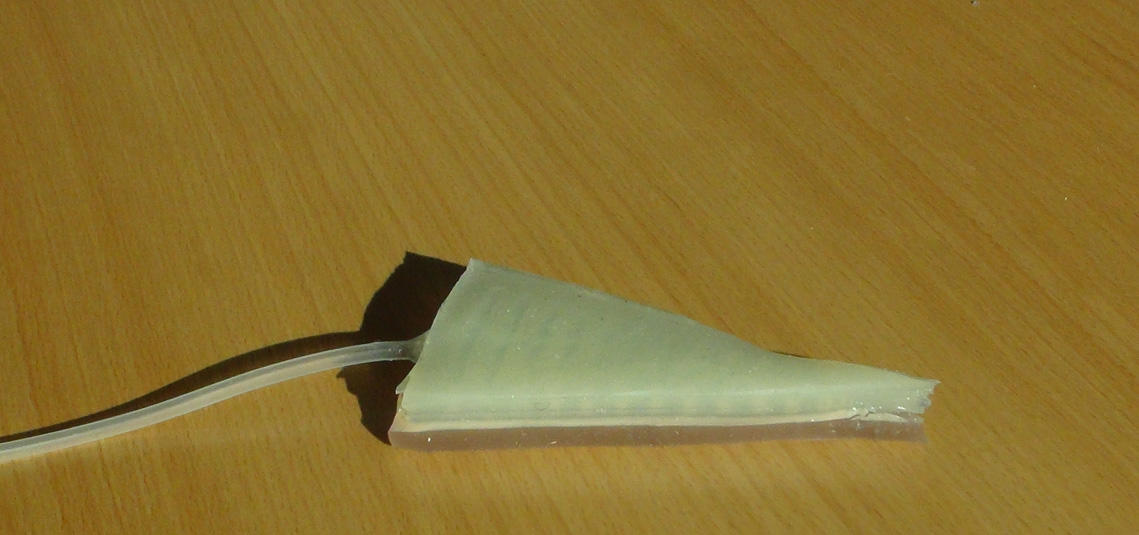
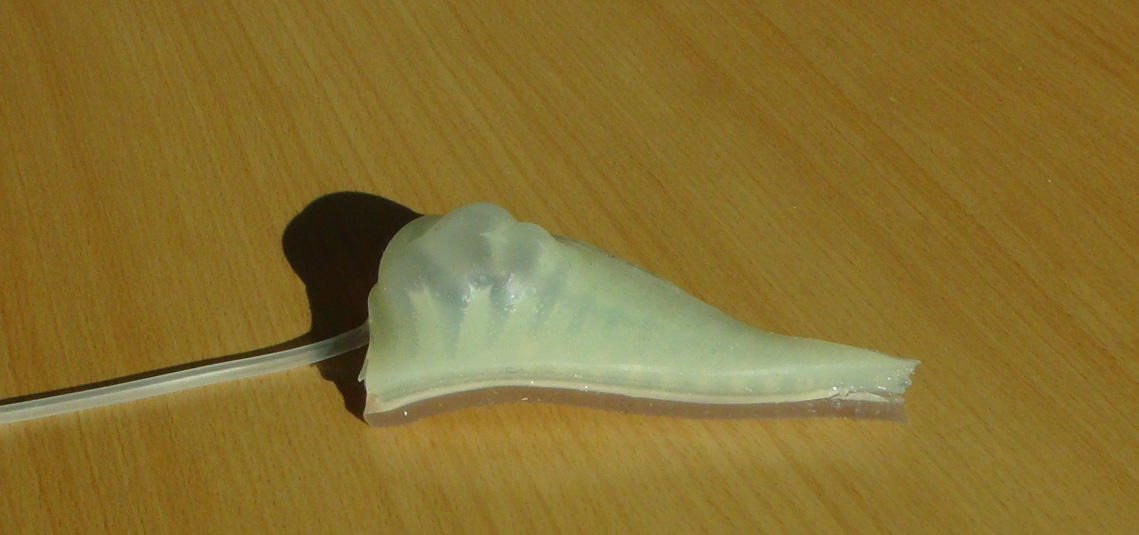
2. Control with Arduino
One or two actuators can also be controlled with a simple setup consisting of an Arduino microcontroller equipped with a motorshield and pneumatic solenoid valves, air pumps, and a battery pack. The components are assembled as shown in the photo. All wires are connected by using the screw connectors on the motor shield. It is a good idea to expand and contract the tubing, as described above, when fitting it onto the Y connectors, pumps, and valves.
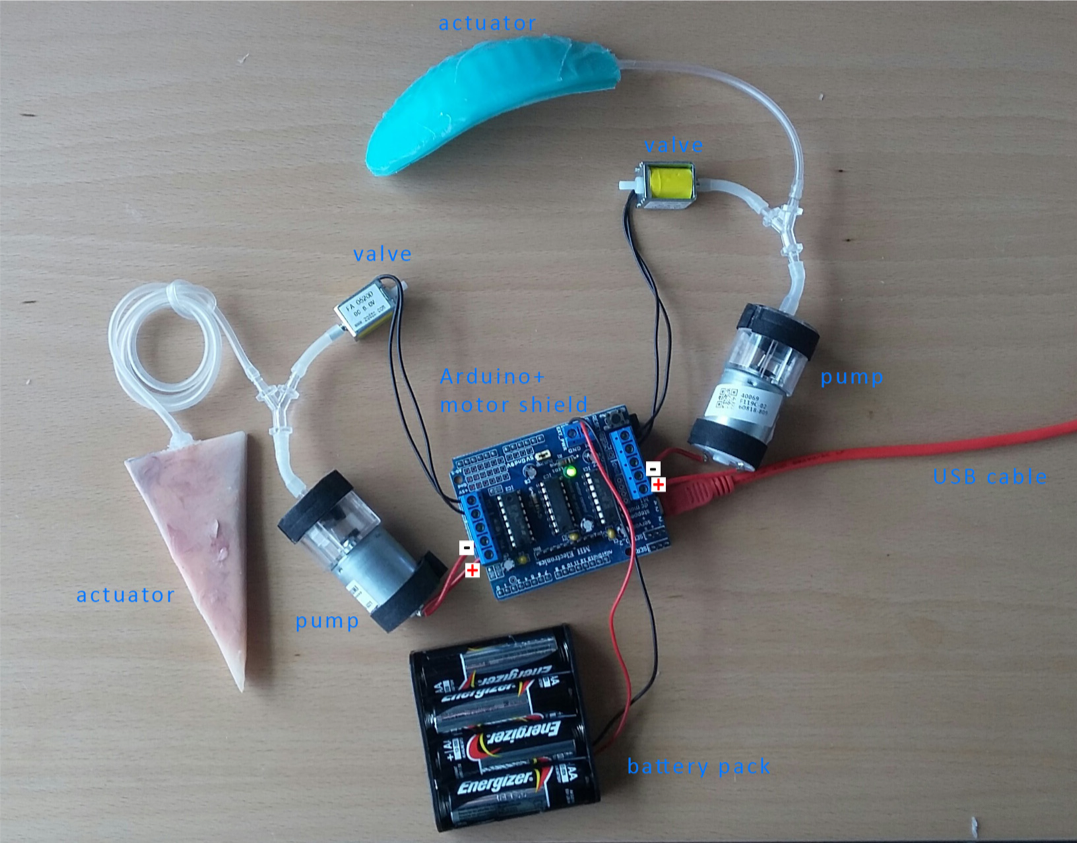
With the Arduino setup, the inflation and deflation of the actuators happens by switching the pumps and valves on and off. With the addition of the motor shield the Arduino microcontroller can take care of this. Sample control code that can be uploaded to the Arduino from the Arduino IDE is provided in the downloads section. Sensors can also be integrated into the setup as shown in the video below, where a light-dependent resistor triggers the actuation.
|
|