Step 2: Pour Elastomer
Pouring
|
Slowly pour mixture into the main chamber mold, making sure that each chamber fills up. |
|
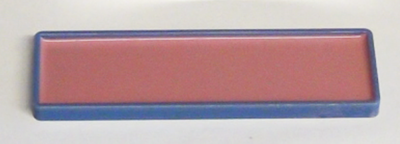
Fill the base mold to half of its depth with Elastosil, tilting the mold until it is evenly spread out. |
De-gas
|
Place molds in vacuum chamber, turn on the pump, and degas for 10 minutes or until the formation of new bubbles slows down. When removing the molds, make sure to let air back into the chamber gradually by, only partially opening the valve at first. If you open it all at once, the sudden flow of air into the chamber can flip your molds over. |
Pop bubbles
|
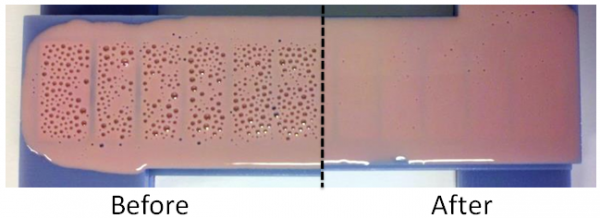
Use the tip of a spatula to pop the bubbles that have been drawn to the surface – this is mainly for cosmetic reasons, as unpopped bubbles may cure and show up in the final product. |
|
 |
Do not go deep into the mold or pop too fast, as this can just create more bubbles – just move the spatula back and forth on the surface. You don’t need to get every single bubble, just the large ones. |
Remove excess Elastosil
|
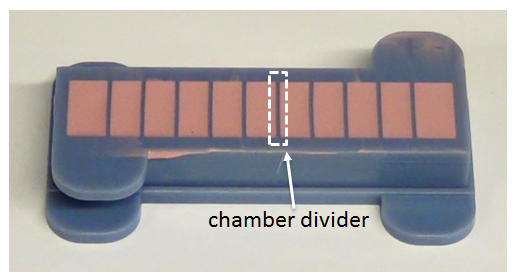
Using a straightedge (even a piece of cut cardboard) wipe off excess elastomer. |
|
 |
Make sure that the tops of the chamber dividers are still visible. This is to ensure that the chambers remain separate in the final cured piece. |
Add base paper layer
|
Pop any bubbles in the base mold and add the piece of paper on top of the Elastosil. Press the paper gently so it sticks, but not so hard that it gets submerged. |
Cure
|
Place the molds in the oven at 65°C for 10 minutes. |
Top off mold
|
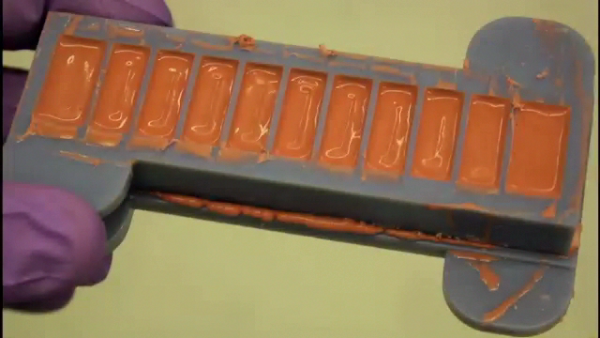
Check if the level of Elastosil in the chamber mold has dropped (i.e. if the mold has leaked). If it hasn’t, return it to the oven for 10 more minutes to finish curing. If it has dropped significantly (for this design, more than 2 mm), it needs to be topped off so that the top walls of the chambers are not too thin. Pour on extra Elastosil, clean off excess with a spatula (or use your fingers), and return it to the oven. |

