Step 4: Connect Air Source
Make hole for tubing
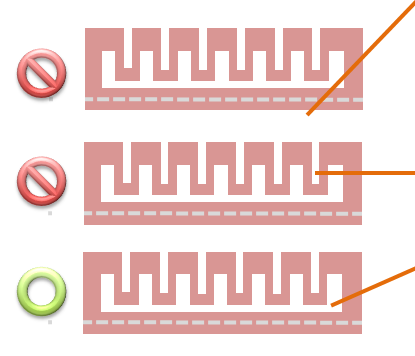
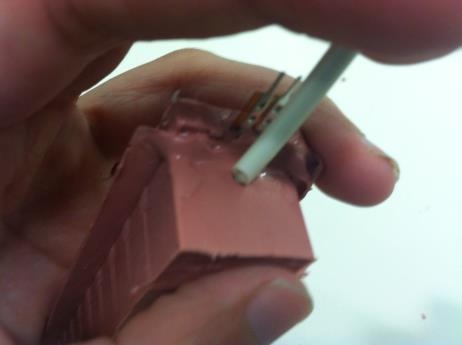
Using a thin metal rod, pierce the end of the actuator, an equal distance from both sides and about 1/8” (3mm) from the bottom. Aim the rod slightly downwards and don’t push it in too far. The goal is to reach the central channel without puncturing any of the actuator’s walls.
Insert tubing

Take a piece of tubing and put it over the thin metal rod to reinforce it, then push it into the actuator through the hole you just made. Once the tubing is secure, remove the metal rod.
Actuate
Attach a bike pump, syringe, or other air source to the end of the tubing, and inflate the actuator to make it bend.
Find leaks & repair
If your actuator does not inflate you've either blocked the main air channel (in which case there's nothing you can do), or you have a leak. If you can't find the leak source, submerge the entire actuator under water, inflate, and watch for where the bubbles come out. To plug leaks, cover the hole with some extra mixed elastomer and put inside the oven to cure.
If it seems like something has gone wrong and your actuator will not inflate, it may be instructive to dissect it and try to find the problem. The silicone can easily be cut using a scalpel.