Fabrication
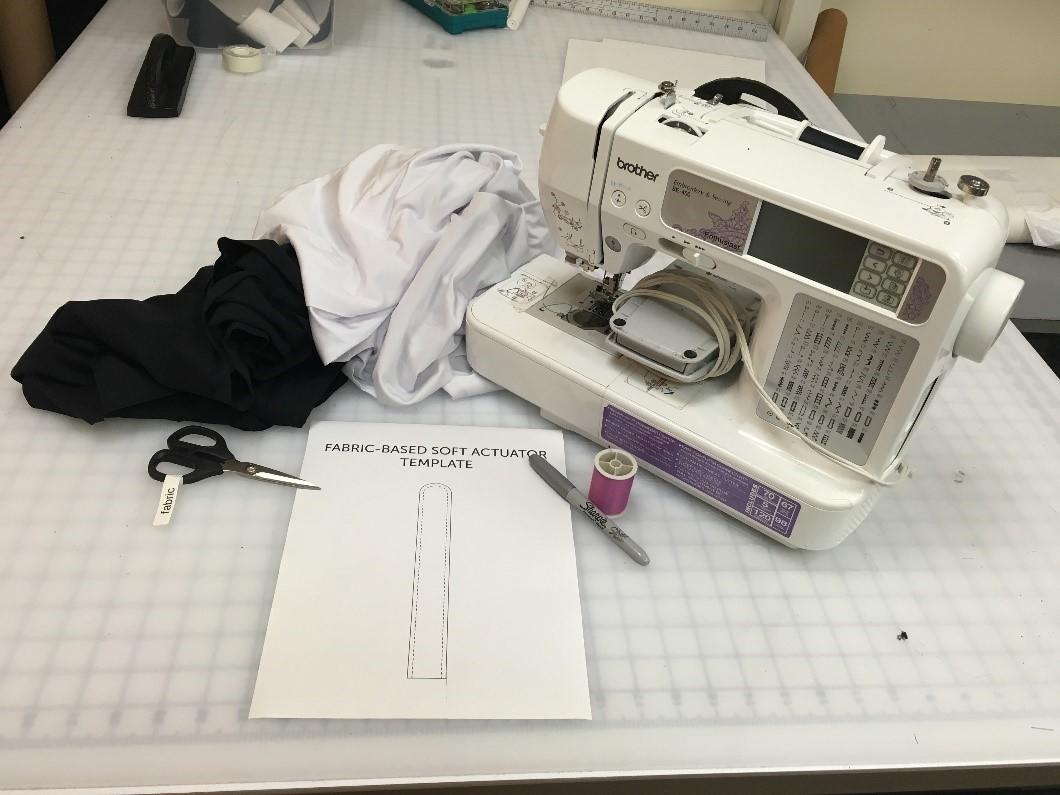
A key feature of textile actuators is the low cost and ease of fabrication. Using inexpensive tools, such as a sewing machine and an impulse sealer, functional actuators can be realized. The fabrication process is absent of complex 3D molding and casting processes that are required to build elastomeric fiber-reinforced actuators. Two simple, but separate fabrication processes are needed to make a fabric pocket and a balloon. The following sections detail how to make each component and assemble the two once they are made.


Bill of Materials
|
For fabric pocket:
|
|
|
|

|
| knit_textile_bending_actuators_bill_of_materials.xlsx | 18 KB |
Fabric Pocket
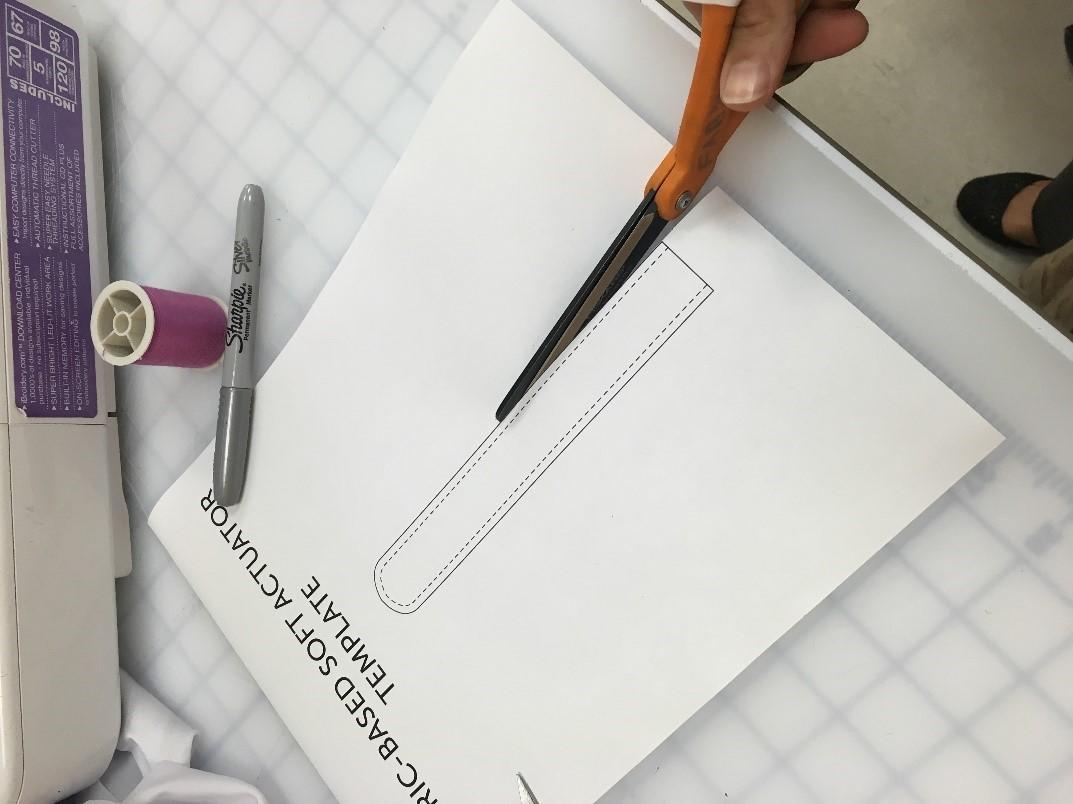
| 1. Cut out actuator from template. |
|
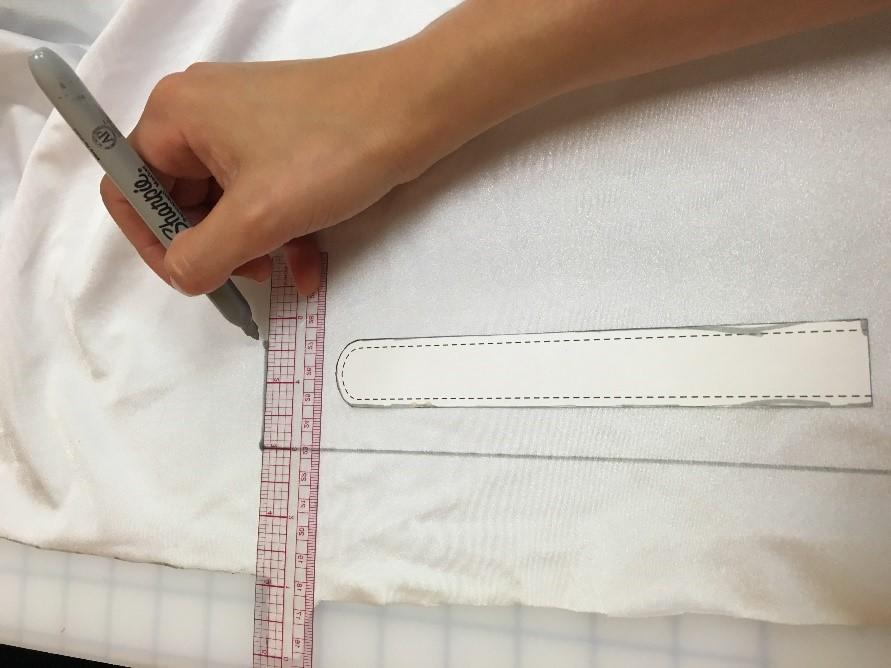
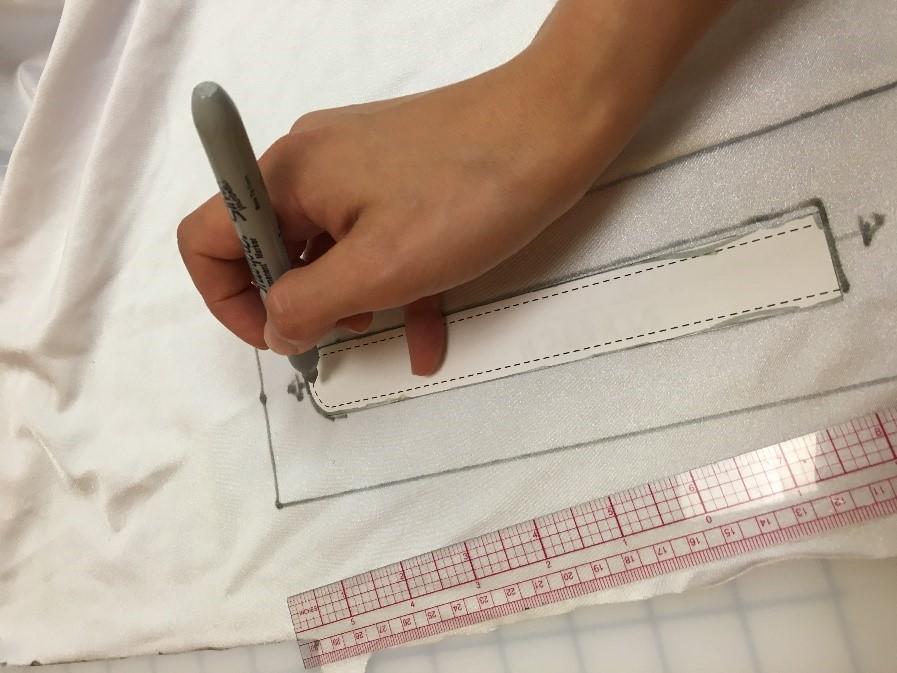
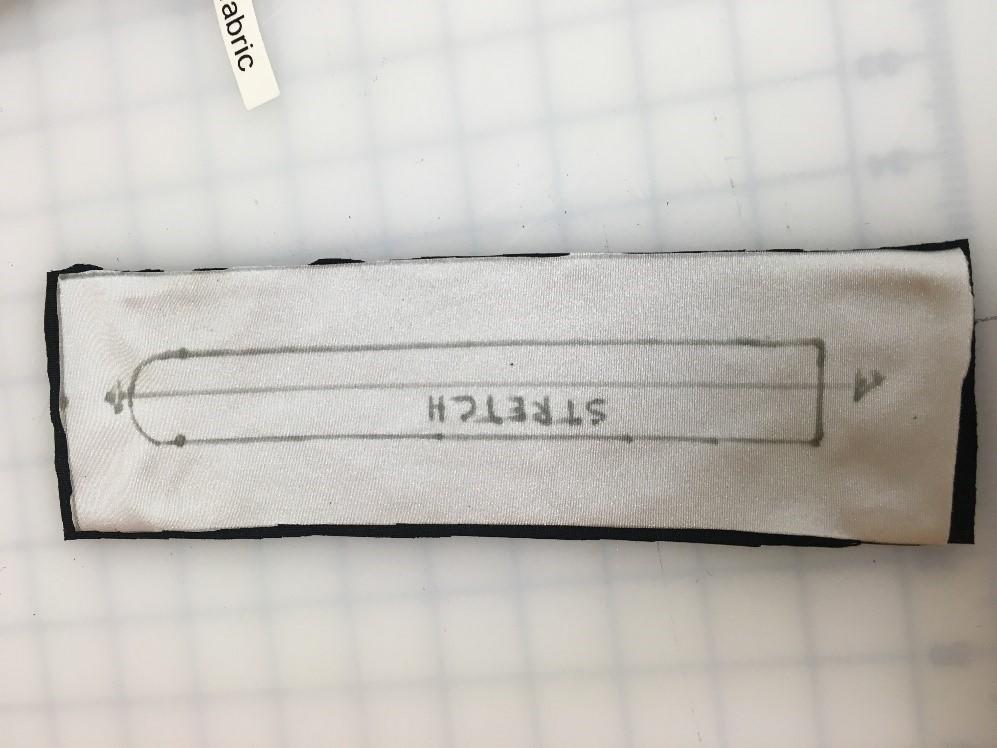
| 2. On stretchy spandex, trace out a 9" x 3" rectangle with the most stretchy orientation of the fabric in the length direction. |
|
| 3. Trace actuator inside the rectangle |
|
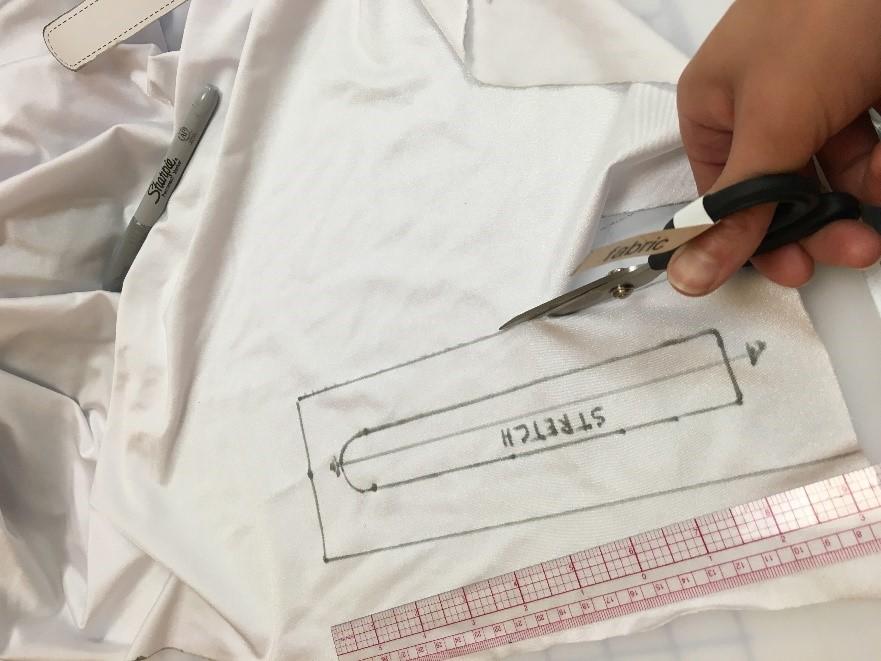
| 4. Cut out rectangle. |
|
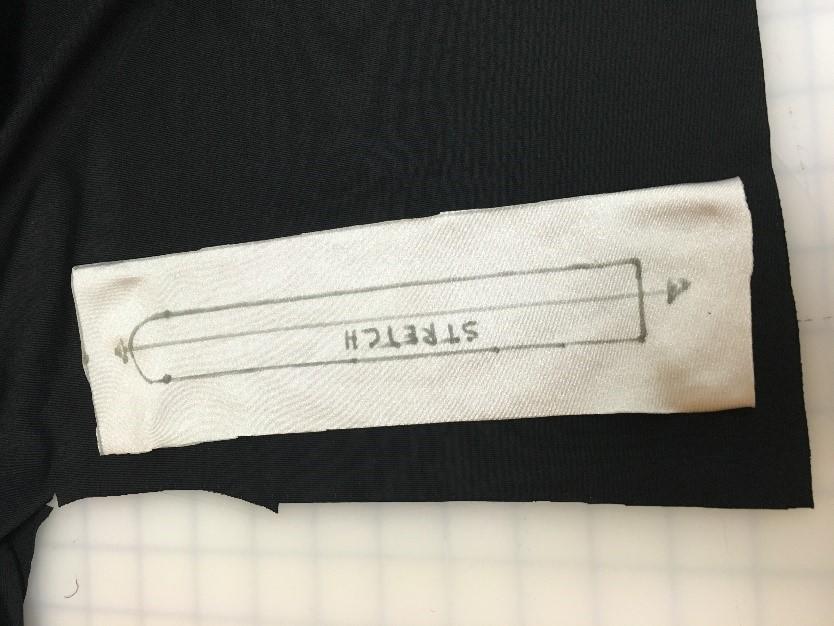
| 5. Place stretchy spandex rectangle on woven fabric. Make sure that the template is either in the production direction (parallel to fibers) or perpendicular to it. |
|
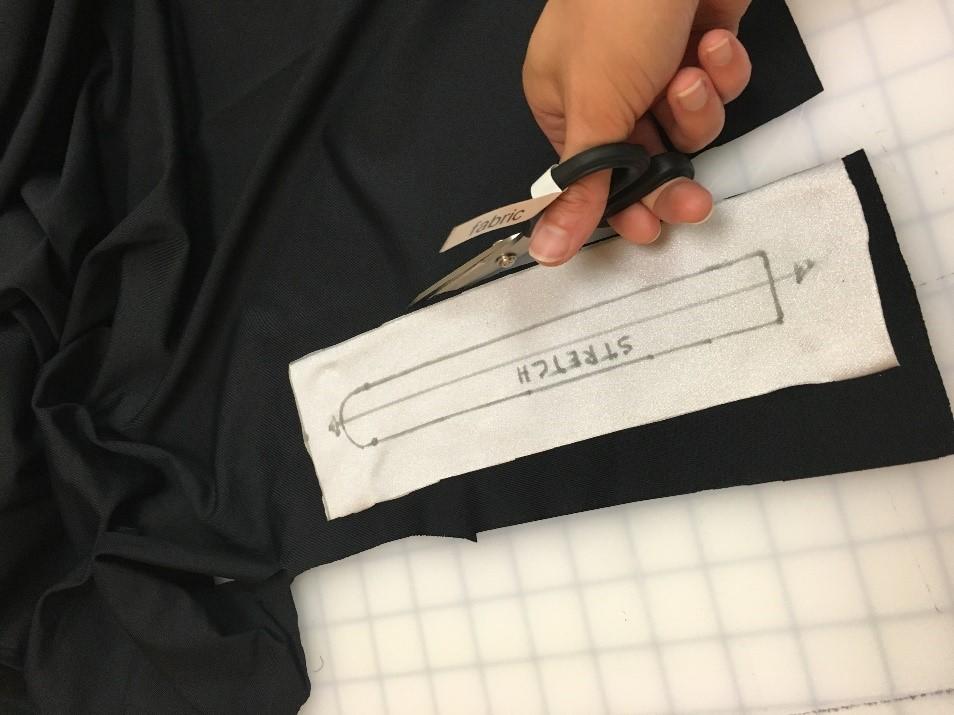
| 6. Cut around the perimeter to make two woven fabric rectangles |
|
| 7. Two cut out rectangles |
|
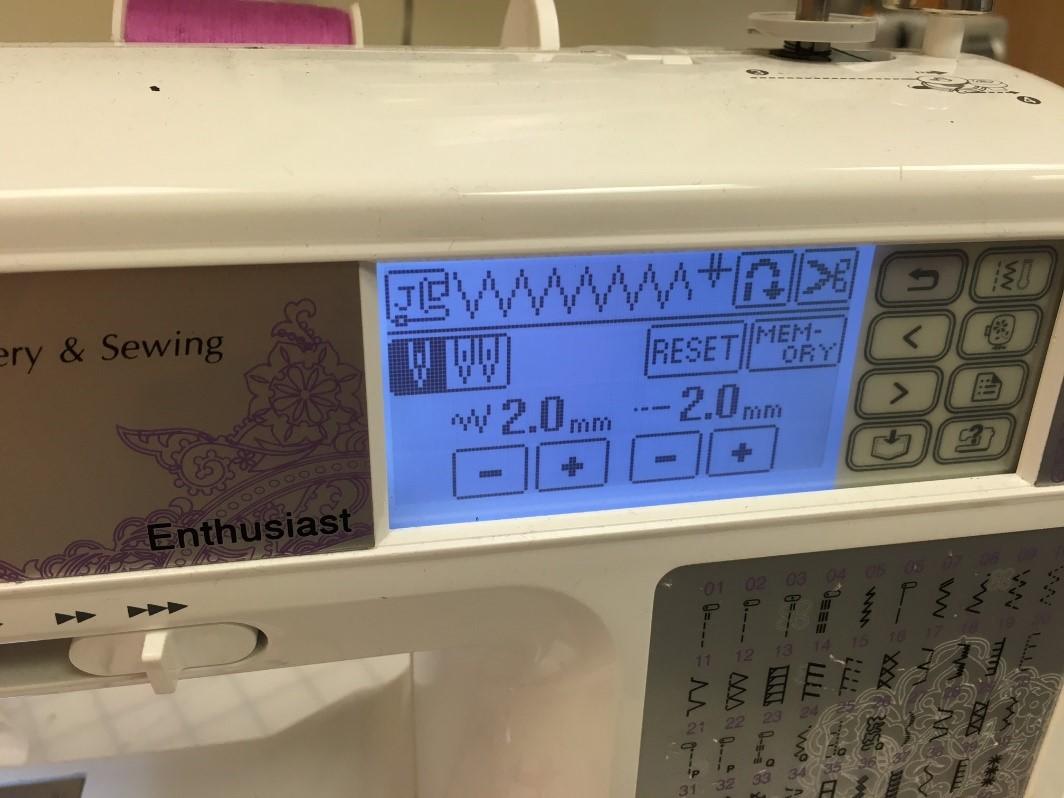
| 8. Set sewing machine to zig zag mode. Adjust the settings so that the stitch length is 2.0 and the pitch is 2.0 |
|
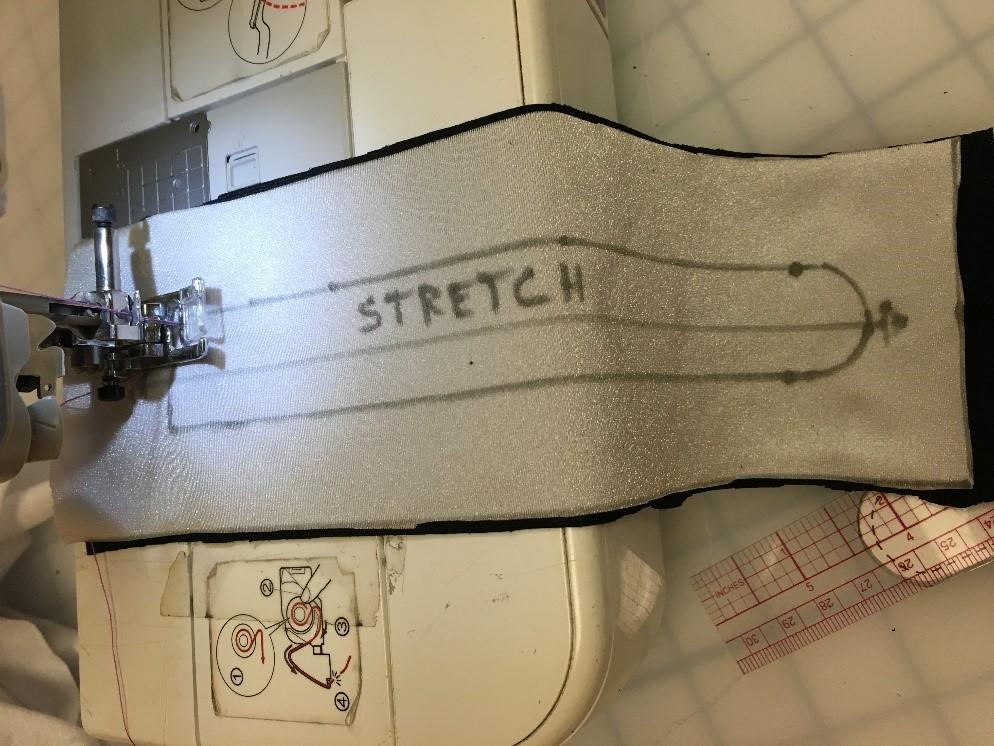
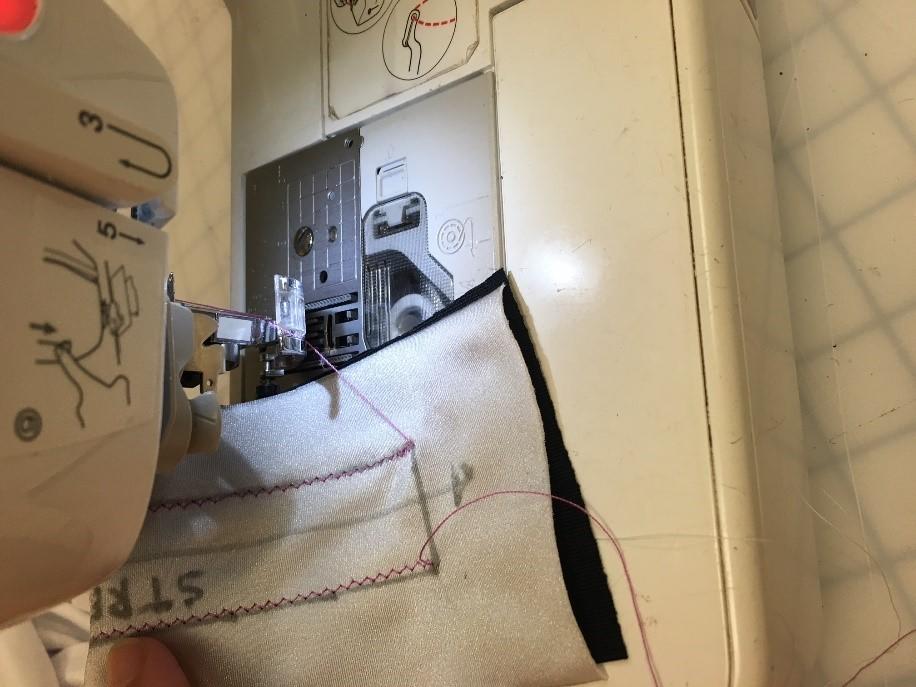
| 9. Hold the two fabric layers together and place them under the foot so the blunt end of the traced actuator shape is under the foot and the needle touches down slightly in from the perimeter. Back stitch for 2-3 stitches to lock thread in place. |
|
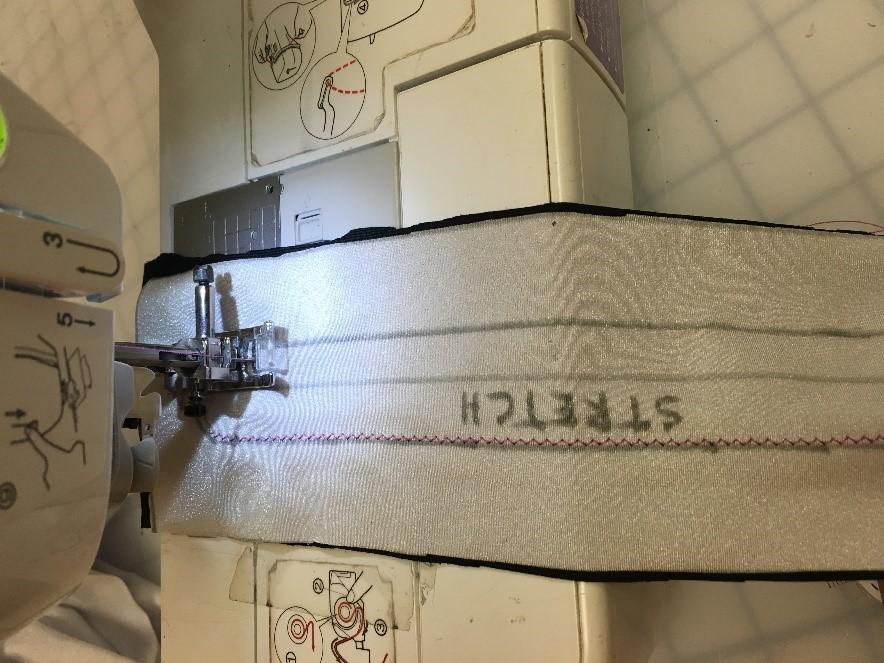
| 10. Run the outline of the actuator through the machine with the zigzag stitch, keeping inside the actuator outline |
|
| 11. Stop sewing when the machine gets back to the blunt edge of the actuator outline. Back stitch for 2-3 stitches to lock thread in place. Keep this end open and remove fabric from the machine. |
|
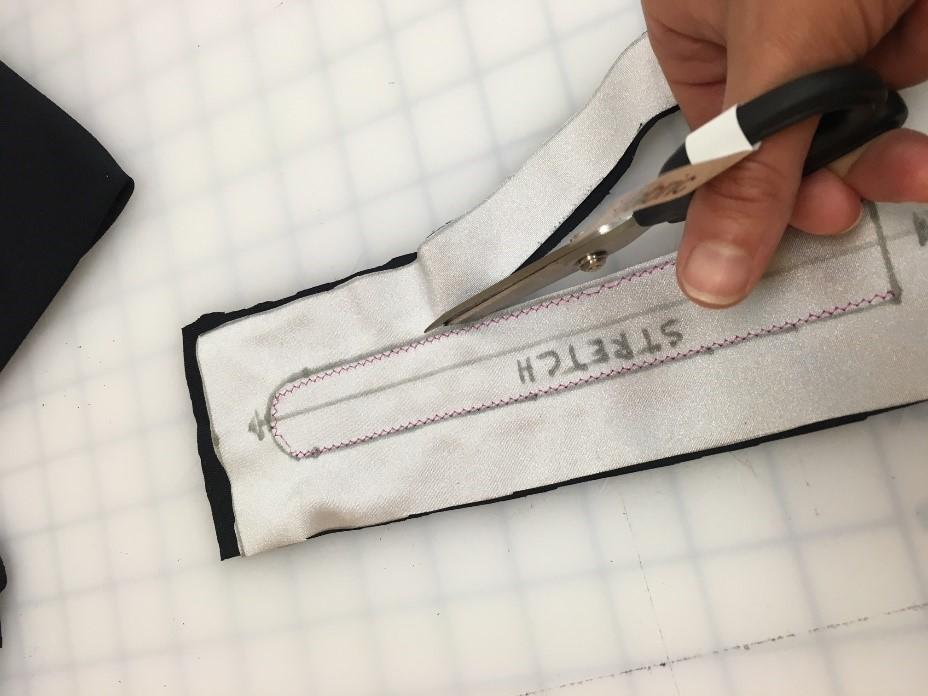
| 12. Cut out the textile pocket, making sure not to get too close to the zigzag stitch. |
|
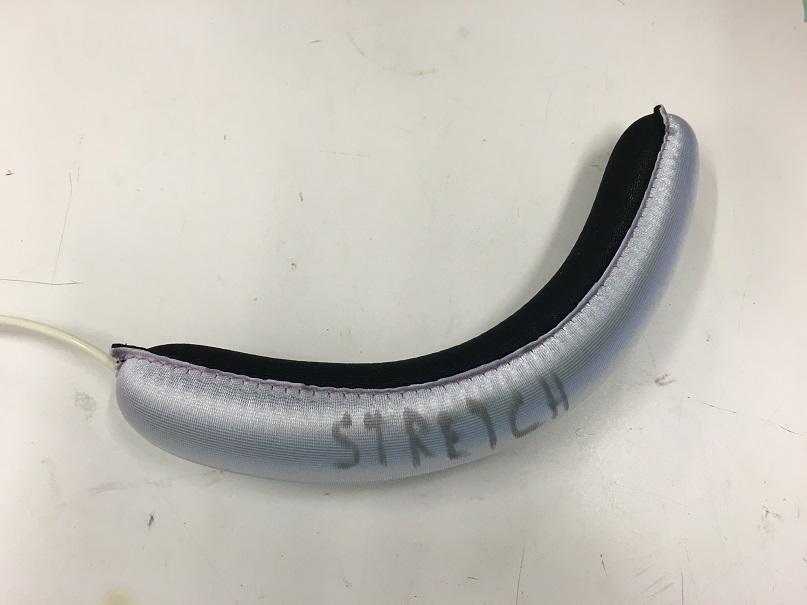
| Finished textile pocket |
|
| srt_actuator_template.pdf | 51 KB |
Balloon
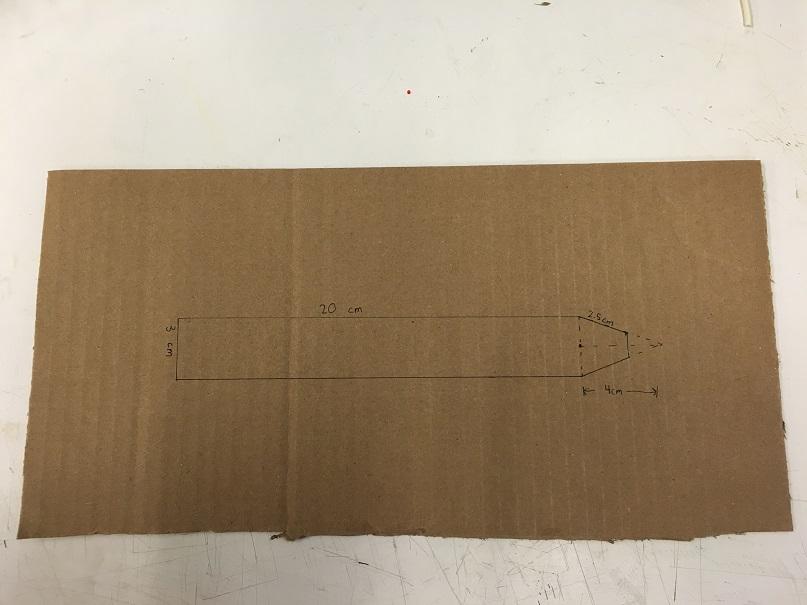
| 1. Draw a template on a piece of cardboard or download the tpe balloon template and cut it out. Note, this step can be performed on any material with enough thickness to be able to feel when it is pressed up against the impulse sealer. |
|
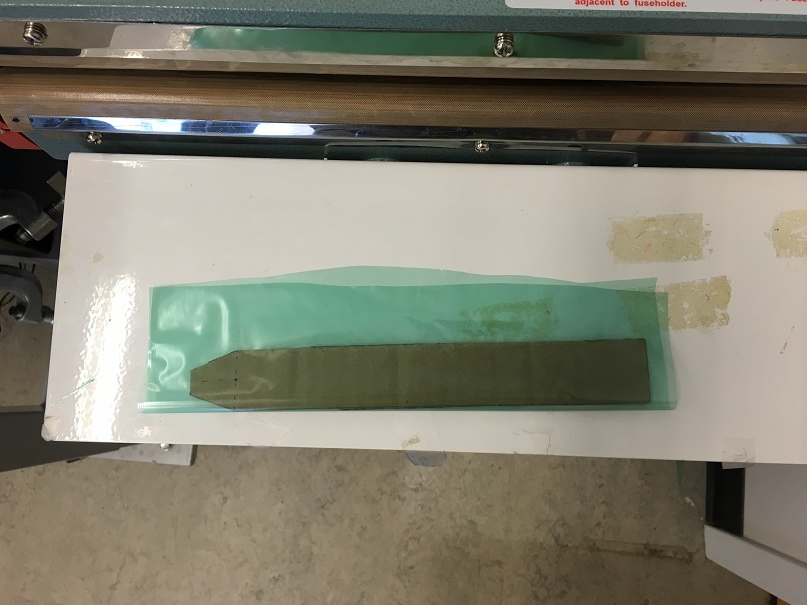
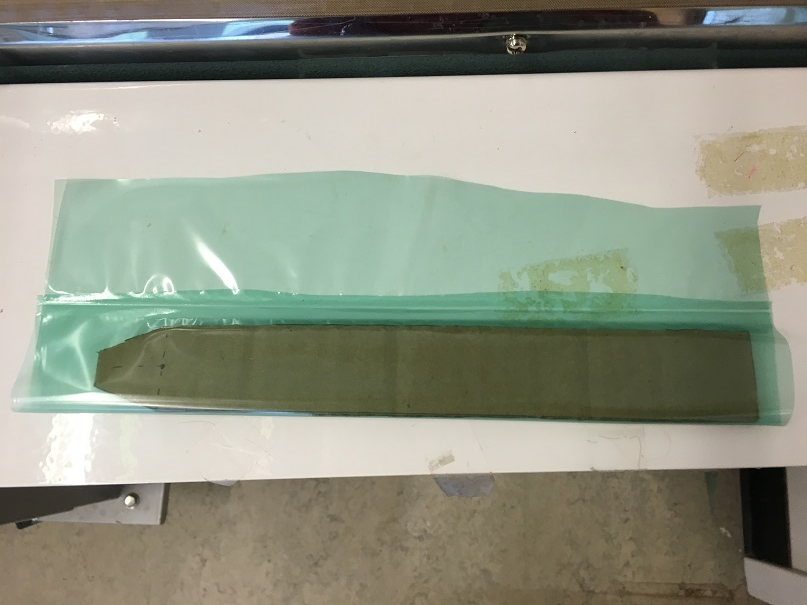
| 2. Take piece of thermoplastic elastomer (TPE) and fold it around template. |
|
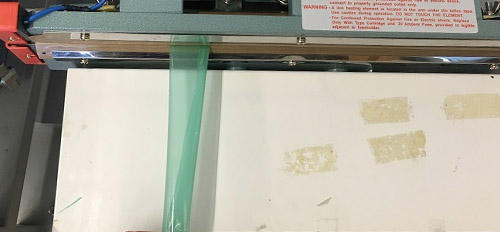
| 3. Impulse seal the exposed edge. |

|
| 4. After impulse sealing, the exposed edge should look like this. |
|
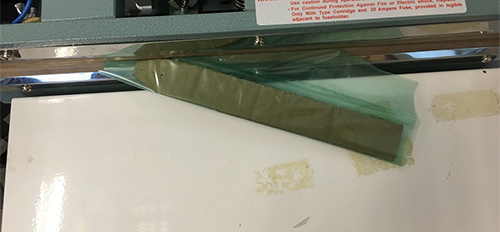
| 5. Impulse seal both angles at the tip of the template. |
|
| 6. After impulse sealing, the tip should look like this. |

|
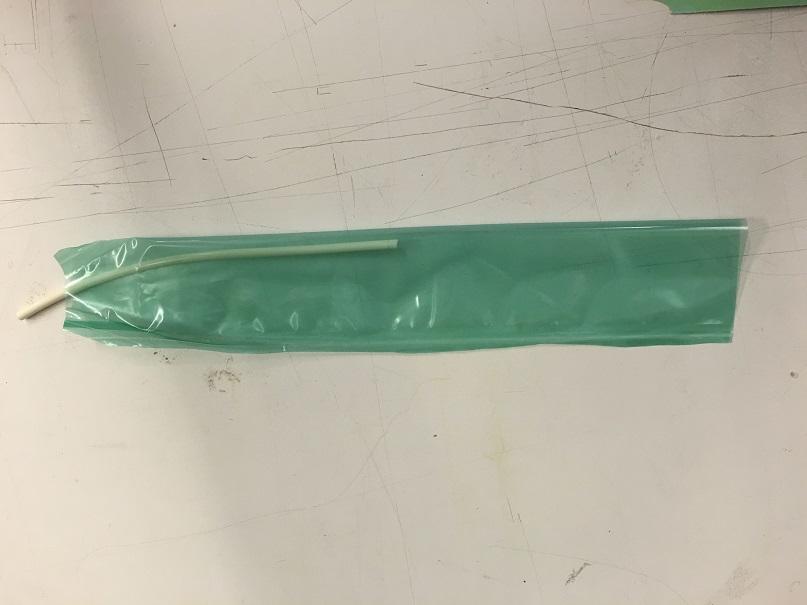
| 7. Remove cardboard template and cut away excess material. Cut open the tip such that a tube can fit in the opening. |
|
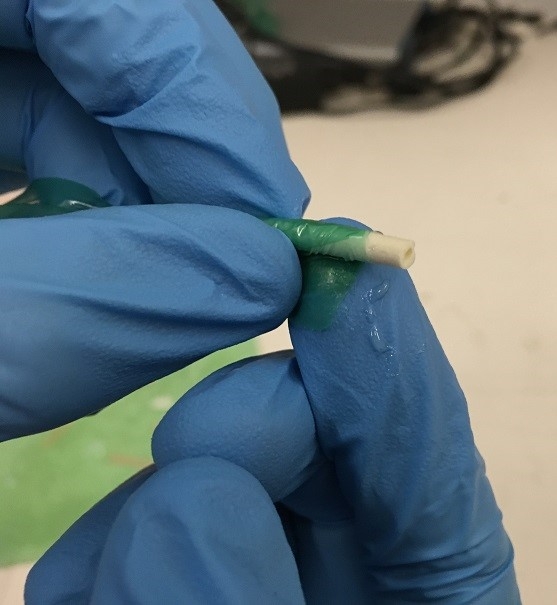
| 8. Insert tubing into opening at the tip such that 1-2cm of tubing is sticking out. |
|
9. Apply glue to exposed tube, push tube into the TPE opening and roll the plastic around the tube until it is sealed on all sides.

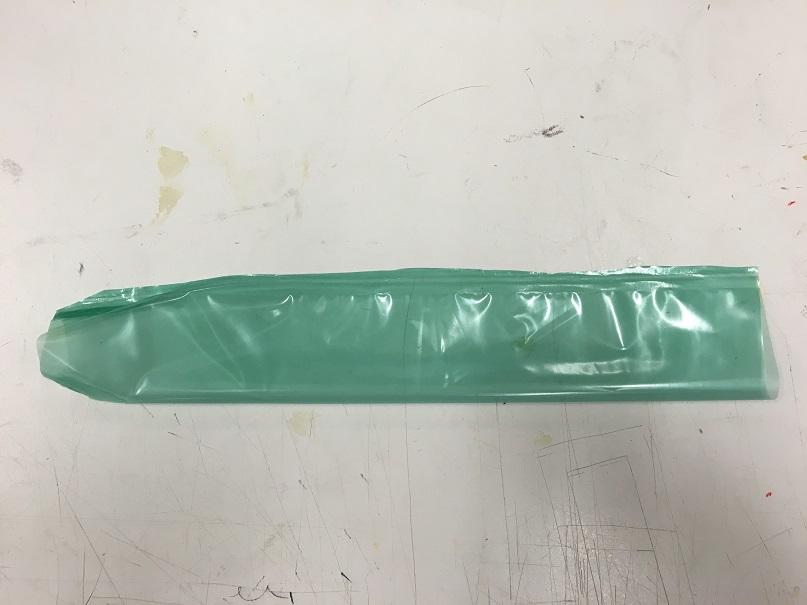
| 10. Invert balloon. |
|
| 11. Impulse seal the open end. |
|
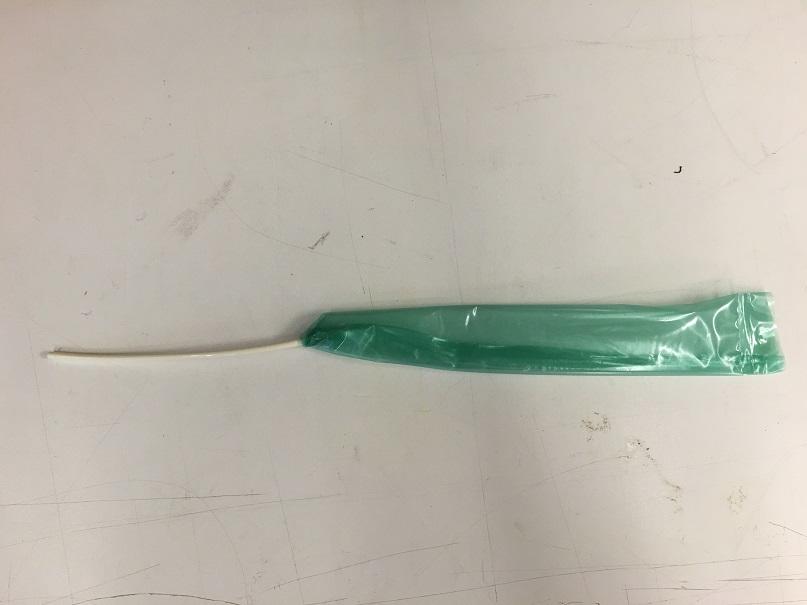
12. Finished balloon.
| srt_tpeballoon_template.pdf | 51 KB |
Assembly
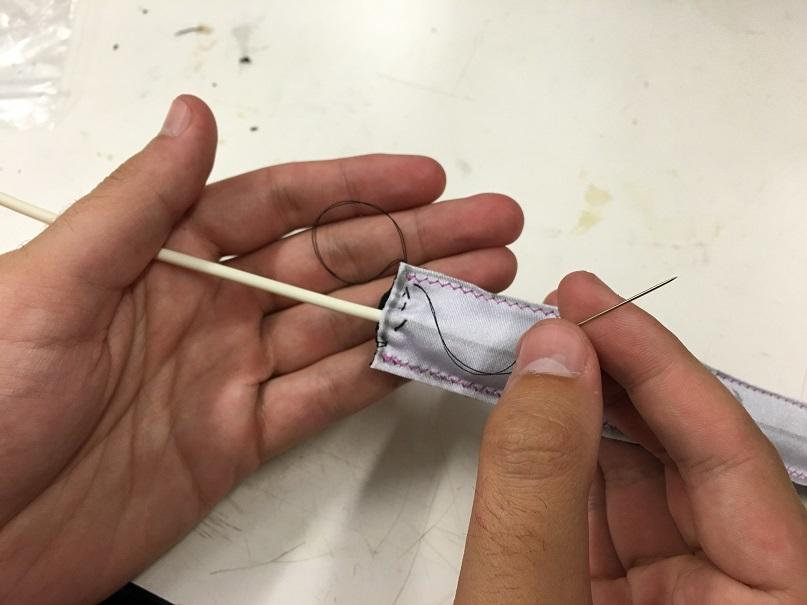
After fabricating the balloon and fabric pocket separately, it is time to assemble the textile actuator. This is a simple two-step process, and you will need a thin rigid tool that does not have any sharp points such as a popsicle stick as well as a needle and thread.
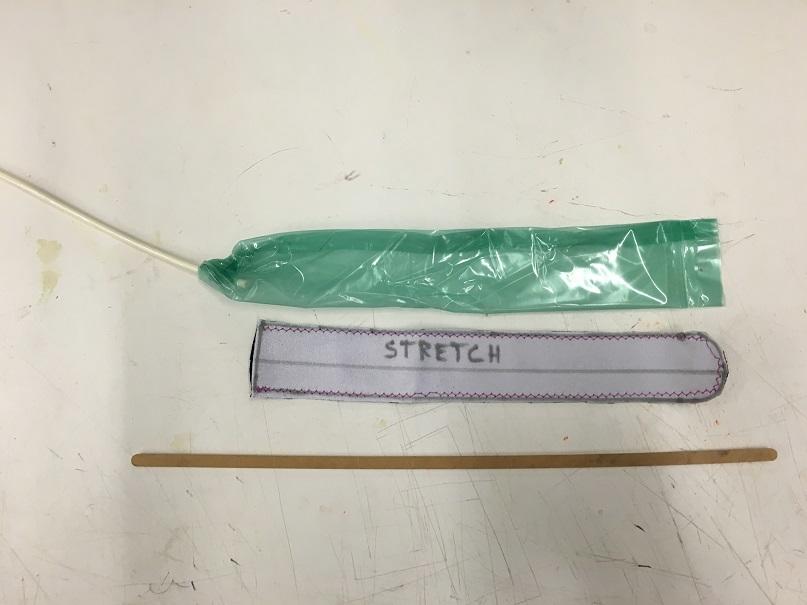
1. Place the stick over the balloon and wrap the tip of the balloon around the stick. Insert the balloon using the stick into the fabric pocket. Once inserted, remove the stick without pulling the balloon out.
|
|
2. Sew the open end of the fabric pocket shut. Be careful not to puncture the balloon!
3. Inflate your newly constructed actuator!