Step 3: Attach Copper Tape

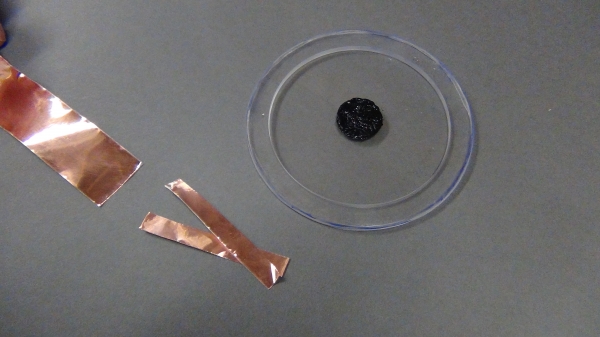
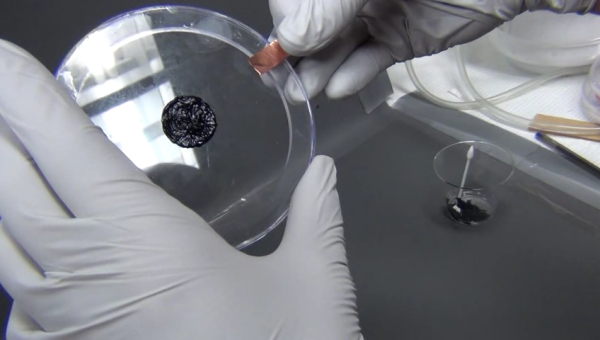
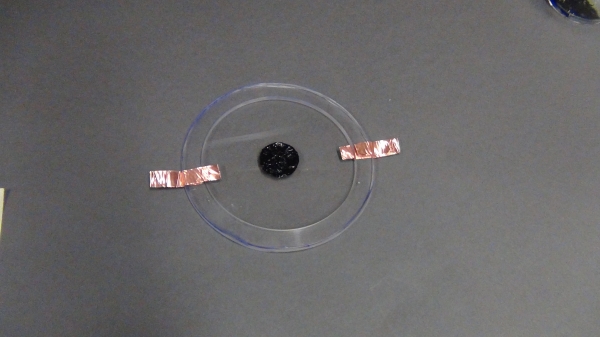
In this step, short pieces of copper tape are attached on opposing sides of the active layer. The copper tape is folded over to allow attachment a high voltage amplifier later.

Fixing mistakes from Step 2

If some stray carbon grease found its way outside the active area during Step 2, simply choose that direction to attach the copper tape. Draw an imaginary line from the active area through the mistake and attach a strip of copper tape where that line intersects with the frame. A line of carbon grease will be painted right over the mistake in Step 4, covering it up.

  • Cut a strip of copper tape around 4" in length.
  • Cut the strip in half lengthwise producing two thin strips.
  • The width of the copper tape will depend on the size of your actuator. In this example, 1/2" wide copper tape is a good size.
  • Attach one of the strips to the side of the actuator where the membrane lies flat on the frame (the topside).
  • The copper tape will stick to the VHB so no glue needs to be used.
  • Start by attaching the copper strip so that it extends into the membrane area inside the frame.
  • Then fold the copper strip and attach the other end to the underside of the actuator frame (not the membrane area inside the frame).
  • Do not pull on the membrane when attaching the copper strips.
  • Attach the other strip to the underside of the actuator. 
  • To easily attach the strip over the lip of the frame, create a "foot" with the end of the copper tape.
  • This second strip must be connected on the opposite side from the first strip.
  • If it is not, when the active area is connected to the copper strips with carbon grease, the connected area will be active (which we don't want).
  • The actuator should look like the image on the left when both copper strips are attached.