
The ideal method of testing the device would be to trial the device on patients with impaired blinks. However, due to the lengthy ethics approval processes required, patient testing of the device is not considered in the scope of this study.
Preliminary testing, to assess the relative effectiveness of closure methods to advise future study, was conducted by trialling the device on the author. The degree of closure and measures such as “comfort” were considered.
Results and Discussion
8mm Unidirectional
The closure achieved using a test device fabricated with a button activated 8mm displacement actuator is shown in Figure 4.

A video of the button activated closure is shown:
The lid appears to be fully closed. The test subject reported the following:
Parameter | Recording |
Closure (without pre-displacement) | Complete |
Visual Noticeability | Difficult to notice in normal daylight, especially from a distance past 3 metres. |
Pre-stress Required | Yes |
Pre-displacement Required | No |
Noticeability (Comfort of Active Closure) | Closure from specifically positioned actuators felt natural |
Noticeability (Passive Resting Comfort) | Slightly uncomfortable on pre-stress. |
Dependence of closure on positioning | Dependent on positioning, slight maladjustment results in incomplete closure |
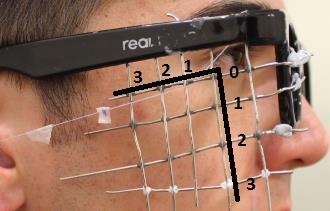
Comfort along various directions
It was expected that various closure directions would provide varying degrees of comfort. To test this, the string was passed through a grid prior to attachment to the actuator to constrain different directions.
The author graded the locations as most ideal, acceptable or uncomfortable. Ideal was defined as not noticeable, acceptable was defined as noticeable but not uncomfortable and unacceptable was defined as uncomfortable.
| 3 | 2 | 1 | 0 |
0 | unacceptable | unacceptable | unacceptable | acceptable |
1 | acceptable | ideal | ideal | acceptable |
2 | acceptable | ideal | acceptable | acceptable |
3 | Untested | Untested | acceptable | unacceptable |
The table coordinates correspond to the grid positions represented in the below Figure.
6mm displacement closure
Full closure could not be achieved without an uncomfortable level of pre-stress being applied to stretch the eyelid prior to actuator activation.
Test Method
1) Prepare electrical components
- The benchtop power supply should be tested with a potentiometer to ensure it is set at 10V.

Figure 3‑3: Benchtop power supply with push-button MAD controller attached.
- The power supply should be connected to the MAD controller through a good electrical connection
- The MAD controller should be connected to the actuator through a good electrical connection which is isolated and unable to contact human tissue.
2) Connect a string to the moving portion of the actuator.
- Tie a knot with the attachment string onto a cavity present on the metal surface of the moving component.
- Fix with the band-aid
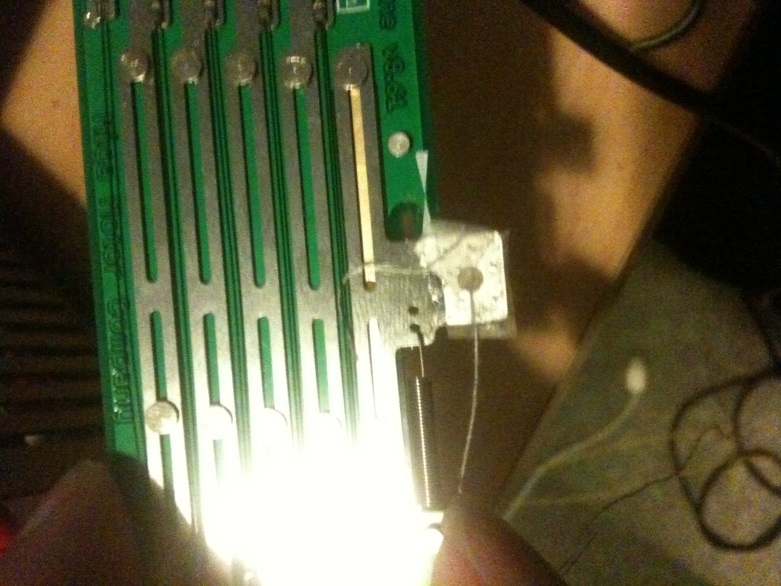
Figure 3‑4: Fixation of string to actuator using Band-Aid
3) Attach the string to the upper eyelid
- Wear the test glasses.
- Place a light amount of blu-tack onto the non-SMA containing (back) surface of the actuator.
- Lightly affix the actuator to some position on the glasses using the blu-tack, such that the attachment string on the actuator can easily reach the entirety of the upper eyelid. Take care to avoid excessively compressing the blu-tack, this will make the device more difficult to remove in subsequent steps.
- Prepare a cut, with approximately 2-3mm width and 10-15mm length, of transparent bandaid adhesive.
- Place the attachment string on the upper eyelid and affix it onto the lid using the clear bandaid adhesive. Take care that the “long side” of the bandaid follows the length of the string. Ensure that the string adheres to as much of the upper eyelid as possible.
4) Reposition the actuator so that the string is taut.
- Remove the actuator from the glasses, taking care to ensure that it still remains near the eyelid. Ensure that the blu-tack is still present on the back surface.
- Keep the eyelids fully open.
- While keeping the actuator near the handles of the glasses, increase its distance from the eyelid until the attachment string is taut.
i. Ensure that there is no stress on the eyelid in its fully “open” state.
ii. The line of action of the string to the eyelid should be approximately parallel to the horizontal plane of the body. This can be judged by whether the top of the actuator is approximately parallel to the handles of the glasses.
- Firmly affix the actuator to the glasses using blu-tack by compressing the blu-tack between the actuator and the glasses.
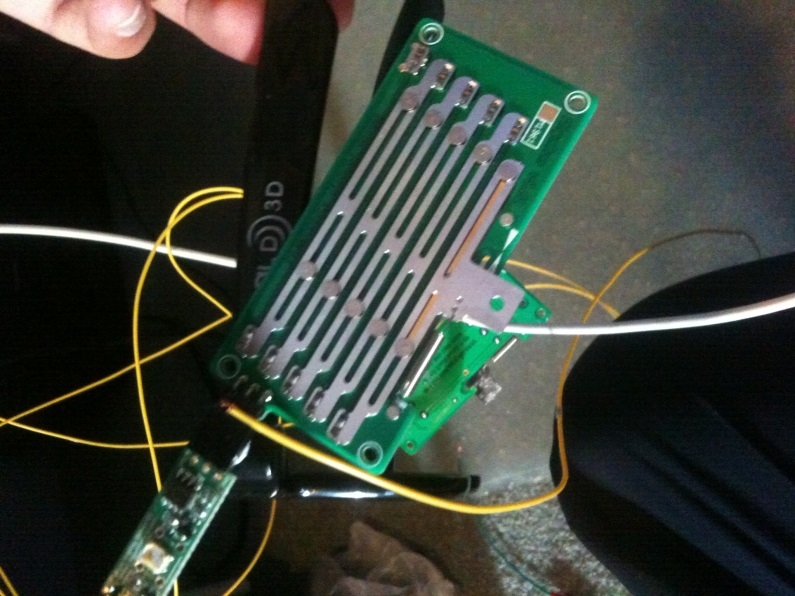
Figure 3‑5: Attachment of actuator to glasses.
5) Apply a voltage to the actuator to generate a closure motion.
- Press the button on the Miga Motors MAD controller to apply 10V from the standard bench top power supply.
6) Take note of effectiveness of closure
- Consider the degree of closure achieved. This can be measured through a visual approximation of the level of scleral exposure (in mm), or the rotation angle required to achieve closure (degrees).
- Consider other subjective factors based such as:
i. Adhesion or de-adhesion of the lid to the globe, based on visual observation or its “feeling”
ii. Any blurring of vision post-blink
iii. Comfort of the device (e.g. feelings of pre-stress) prior to the blink
iv. Overall feeling (comfort, similarity to natural blink) of closure motion
7) Adjust and repeat for different pre-stresses and lines of action
- The test has been carried out with conditions of no pre-stress and a horizontal line of action. The string was attached to the entirety of the eyelid. Repeat with
i. Increasing levels of prestress on the eyelid (corresponding to some degree of pre-closure due to the apparatus tension.
ii. Lines of action oriented at approximately 15, 30, 45 and 60 degrees to the horizontal.
iii. The string attached to only the lateral or nasal portions of the eyelid.