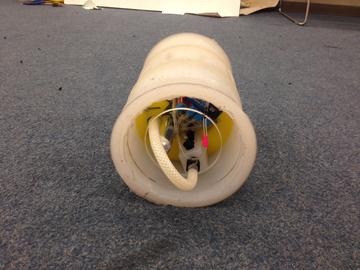
Final Robot Assembly
Due to to the constrained space inside the robot, and the cumbersome nature of pneumatic tubing, assembling the robot was a careful operation. After putting a few together, the team identified the easiest and most successful method, detailed below.
- Insert tubing into channels in silicone body with about 5 inches of excess tubing to reach outside edge of silicone cast.
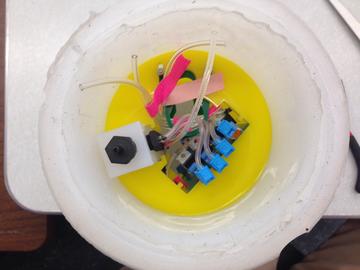
- Connect tubing between manifold and valves on PCB. Connect battery leads on PCB.
Note the tube connections on the last three valves, corresponding to 5,6,7 in the code. A Y-splitter connects the output from Valve 6 to the inputs of Valves 5 and 7. The exhaust port on Valve 6 is plugged.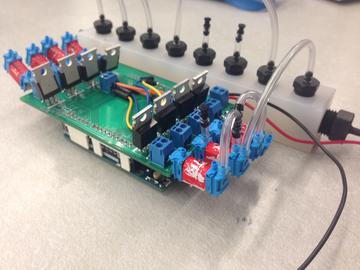
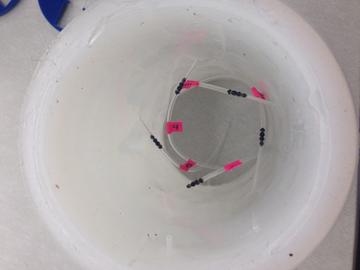
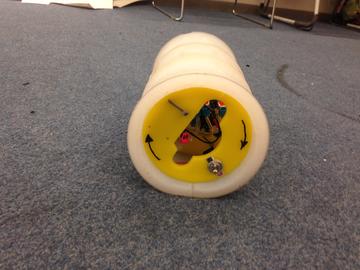
- Insert the two center acrylic rings into the silicone body and pull tubing out from center area.
- Slide PCB and manifold together through the acrylic rings, avoiding tubing from channels.
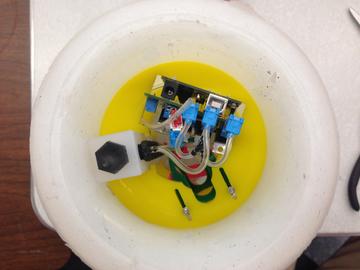
- Connect the channel tubes to the valves using needle nose pliers.
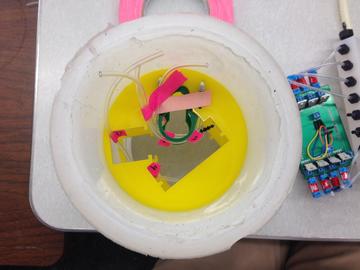
- Connect battery leads to battery on the ring with the battery and switch. Insert ring in silicone body.
- Connect tube to manifold input on one end, and regulator output on other. Zip-tie both connections.
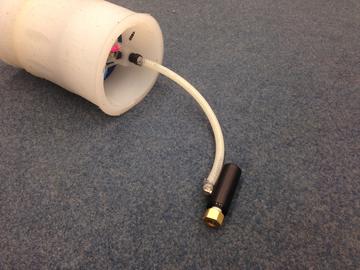
- Connect CO2 cartridge to regulator, and push both through center acrylic rings into body of robot.
- Insert last acrylic ring into silicone body.