In order to cast a soft robot, the team needed to come up with a way to manufacture molds. Previous molds had been built by either 3-D printing them or assembling laser cut pieces of acrylic. We decided to go with laser cutting because while 3-D printing provided the advantage that the molds would not have to be assembled, it was slower and more expensive to use than laser cutting acrylic would be. Additionally, the 3-D printers available to us were slightly too small to print the size molds that we wanted, and by laser cutting and adhering pieces of acrylic together, it made making changes to the mold as needed easier. This was important to the team, because their design approach involved making a lot of iterations to the robot based on how previous versions had performed during testing.
For each robot that was made, two molds had to be designed. For this project, a mold was comprised of a flat piece of acrylic with a rectangular boarder adhered on top. For the first mold, additional pieces of acrylic were the same size and shape as the channels in the robot. For this mold, the dimensions of the rectangle were the exact dimensions of the robot. For the second mold, the dimensions of the rectangle were slightly bigger than the dimensions of the robot. This made it easier to fasten the two pieces of the robot together after the silicone had been cured.
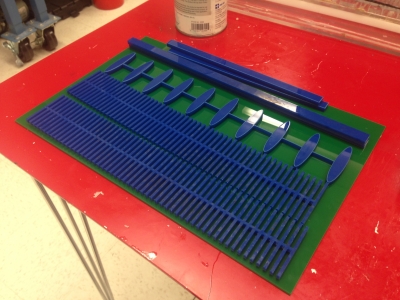
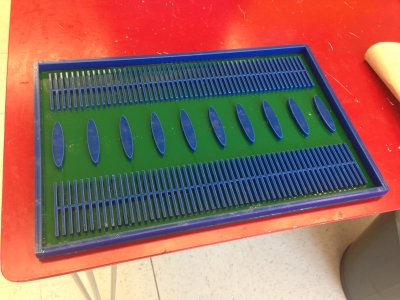
On the left, pieces of the mold have been laser cut and are waiting to be assembled. On the right, the mold has been assembled and the robot is ready to be cast. This mold will be used to cast the outer layer of the robot.
In order to cast a robot, the Ecoflex® 00-30 silicone had to be mixed and cured. Equal parts of Part A and Part B were mixed together and then put in a vacuum to allow air bubbles to escape. The silicone was then poured into two different molds. It was poured into the first mold directly; however, a thin sheet of inextensible carbon fiber fabric was placed on the bottom of the second mold and the silicone was poured on top of that. The inextensible carbon fiber fabric made it so that when a channel of the robot was expanded, the channel would only expand on the outside of the cylinder. After pouring the silicone onto the carbon fiber, any air bubbles under the carbon fiber were smoothed out.
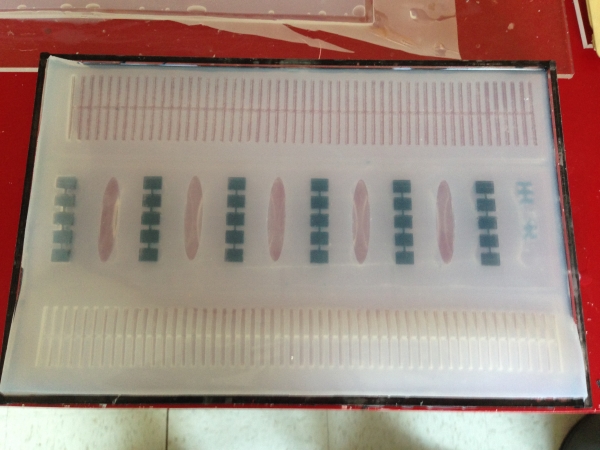
The robot has been cast and has cured and is just about ready to be taken out of the mold.
After both sides of the robot had cured in the mold for at least four hours, more of the Ecoflex® 00-30 silicone was mixed in the same way as described before and the two sides of the robot were attached together using this silicone. One problem that was encountered when adhering the two sides of the robot together was that the silicon would occasionally drip into the channels if it was added to the side of the mold with the channels. This affected the size of the channels and made it so that the channels would not expand the same amount, which created problems when trying to get the robot to roll. To solve this problem, the silicone was added to the side of the robot with the carbon fiber and the side of the robot with the channels was placed on top so that the channels were face down. Another problem that was encountered was that when adding the silicone to the robot with a popsicle stick, often times the whole robot would not get covered in silicone, which meant that sometimes when air was added into one of the channels, it would leak into other channels or escape the robot entirely. In order to fix this problem, silicone was added with a gloved hand, which made it easier to spread the silicone and make the layer more even.
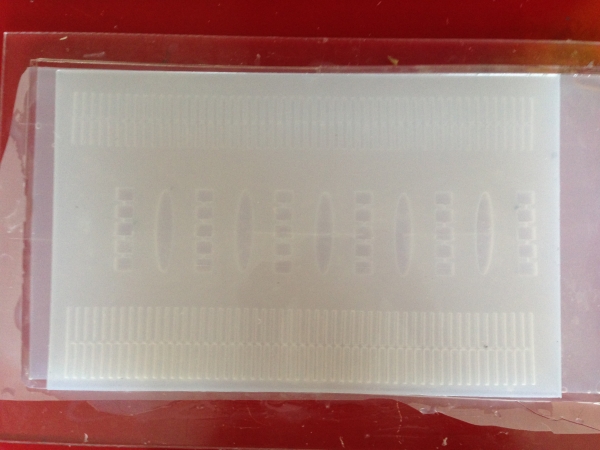
The two sides of the robot have been adhered together.
The silicone between the two layers of the robot was allowed to cure for at least four hours. Then any extra silicone or carbon fiber from the inside layer was trimmed. The last step was to adhere the two ends of the rectangle together with more Ecoflex® 00-30 silicone. When securing the two ends together, it was important to put a piece of acrylic in the center of the robot so that the robot would not attach itself in any place besides the two ends of the rectangle. The biggest challenge associated with this part was getting the two ends of the rectangle to remain touching each other while the silicone cured. In order to do this, two zip ties were placed around the robot. The silicone was then added between the two sides of the rectangle and another piece of acrylic was clamped down on top of the robot to keep the robot as flat as possible. After waiting at least four hours for the robot to cure, the robot was ready for testing.
To connect tubes to the channels, a slit was cut in the side of the cast with the inextensible fabric. Tubing was pushed through the slit until it punctured the target channel. This process was repeated for each channel.
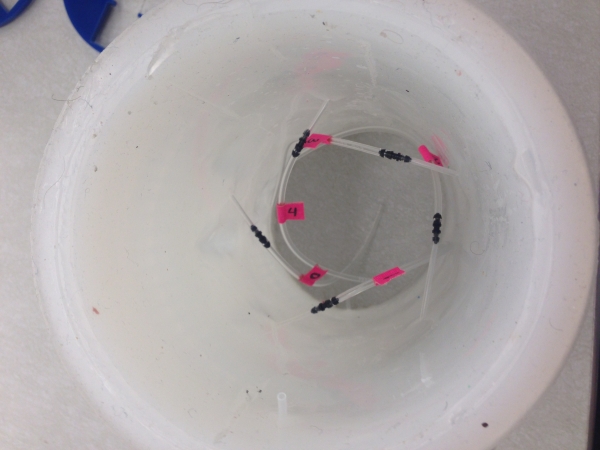
The tubing has been added to the robot.
