Building Guide
Introduction
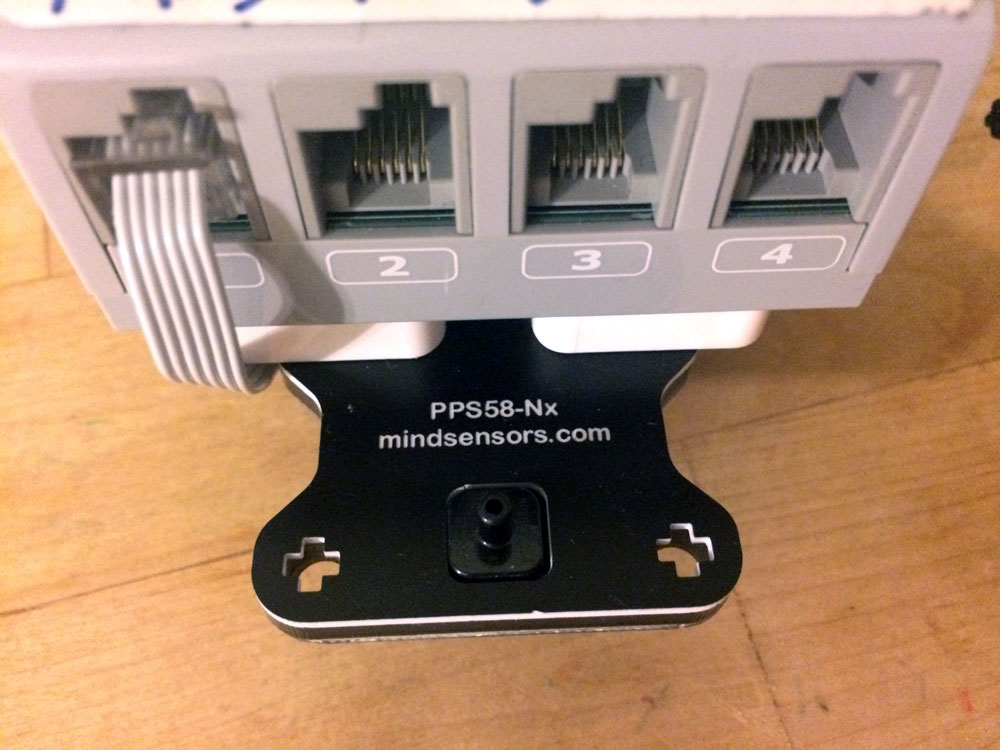
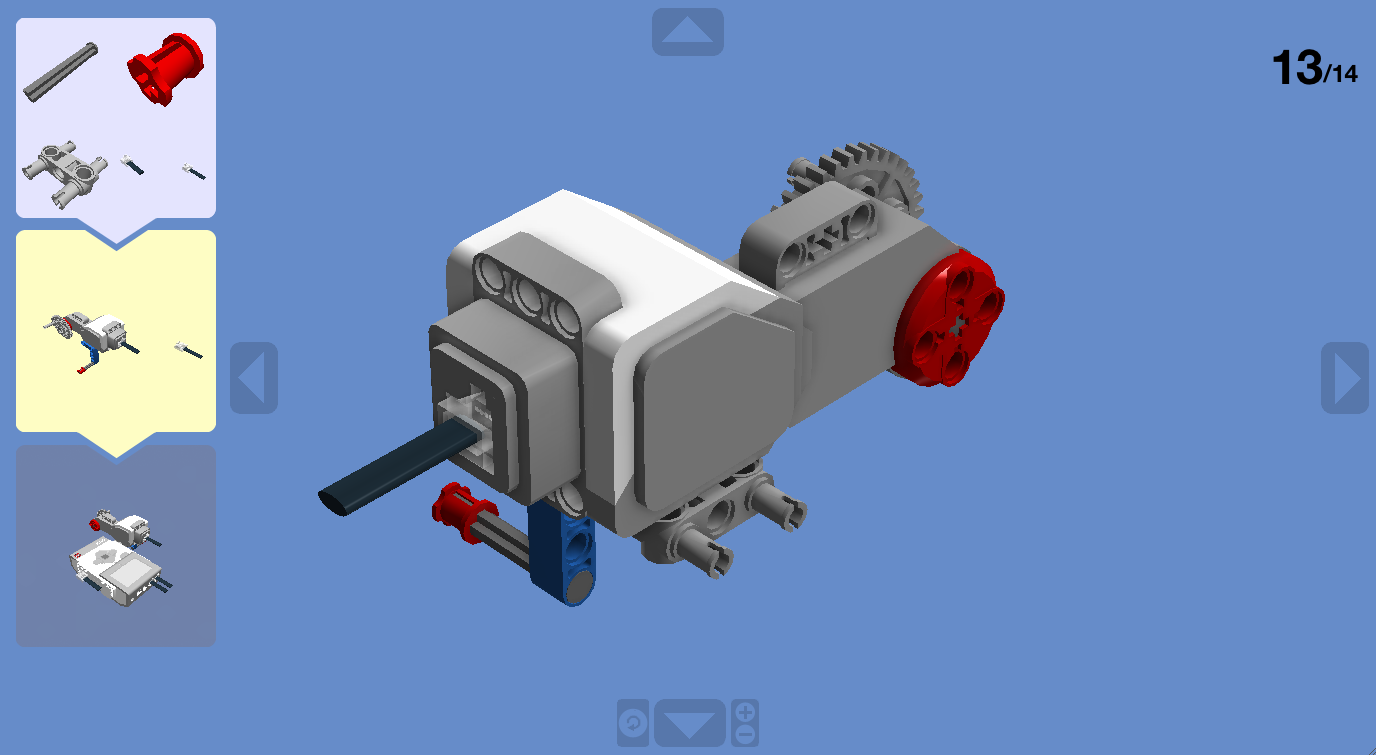
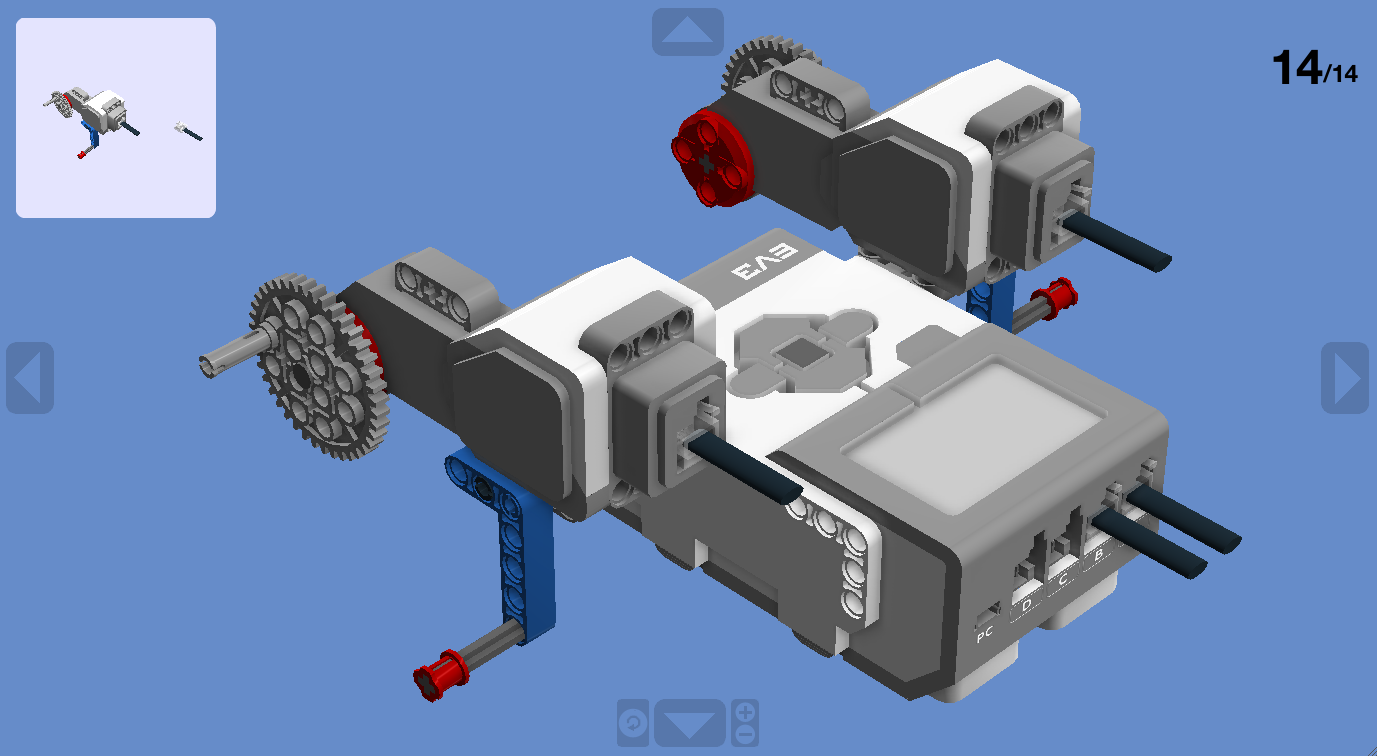
The designs were created with LEGO Digital Designer. You can download the CAD file here to generate custom instructions and view the model in full 3D. The one caveat is that the Digital Designer doesn't have pneumatic parts in it, so they are excluded from the build instructions. See the final images to see where to attach the pneumatic pumps.
Instructions
Adding the Pumps
The pumps connects between the 40 tooth gear and the axle on the L beam, like this:
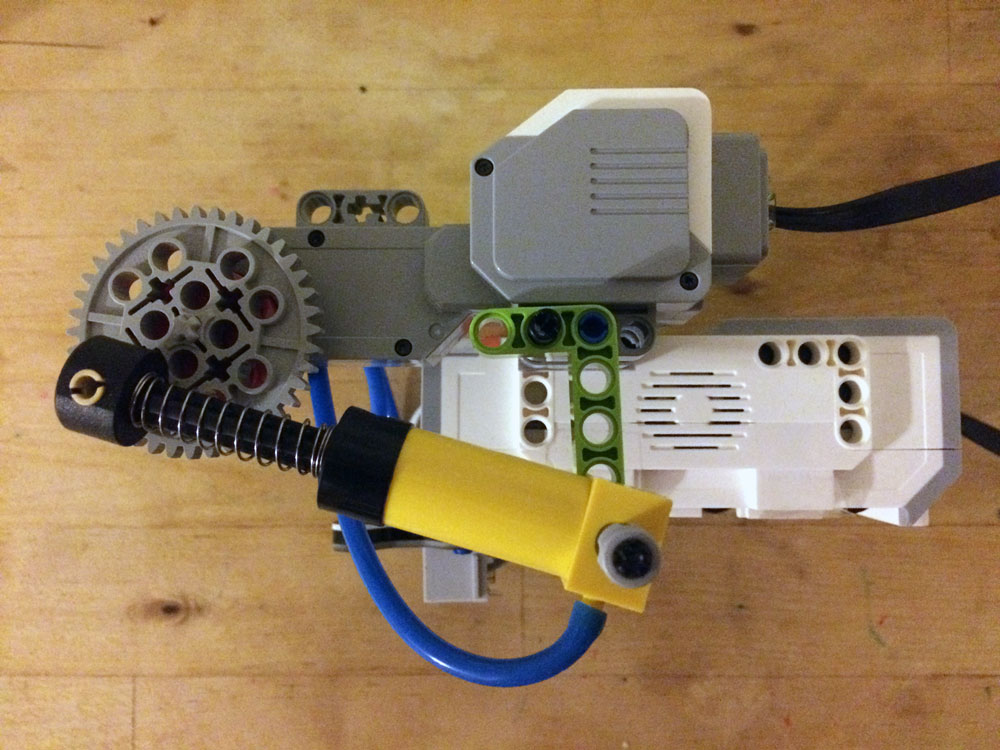
Adding the Sensor
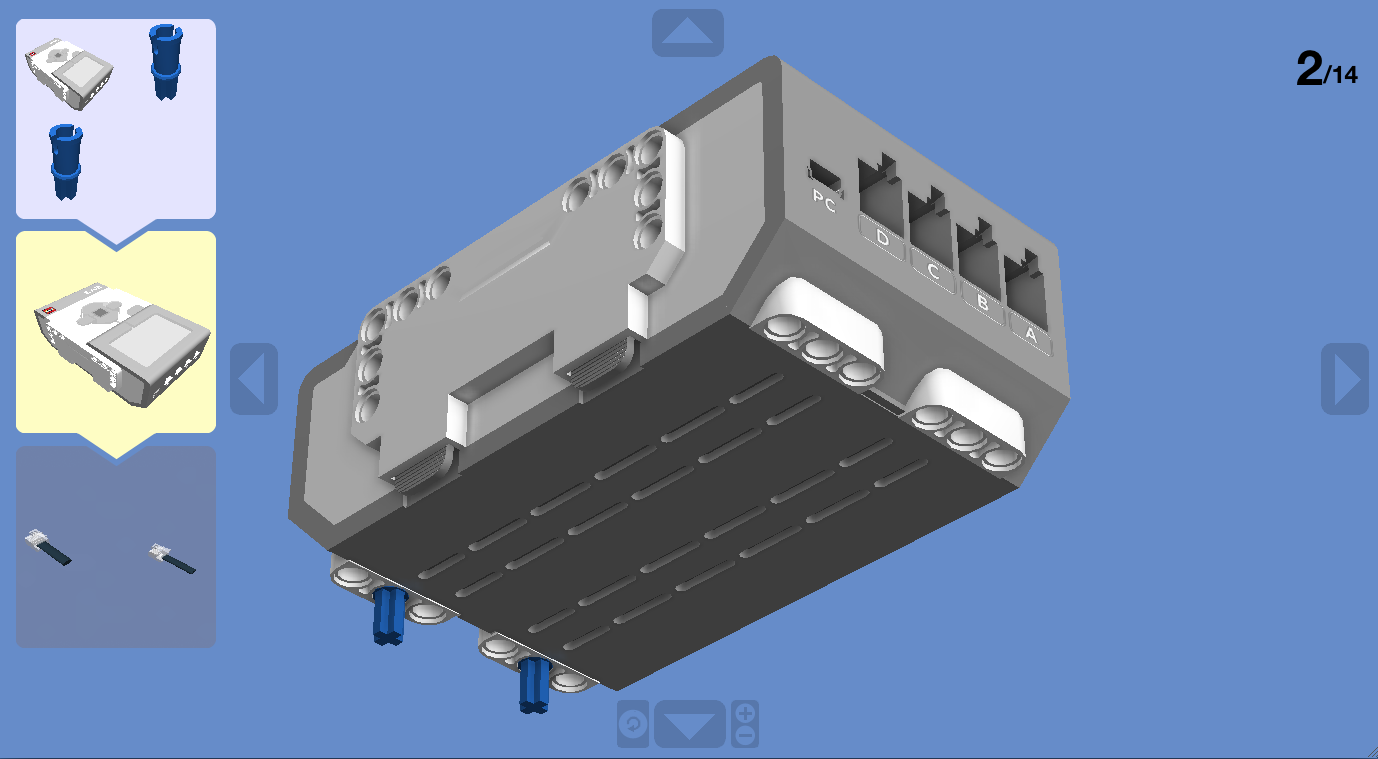
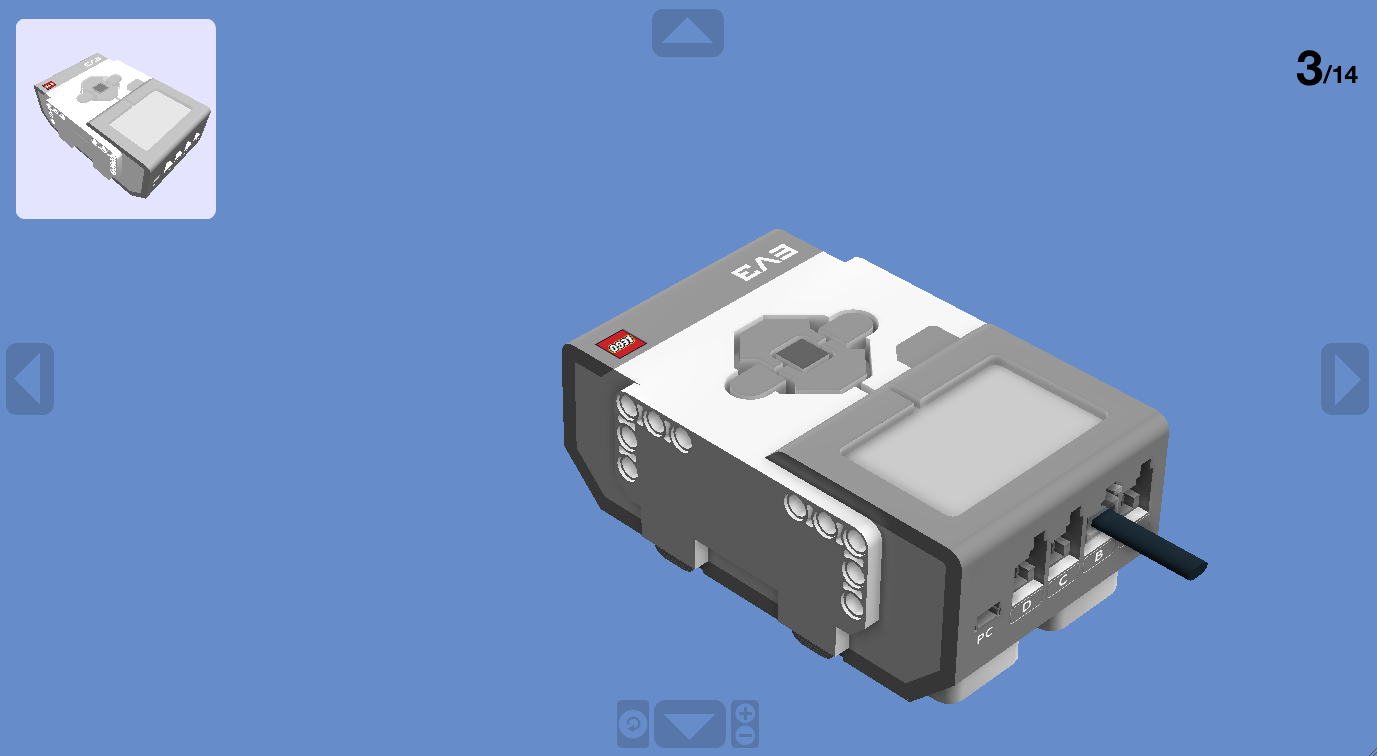
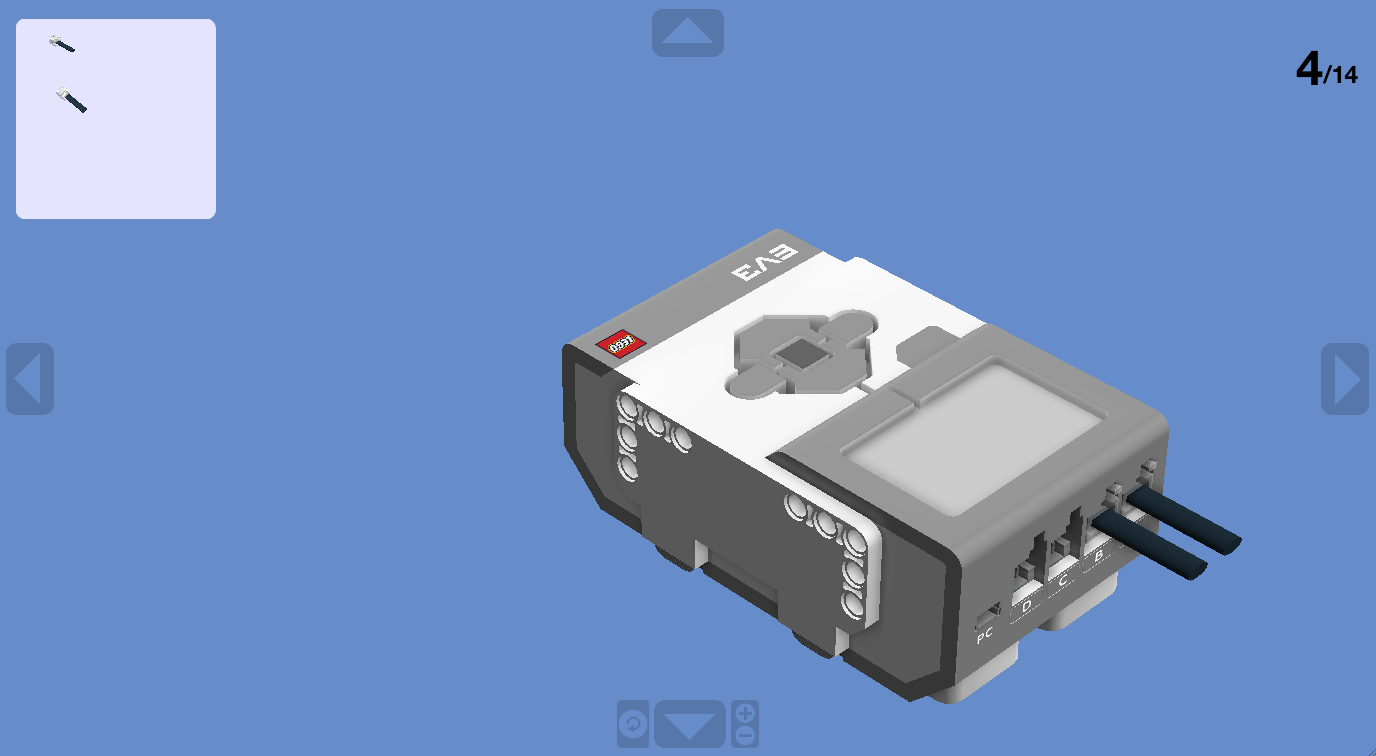
The pressure sensor is added between the two pegs at the bottom of the programmable brick in the very first step. Without the air tube connected, it should look like this: