Materials
 |
 |
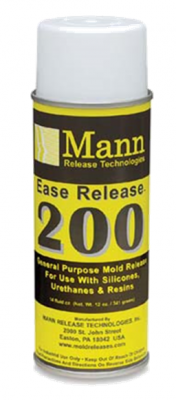 |
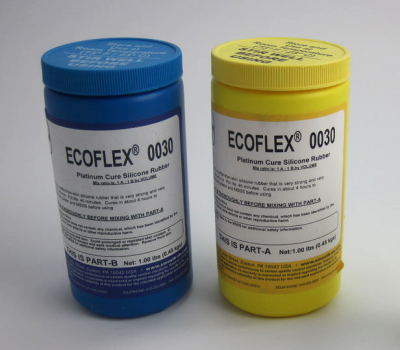
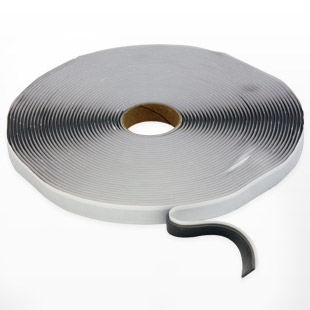
| Ecoflex silicone rubber (2-part) | vacuum bagging tape | mold release |
 |
 |
|
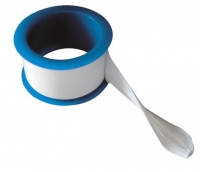
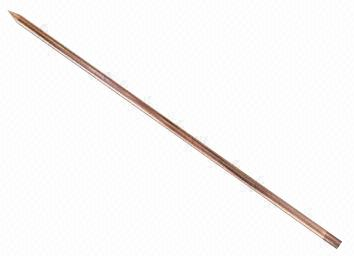
| teflon tape | thin metal rod to mold inner cavity |
Tools
 |
 |
 |
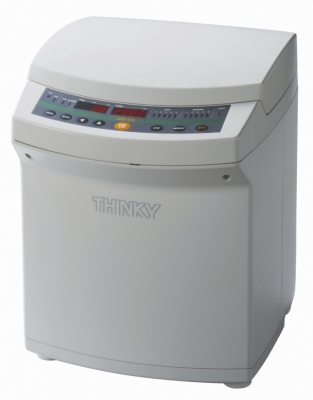
| Thinky mixer | Thinky mixing cup | syringe |
 |
 |
|
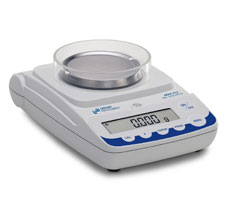
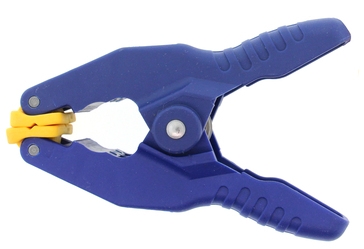
| mass scale | clamps |
Mold components
 |
 |
 |
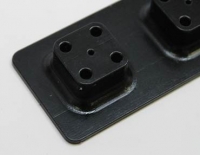
| base stand | ||
 |
||
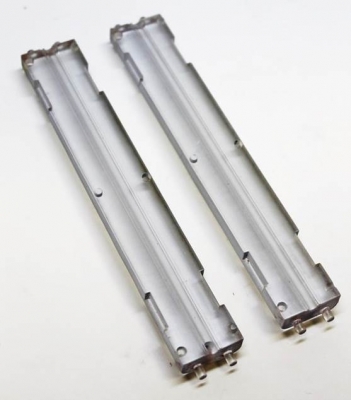
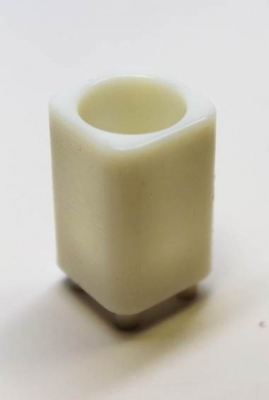
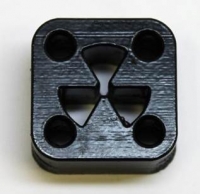
| mold body (2 pieces) | alignment piece for top of rod | reservoir |
Prepare molds
Once 3-D printed, the molds should be thoroughly cleaned as residual support materials may cause cure inhibition. Methods vary between plastics/printers, but here are some suggestions:
- Print with a glossy finish, then leave for 4hrs in a 70°C oven
- Clean with soap and water, then IPA, then dry in the oven
- Do a sacrificial molding out of Ecoflex
Assemble molds
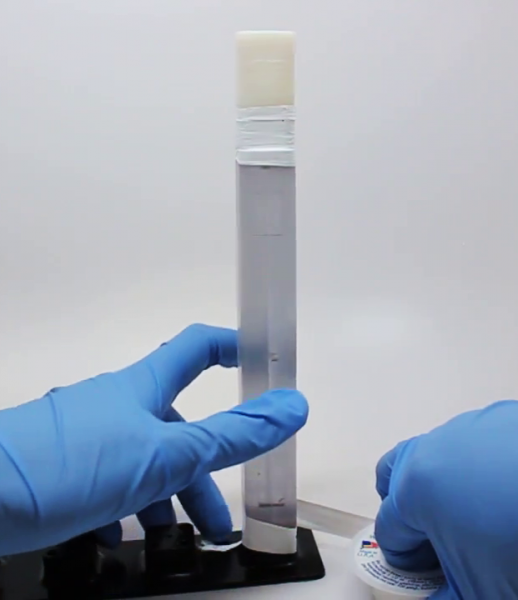 |
In a fume hood or other well-ventilated area, spray the inside surfaces of the mold and the inner rod with mold release (hold the can about 20cm above the molds). Let dry for a few minutes. Place the two halves of the mold together, combine it with the reservoir/alignment piece and base stand, and seal the seams by wrapping them with Teflon tape. |
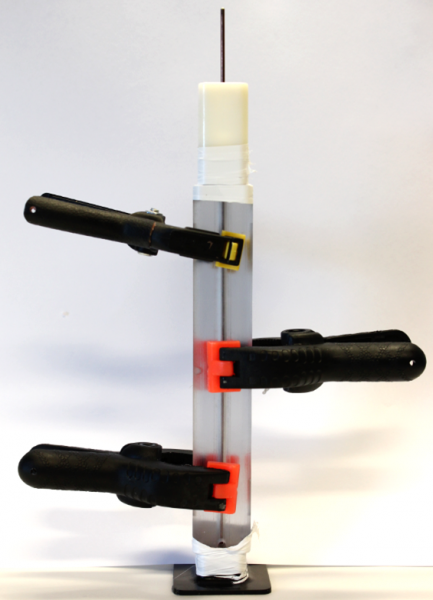 |
Add several clamps to hold the mold halves tightly together. Stagger the clamps so that the mold stays balanced upright. Make sure the inner rod is straight (roll it around on a flat surface to check), then insert it into the mold. It should lock into the corresponding hole in the base piece. |
Mix elastomer
Make the elastomer for molding the inner tubing. The amount will vary depending on the size of your actuator, but make 20g more than you need in case of leaks.
- For a low stiffness actuator, use Ecoflex 00-30, which is mixed in a 1:1 ratio.
- For a high stiffness actuator, use Elastosil M4601, which is mixed in a 1:9 ratio.
Weigh out and combine the two parts of the selected elastomer in the appropriate ratio, and place in a Thinky mixer.
Fill syringe
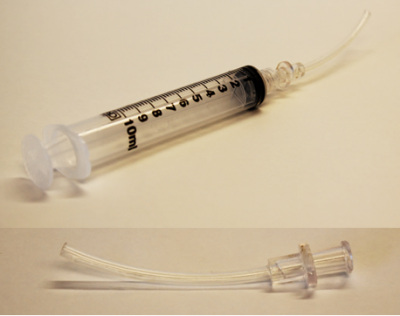
Move any PTFE tape out of the way to expose the injection hole on the mold. Depending on the nozzle of the syringe and the dimensions of the injection hole, you may need an adapter, i.e. a Luer fitting or a snipped off piece of a disposable pipette, so that it fits snugly into the injection hole.
 |
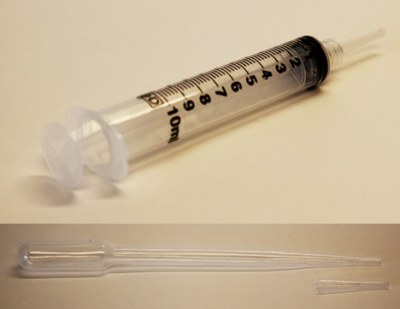 |
| Luer adapter | pipette adapter |
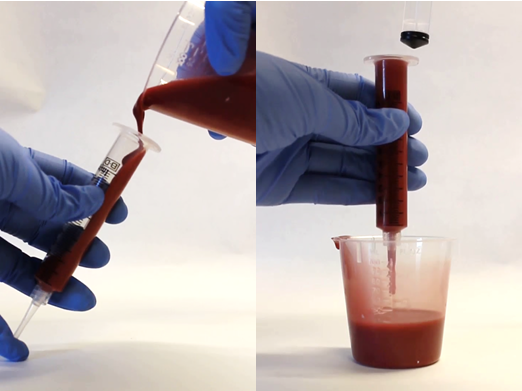 |
Fill the syringe with Ecoflex. However, to avoid air bubbles and since the material is very viscous, the syringe should be filled from the top. Remove the plunger, block the nozzle with a finger, then slowly pour the mixed Ecoflex into the syringe until it is almost full. Hold the syringe over a cup (for spillage) then re-insert the plunger, pushing it in until it locks with a popping noise. |
Inject
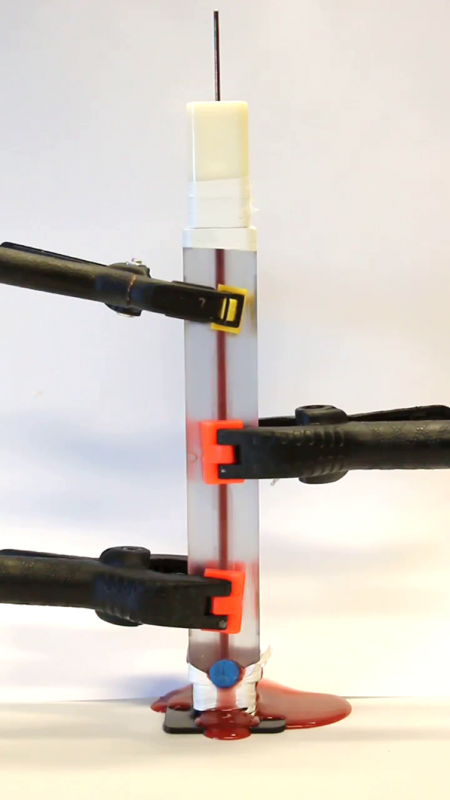 |
Slowly inject the Ecoflex into the mold until some of it enters the reservoir at the top of the mold. There will probably be some leakage, but if it isn’t major, continue – otherwise, plug with more clamps/tape. Remove the syringe, then plug the injection hole with clay. |
Cure
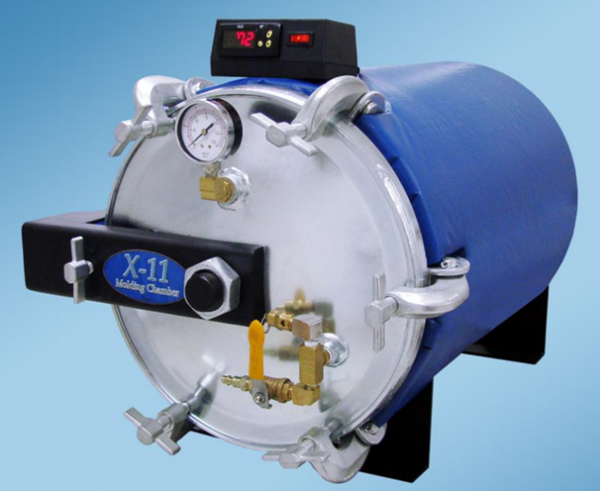 |
Place the mold in a pressure oven set at ~75 psi for at least 1 hour, and let it cure for 4 hours total before demolding. |
Demold
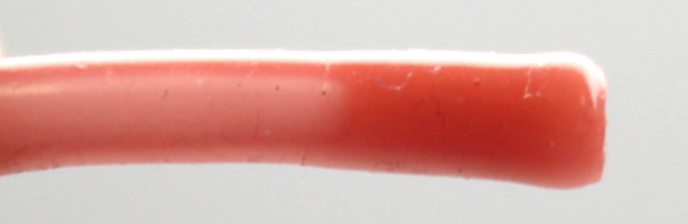
Pry open the molds. You may need to use pliers on the side notches to initially force the mold open. Gently remove the molded tubing. Inspect it for holes or sections where the wall thickness is very uneven, and cut away these parts.
Plug end
Mix a small amount of Ecoflex.
|
For these actuators, the inner channel is small enough that you can simply dip the end into elastomer, and capillary action will pull some elastomer into the tube to create a plug. Wipe off excess elastomer from the outside of the tube, then heatgun for a few seconds until the material is no longer tacky. |