Step 2: Mold Stiff Ends

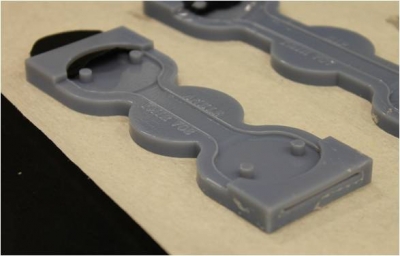
  • The next step is to make the stiff end pieces of the sensor. To begin, inside a fume hood, spray the center-displacement piece with mold release. Make sure to spray the side with the raised ridge. Sorta-clear is very stiff, so without mold release the 2 mold pieces will be glued together
  • Mix a small amount of Sorta-clear elastomer in a cup. Not much is needed, only roughly 10 grams.
  • Refer to the Bill of Materials section for vendor information.

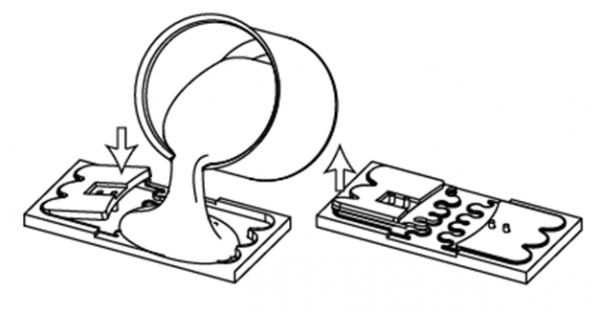
Pour stiff rubber

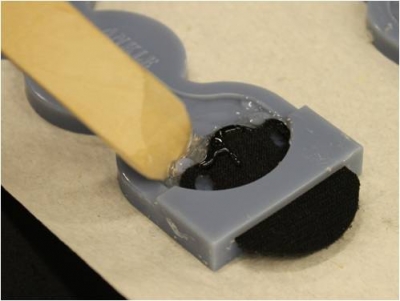
  • Insert velcro pieces into mold through the slots on the ends with the fuzzy size face down.
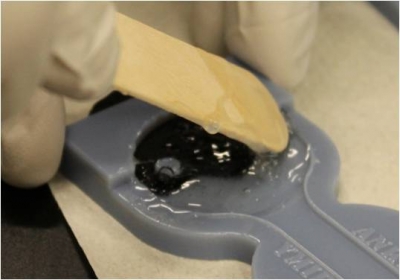
  • With a tongue depressor, apply elastomer beneath the exposed velcro. Make sure the fuzz is thoroughly coated.
  • Align the velcro using the pegs, then apply elastomer to the top of the velcro as well. Excess elastomer should be left in the end circular areas of the mold.
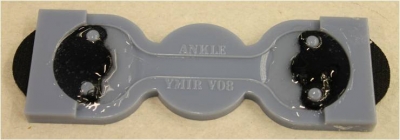
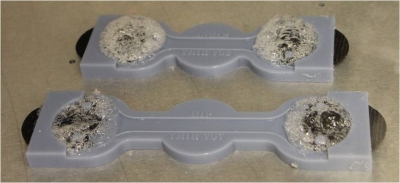
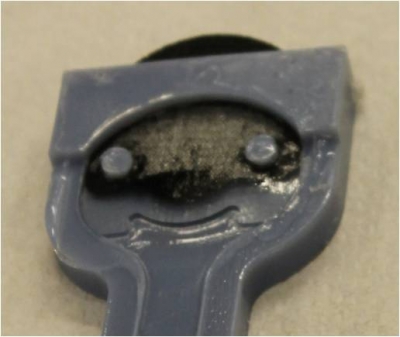
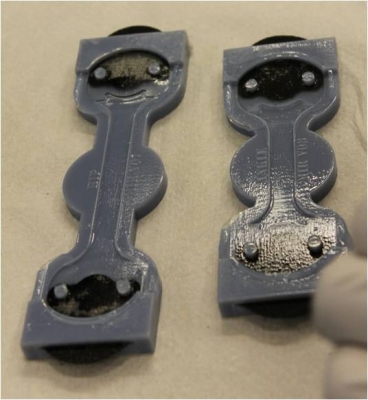
  • The image on the left shows a mold with fully coated velcro end pieces. Note how there is some velcro sticking out of the ends of the mold.

Degas elastomer

  • Place the mold with velcro and elastomer into a vacuum chamber and degas (set the vacuum chamber to -90 kPa). Release and restore the vacuum several times to help pop many of the bubbles. Then leave the mold in the machine for a few more minutes until bubbles start dying down.
  • Remove the mold from vacuum chamber and inspect for bubbles, particularly ones near the interface between the velcro and elastomer, as these will turn into failure points.
  • To remove any remaining bubbles, dip tweezers into the elastomer and slowly “push” the bubbles towards the edges and “lift” them out of the elastomer.

Seal and press mold

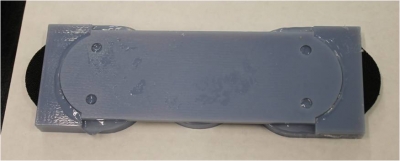
  • Put on the top piece of the bottom mold, raised side down. Press it down gently so the pegs align, then apply gentle finger pressure from the center moving outwards.
  • This process will keep the elastomer out of the middle portion of the mold, which is where the softer elastomer will go later.
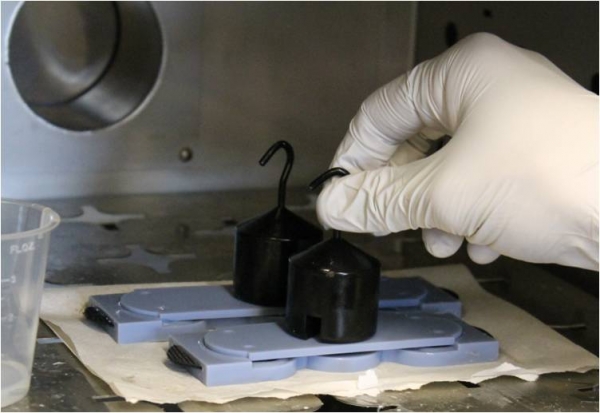
  • Place the molds in a 60 oC oven and put weights on top.
  • Remove from the oven after 15 minutes.

Check for defects

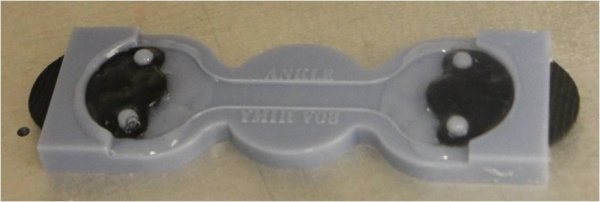
  • After taking the mold out of the oven, peel off any excess elastomer from around the edges. Pry off the top using a tool to gain leverage, such as a screwdriver.
  • The pieces should be non-tacky but brittle (it will take a day to reach full strength).
  • There should be no gaps or bubbles and the interface/edge of the stiff elastomer should be clearly defined.
  • Peel excess elastomer off the pegs to make next step easier.