Mold outer skin
The next step is to mold a thin skin on the actuator, to lock the fiber reinforcements in place.
Make sure that the Sil-Poxy for gluing the fiberglass is completely cured -- it should not smell like vinegar at all. Otherwise, uncured Sil-Poxy may interfere with the curing of the skin.
Make 20g of DragonSkin 20, which should be mixed in a 1:1 ratio. After mixing, place the DragonSkin in the vacuum chamber for 5 minutes to remove any bubbles.
 |
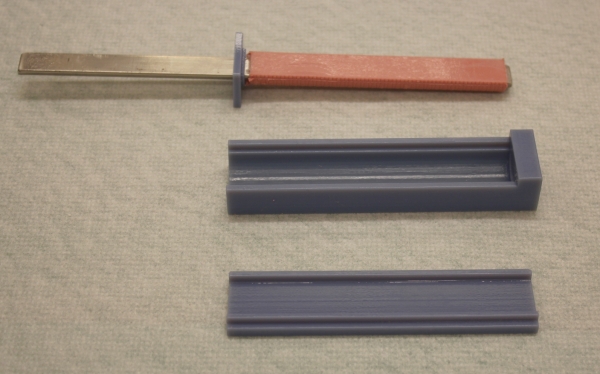
As before, prepare your mold parts and slide the cap onto the rod. Note that the cap for this step is different to the one used when molding the actuator body. |
|
|
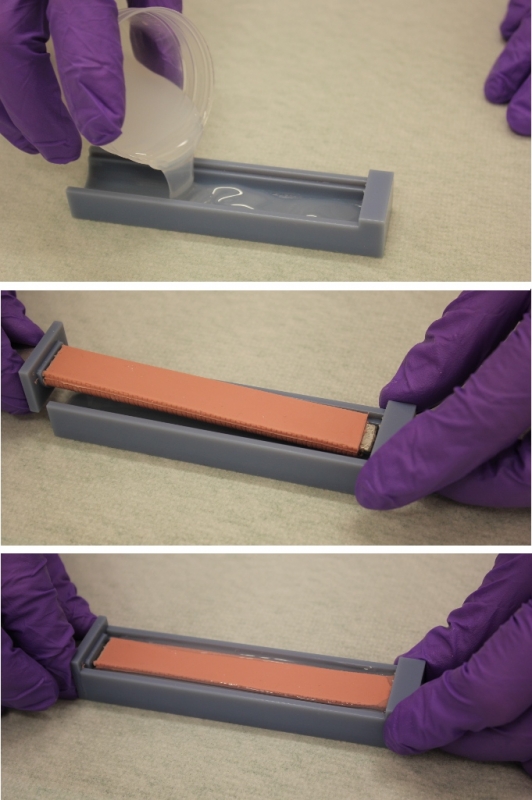
Pour a layer of elastomer into the main body of the mold, and then insert the rod and push the cap into place. Again, make sure to push the rod in very forcefully so that it goes all the way into the hole. There will be a lot of resistance from the very viscous elastomer you have to displace. If you don't push in the rod far enough, you will not be able to close the end cap of the mold because the actuator is sticking out the top. |
 |
Pour another layer of elastomer to cover the rod and actuator main body. |
 |
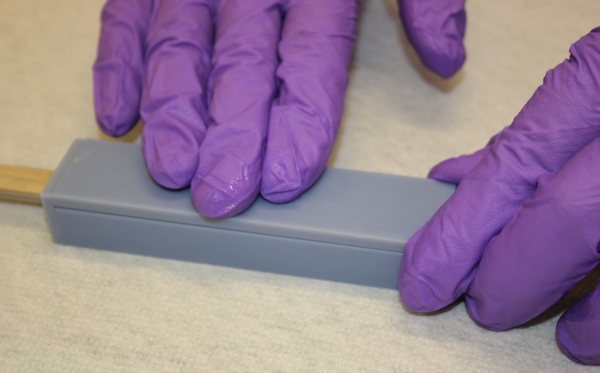
Gently push the final part of the mold into place. |
 |
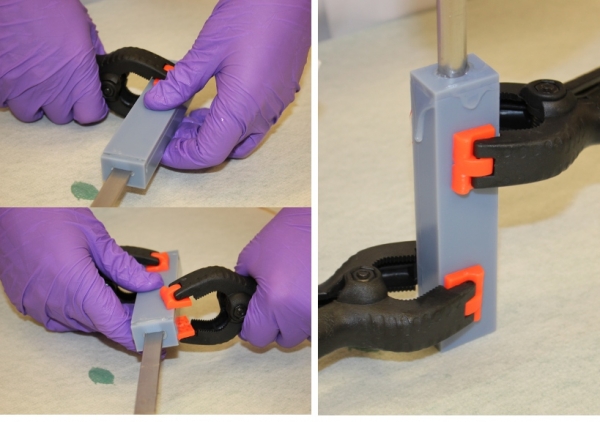
As before, attach clamps to the mold, working from the bottom up and balancing the clamps so that the mold can stand on end. |
Cure
Stand the mold upright on a paper towel or petri dish to catch any leaking elastomer.
If following the slow curing process, leave the mold to cure overnight at room temperature. Tip: leave the mixing cup containing the remainder of your mixed elastomer beside the mold so that you can see when it’s cured.
If following the fast curing process: Leave the mold standing at room temperature for at least an hour, then remove the clamps and place in the oven (lying on its side with the flat side of the rod facing upwards) for at least 30 minutes at 65°C.
Using the slow curing approach is encouraged for this step as it results in a better bond between the actuator body and the outer skin.

