Prepare elastomer
 |
Elastosil needs to be mixed in a 1:9 ratio of Part A:Part B, by weight. The total amount you need depends on your mold. Here, we will make 50g total of Elastosil, so we need 5g of Part A. (If using a different material see the vendor instructions on mixing ratios) |
|
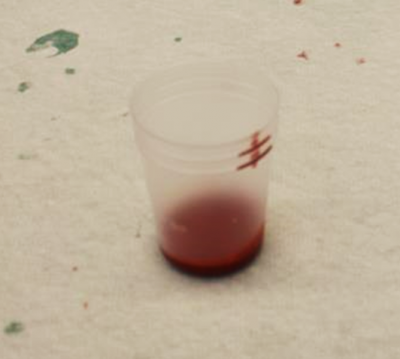
Take the bottle of Elastosil Part A (red fluid) and shake it vigorously, as it tends to settle. Measure out 5g in the cup, making sure to pour slowly so you don’t overshoot. If you do overshoot, you can pour some back into the bottle, or add more part B later to compensate and maintain the 1:9 ratio. [Video] |
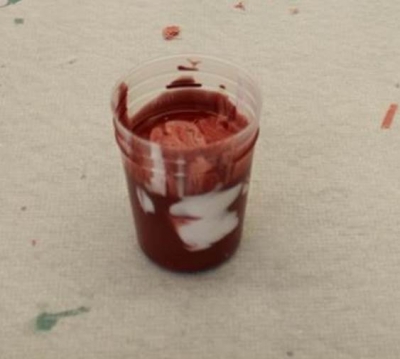 |
Now add 45 g (5g x 9) Elastosil Part B (white). Being accurate within 2-3 grams is okay. If you pour too much, you can remove some material with a spatula. [Video] |
Place the Thinky cup with its contents inside the cupholder/adapter. Weigh this assembly, then adjust the mixer counterbalance (spin the dial) to match this weight. Press the ‘Start’ button to run the mixing program [Video]. The program should be set to 30s @ 2000 RPM (mixing) and 30s @ 2200 RPM (defoaming). Remove the cup of mixed elastomer from the mixer [Video].
| Place the mixing cup containing the elastomer into the vacuum chamber and turn on the vacuum pump to remove any trapped gas. After about 5 minutes turn the pump off and remove the mixing cup. Pop any bubbles on the surface of the elastomer. | 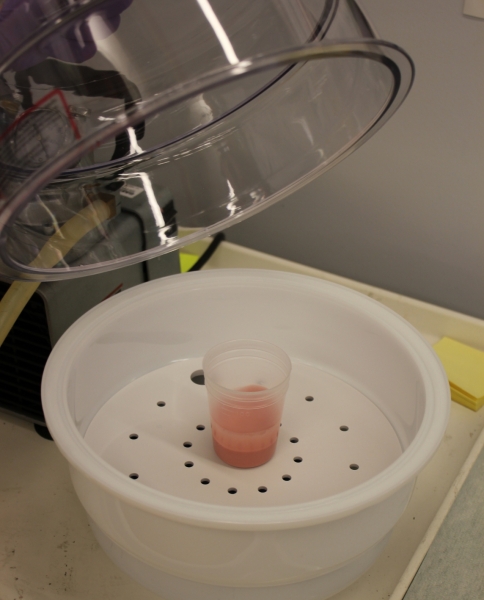 |
Pour elastomer into mold
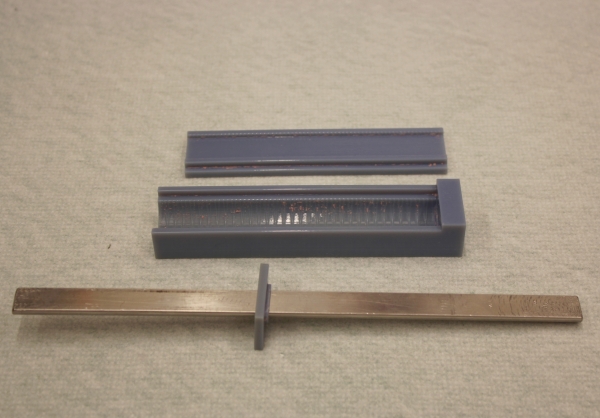
| Prepare your mold parts as shown. Insert the rod into the mold cap. |
|
|
|
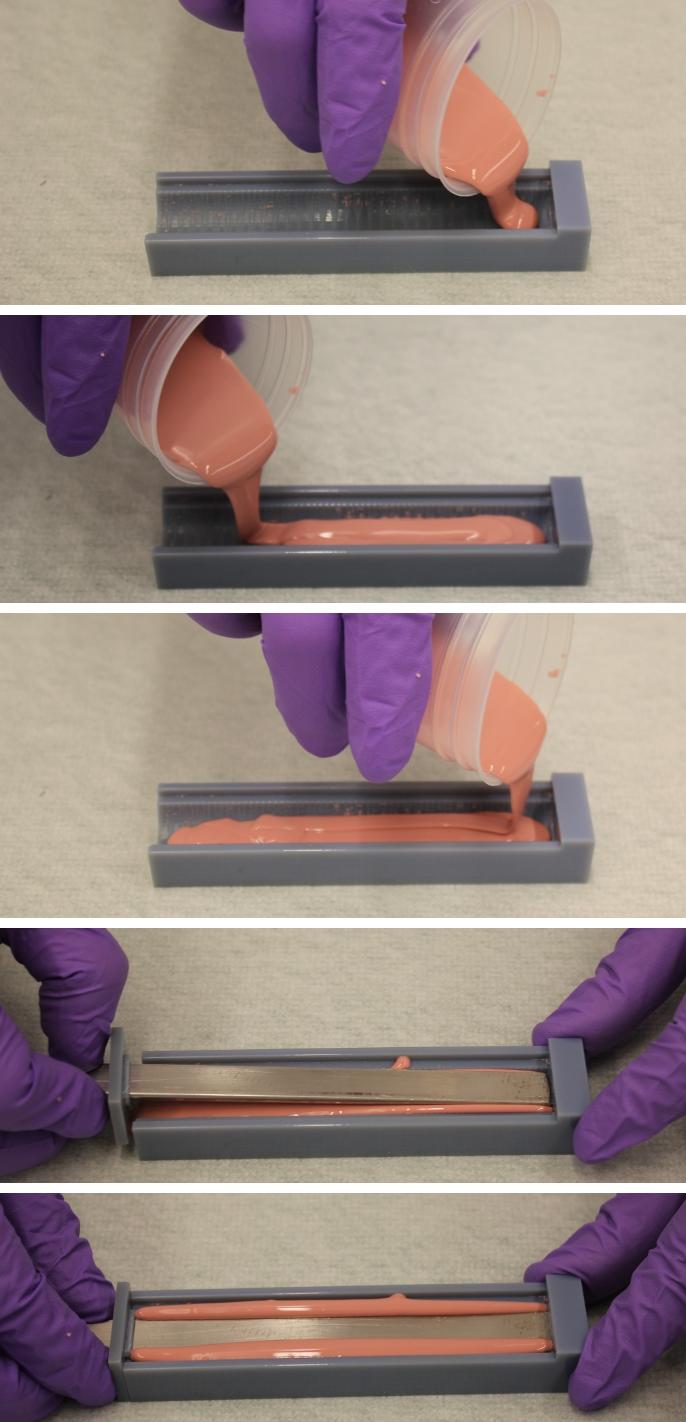
Pour a layer of the mixed Elastosil into the main body of the mold, going slowly to avoid spillage and trapped air pockets. Do not pour right to the open end of the mold (where the cap will go); stop about a centimeter from the edge. When you have finished pouring, take the rod and come in at an angle to insert it into the hole at the base of the main mold. Once the end is in the hole, slowly lower the rest of the rod into the elastomer, then slide the end cap forward to match the mold. Make sure to push the rod really hard into the hole because the elastomer in there will resist the rod from going in and locking properly. |
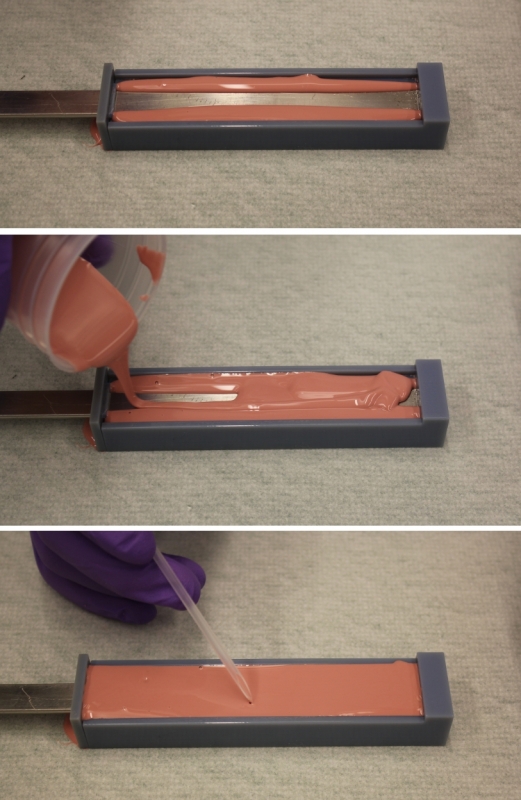 |
Now pour another layer of Elastosil to cover the rod. Allow the Elastosil to settle for a few seconds and pop any visible bubbles. |
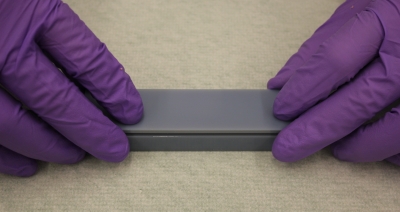 |
Position the final part of the mold and gently push it into place. Clean up any spillage with paper towels. |
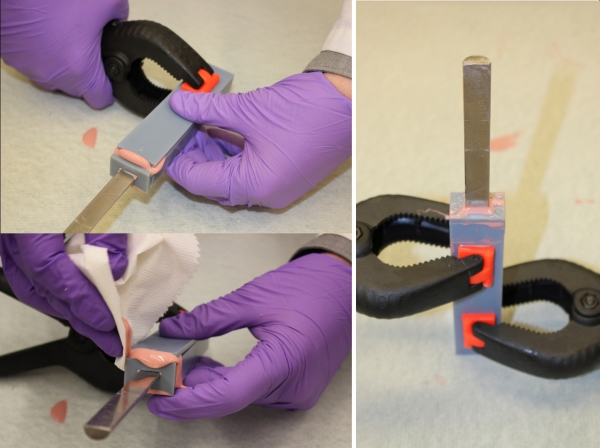 |
Attach clamps to hold the mold together. Attach the first clamp at the bottom of the mold. Attach another clamp near to the top of the mold, and on the opposite side so that the mold can balance while standing upright. Clean any spillage using paper towels. The cap will probably have popped up when the clamps were attached. Push it back down until it snaps into the hole. |
Cure
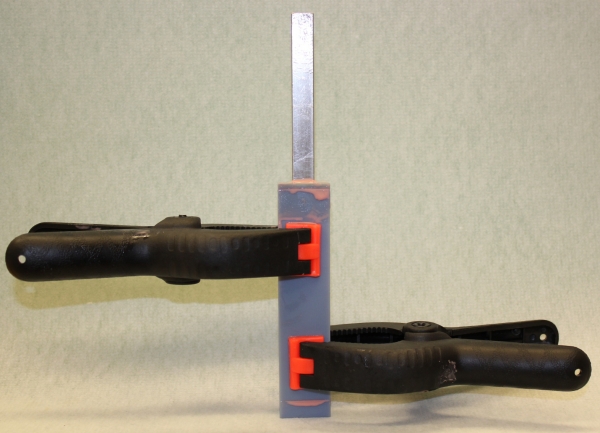 |
Stand the mold upright on a paper towel or petri dish to catch any leaking elastomer. |
If following the slow curing process, leave the mold to cure overnight at room temperature. Tip: leave the mixing cup containing the remainder of your mixed elastomer beside the mold so that you can see when it’s cured.
If following the fast curing process: Leave the mold standing at room temperature for at least an hour, then remove the clamps and place in the oven (lying on its side with the flat side of the rod facing upwards) for at least 30 minutes at 65°C.

