De-mold
As before, remove the clamps and clean the outside of the mold with a paper towel. Warm the mold in the oven, then peel it open using the same method as before.
Remove inner rod from actuator
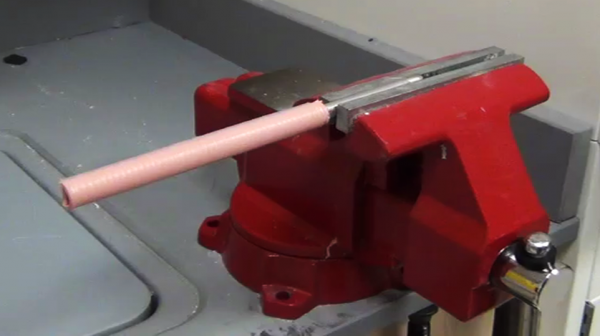 |
Place the end of the rod in a vise, so that the actuator is not caught in the vise. |
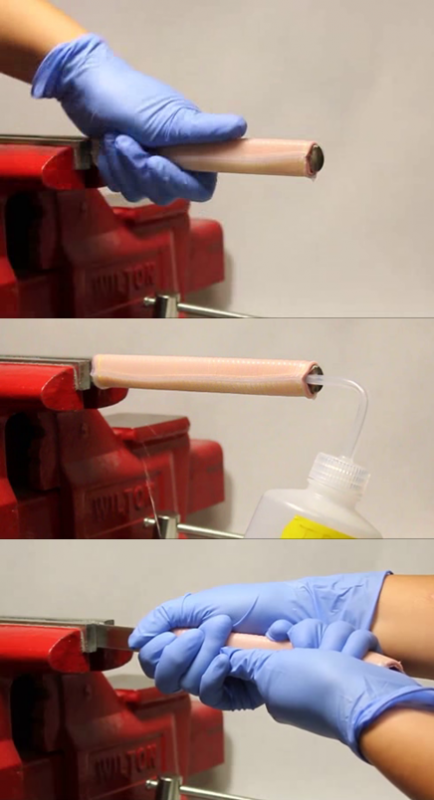 |
Twist the actuator 90 degrees – this reduces the contact area between the actuator and the rod, and therefore the friction. Inject IPA for lubrication. Pull, with one hand behind the actuator and one hand gripping the front half. [video] |
Cap one end of the actuator
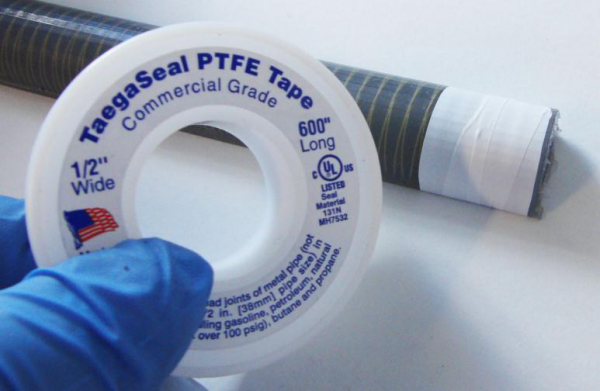 |
Wrap Teflon tape around one end of the actuator – starting at the edge and continuing up about an inch. Do not cover the end face. [video] |
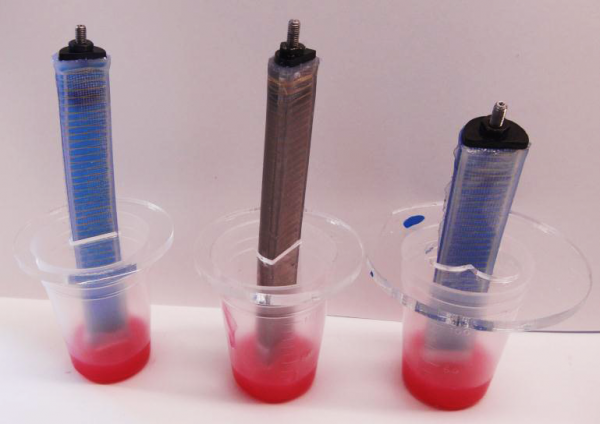 |
Mix 20g of Elastosil (1:9 ratio). Leave the Elastosil in the mixing cup, and dip the Teflon tape-wrapped end of the actuator in it. You can use a laser-cut guide plate to hold the actuator upright in the cup, or strategically lean it against something. [video] Leave overnight to cure. It is possible to put it in the oven to cure faster, but this seems to lead to a weaker bond, and the actuator will fail at this seam. |
Trim cap of actuator
|
Cut away the mixing cup, leaving the actuator standing in a blob of Elastosil. |
|
Trim away most of the Elastosil using an X-acto blade, leaving a thin island around the actuator. |
|
Peel this layer down so that it’s sticking beyond the end of the actuator, like flipping an umbrella inside-out, and trim this excess away. |
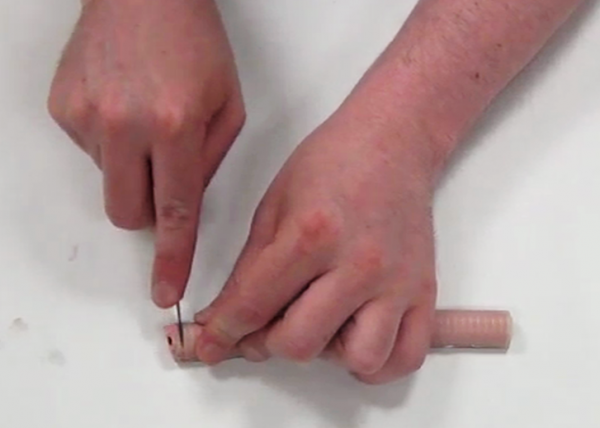 |
Peel off the Teflon tape, then cut a few mm off the end of the actuator to make it nice and smooth and to make sure your vented screw can go all the way through the cap (i.e. cap isn’t too thick compared to screw length). [video] |
