Make top mold
Now we will make the 2nd mold half, once again using the Cavity feature. We make a solid rectangular block, then subtract both the actuator and the main mold piece from it. Once again, we make the basic part, then assemble it to properly position everything relative to each other, then use Cavity.
Make top mold block
In the top plane, draw a 6.5 mm x 29 mm rectangle. Extrude it 169mm to get a long, thin rectangular prism. Save the part.


Align all parts
[Video: Make interim assembly for top mold]
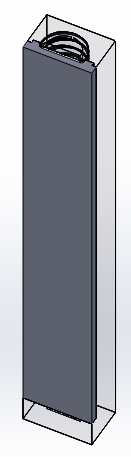
Create another new assembly and save it as the interim assembly for the mold top. Insert 2 components: the thin block you just created, and the previous interim assembly. Position the components with 3 coincident mates (top, side, front).
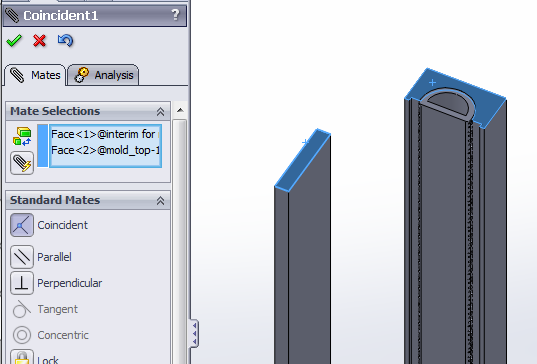
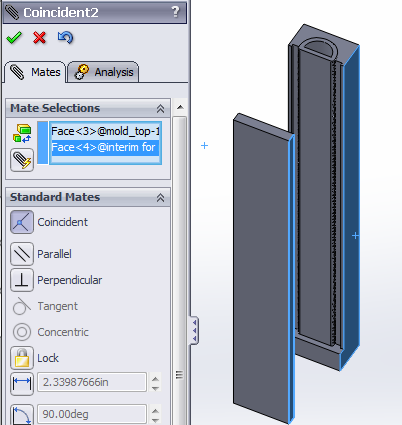
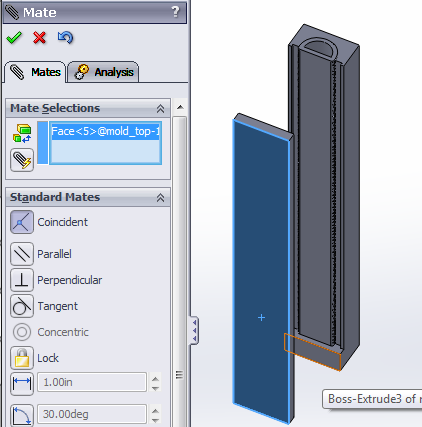
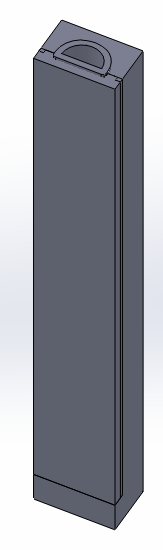
The result should look like this:
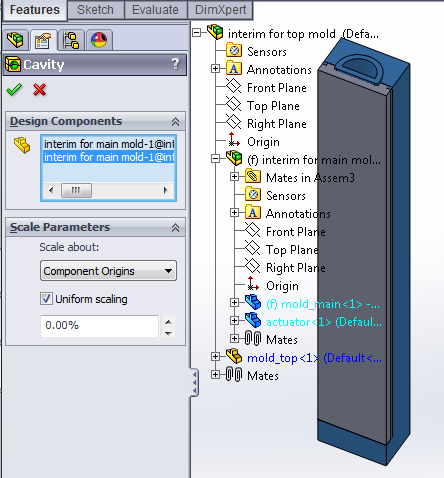
Subtract actuator and main mold
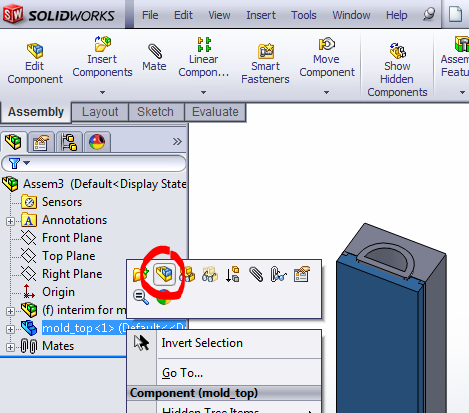
Once again, click on the mold part in the design tree and click the “Edit Part” button.
Use Cavity (Insert > Features > Cavity). Once again, expand the design tree and select the component you want to subtract, in this case it’s the first interim assembly for the main mold. However, since you cannot select assemblies, expand the tree further and select the two parts (main mold and actuator) that make up the main mold assembly.
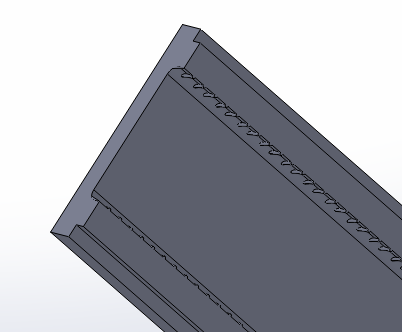
Click the checkmark to complete the cavity, and click the “Edit Component” button to return to the assembly.
Bibliography
Galloway et al. (2013) Mechanically programmable bend radius for fiber-reinforced soft actuators.
Maeder-York et al. (2014) Biologically Inspired Soft Robot for Thumb Rehabilitation.
Connolly et al. (2015) Mechanical Programming of Soft Actuators by Varying Fiber Angle
Connolly et al. (2016) Automatic Design of Fiber-Reinforced Soft Actuators for Trajectory Matching
Contributors
Panagiotis Polygerinos
Kevin Galloway
Zheng Wang
Fionnuala Connolly
Johannes T B Overvelde
Harrison Young