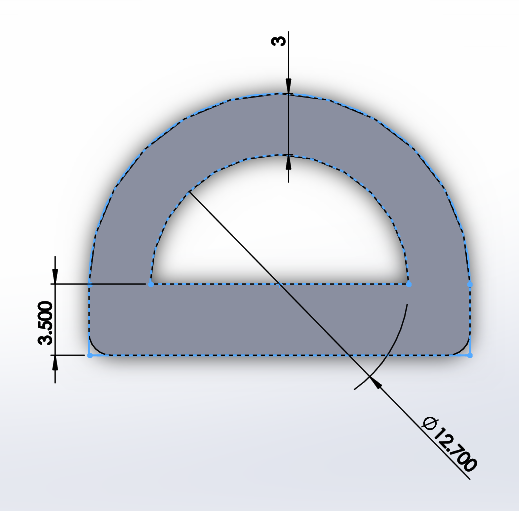
We can make the molds for the outer skin repeating same process we just followed, but adjusting some of the dimensions. Instead of remaking everything, the easiest option is to make copies of the solid model files we just created, and then modify some of the dimensions:
- Make a copy of all the files in a new folder by opening the interim assembly for the top mold (which contains all the parts except for the mold cap) and using File > Pack and Go. You should use the "Add Prefix" option to differentiate the new files. Do not just copy & paste files in Finder/Windows Explorer, as this will mess up your references!
- In the newly copied folder, open the actuator file. Get rid of the thread grooves by deleting the Mirror and Swept Cut features (check the "Also delete absorbed features" option to clean up the associated sketches).
- Increase the wall thickness by however thick you want the outer skin to be. A 1mm increase is recommended, with a 1.5mm increase on the bottom to accommodate the fiberglass layer. Change the smart dimensions accordingly and rebuild the part.

- Open the interim assembly for the top mold, rebuild, and save. The main and top mold pieces will update themselves to fit the new actuator.
- The mold cap needs to be updated manually, but it is very easy: open the mold cap file, change the wall thickness smart dimensions in the sketch, and rebuild.
