Make Your Own Edible Actuator
Included below are two descriptions of fabrication of actuators: (a) Gummy Bear Actuators, and (b) Fordmula Actuators.
Gummy Bear Actuators
Step 1: Gather Gummy Bears of the same color. If you use the same color the actuators look nicer. Estimate the amount of bears you will need based on how many actuators you will make. Note that you will have about 25% waste in the beaker.
Step 2: Place Gummy Bears into beaker.
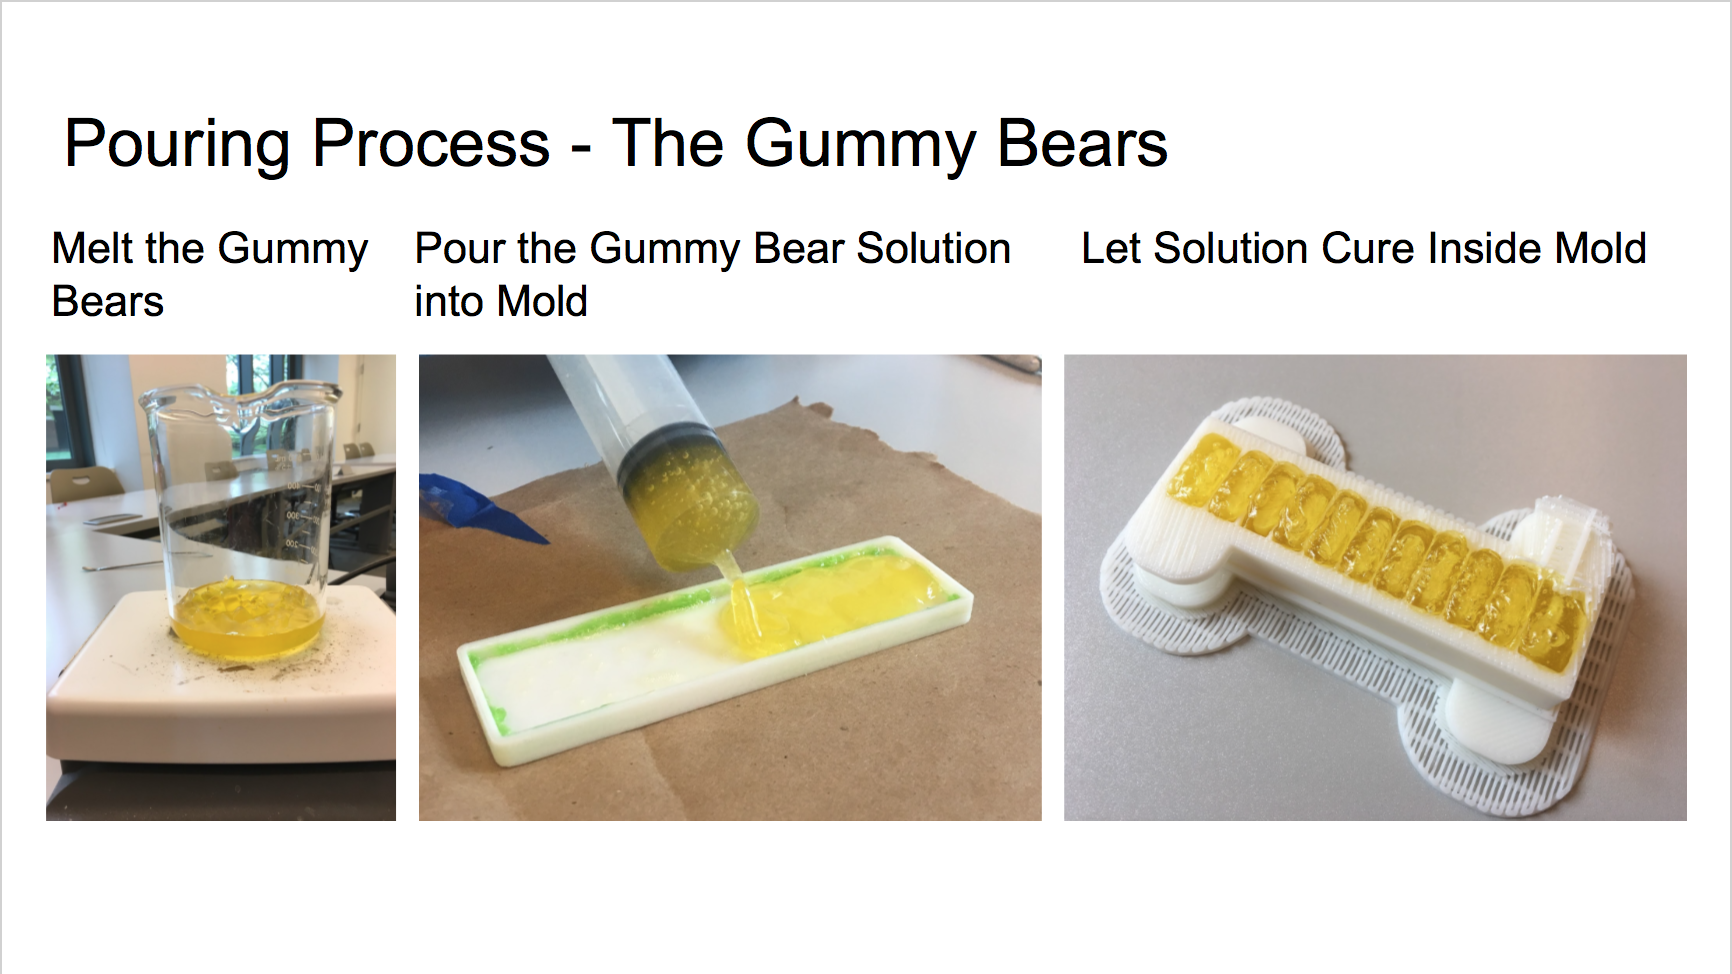
Step 3: Place the beaker on a hot plate set at 160°C(the actual temperature of the gummy was not measured) and let the solution sit on the hot plate until nearly completely liquid.
Step 4: Remove the beaker from the hot plate without stirring the solution. This would create bubbles.
Step 5: Pour the solution from the beaker into a syringe and slowly squirt it into the top mold and bottom mold.
Step 6: Put solution in mold in a sealed container (pyrex dish) with silica gel desiccant to absorb water vapor in the air. This will help the actuator cure. Let it sit till in a semi-solid mass resembling Jello.
Step 7: After 24 hours, demold the actuator parts and brush both in water. Let the pieces sit for about 3 minutes, then place the pieces together to glue them together.
| Figure 23: Gummy Bear Actuator Pouring Process |
|
The Fordmula Actuators
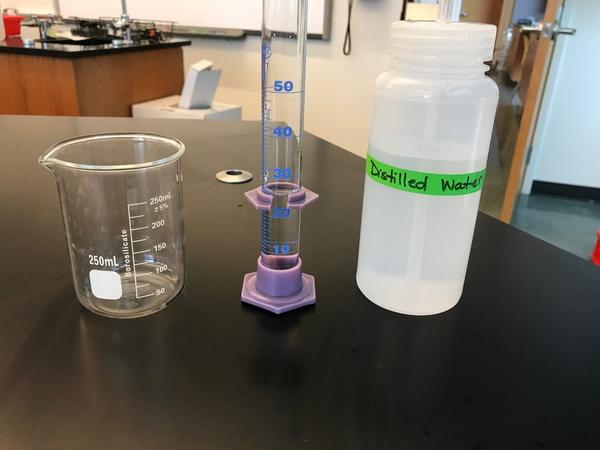
Step 1: Measure out 25 mL of distilled water in a graduated cylinder and pour it into a 250 mL beaker.
Figure 24: Step 1
|
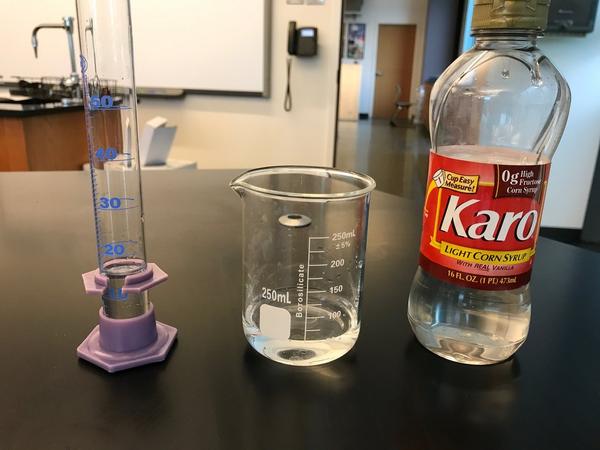
Step 2: Measure out 15 mL of Karo Light Corn Syrup in a graduated cylinder and pour it into a 250 mL beaker. The viscous nature of the syrup will make it stick to the graduated cylinder so you must take your time and be patient at this step.
| Figure 25: Step 2 |
|
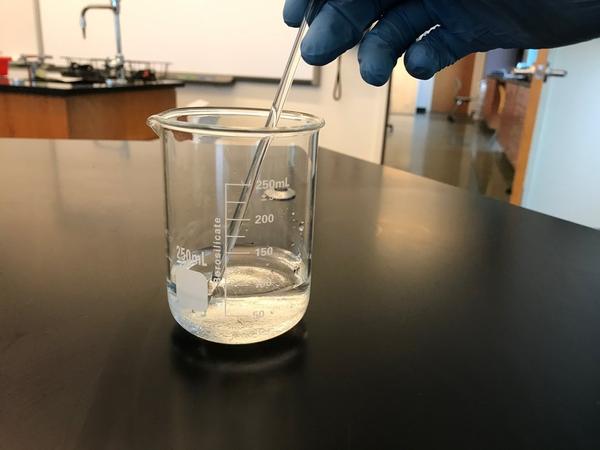
Step 3: Using a stir rod, stir the solvents together until a uniform solution is created.
| Figure 26: Step 3 |
|
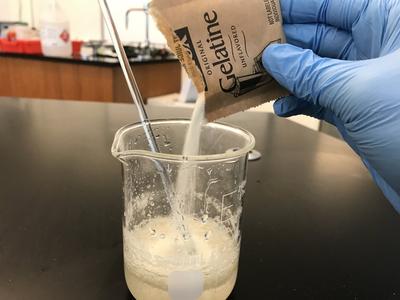
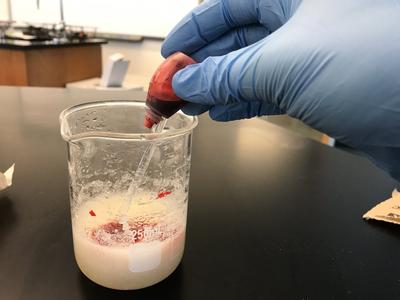
Step 4: Add one 7.2 gram packet of Knox unflavored cooking gelatin into the beaker. Stir the solution until it becomes uniform and there are no more white gelatin clumps. At this step you may also add any flavoring or any preferred food coloring.
| Figure 27 and 28: Step 4 | |
|
|
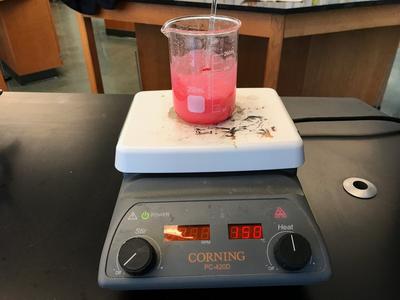
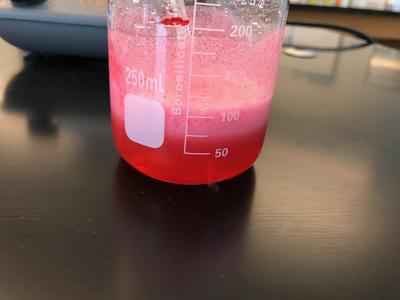
Step 5: Place the beaker on a hot plate set at 150°C(the actual temperature of the gummy was not measured) and let the solution heat for fifteen minutes until a murky top layer and a clear bottom layer forms.
| Figure 29 and 30: Step 5 | |
|
|
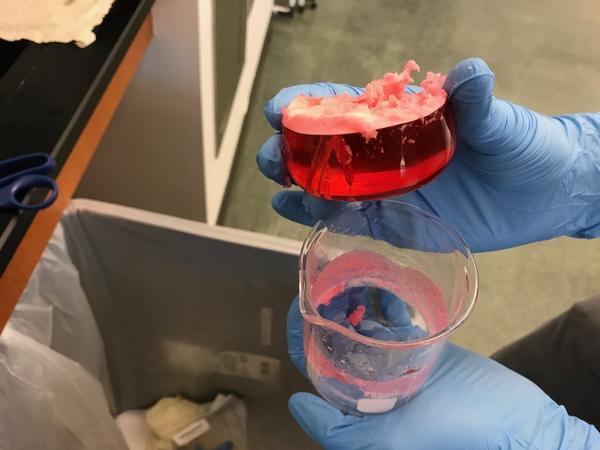
Step 6: Remove the beaker from the hot plate without stirring the solution. This would mix the two layers. Let the solution cool for at least on hour.
| Figure 31: Step 6 |
|
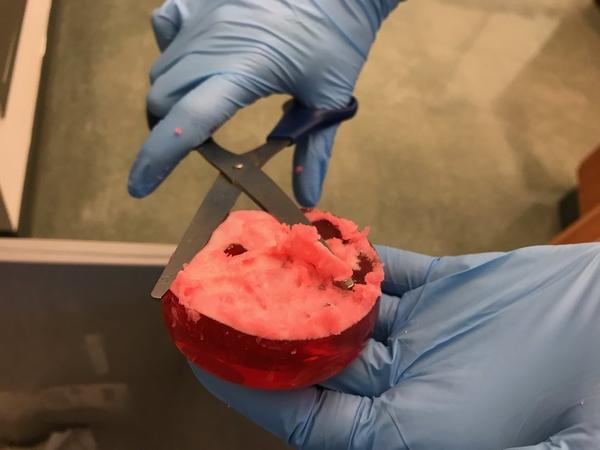
Step 7: The solution should be one semi-solid mass resembling Jello. Remove the continuous piece from the beaker while wearing gloves. Using a pair of scissors, trim the murky layer off the piece so there is only the clear layer remaining. Now place this glob into a clean new beaker.
| Figure 32: Step 7 |
|
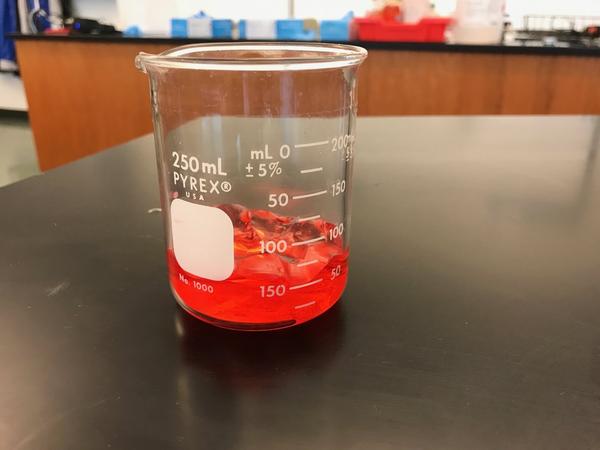
Step 8: Place the beaker back on the hot plate set at 150° Celsius and wait for the solution to completely melt.
| Figure 33: Step 9 |
|
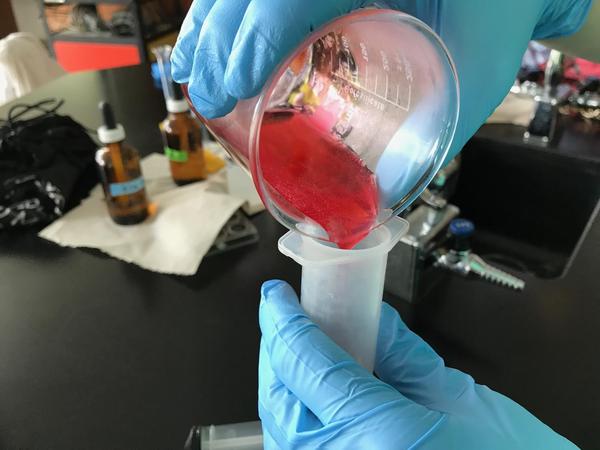
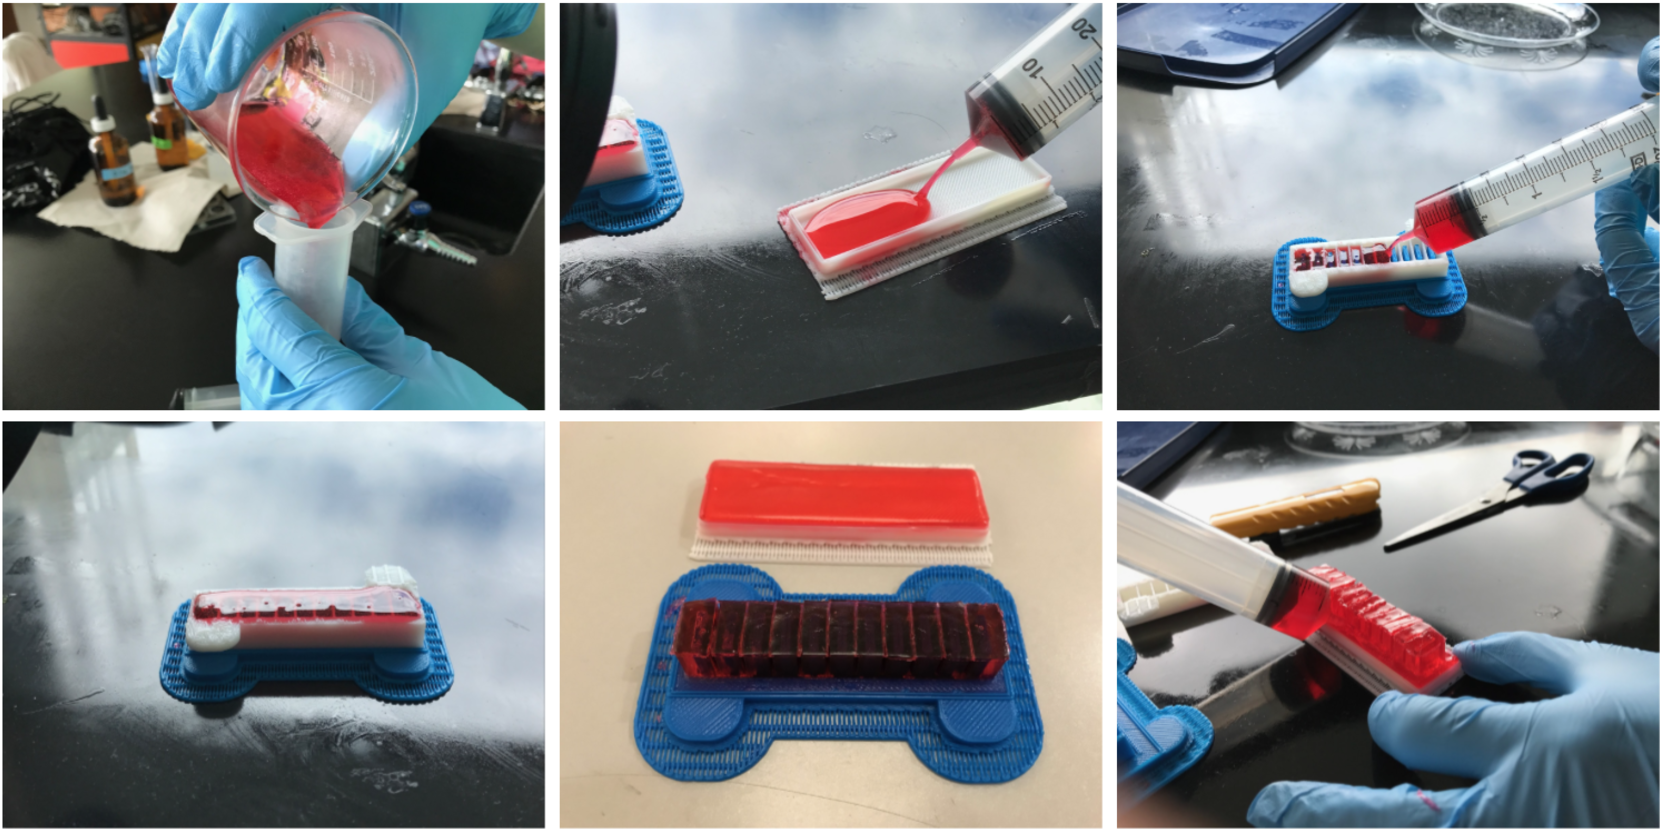
Step 9: Pour the solution from the beaker into a syringe and slowly squirt it into the top mold and bottom mold. Make sure you leave enough solution in the beaker to attach the two parts later.
| Figure 34: Step 9 |
|
Step 10: After an hour the molds will be set!
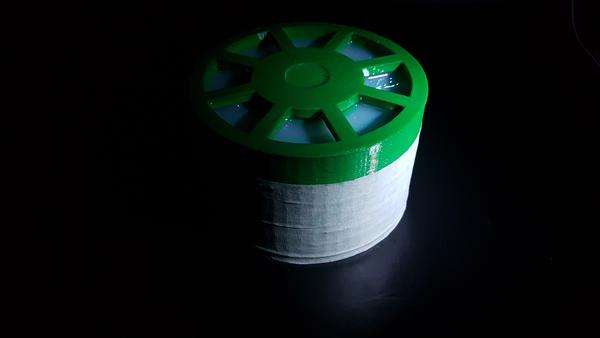
| Figure 35: Photo of Step 10 |
|
Step 11: This is the hardest step. Use the rest of the melted solution and pour it into another syringe. Carefully and quickly squirt the solution on the bottom of the top layer. Follow the edges and make sure not to fill the air channels. Place the top mold on the bottom mold and wait for them to adhere. You may also squirt some solution along the edges/seams of the actuator to ensure a better seal.
| Figure 36: Pouring Process |
|
Actuation
Once we prepared our actuators, we used 3 tools to inflate the devices, a 60 mL syringe for small actuators, a Ryobi Power Inflator, and the Fluidic Control Board described on the Soft Robotics Toolkit website.
The fluidic control board is the control center for the actuators. It controls how much air and when that air is pumped into the actuators. The board is controlled by an Arduino Mega, a microcontroller. The Arduino can take input values from air pressure sensors to log the pressure being pumped into the actuator. It can then regulate how much air the air pump is pumping according to to the sensor inputs and how much pressure the actuators can handle.
In our current design we manually insert the air source into the actuators. To ensure the seal, the air source and the actuator are physically held between fingertips (see Figure 54). We are hoping to work further to develop a secure connection between the actuator and air source. We propose using molded sugar, that would be hard enough to hold the air source pin, yet edible. We could also make a connector out of a plastic material similar to a lollipop stick.
