Actuator Fabrication
Detailed steps to fabricate the actuators are below, but can also be found on the Popular Science website.
Materials
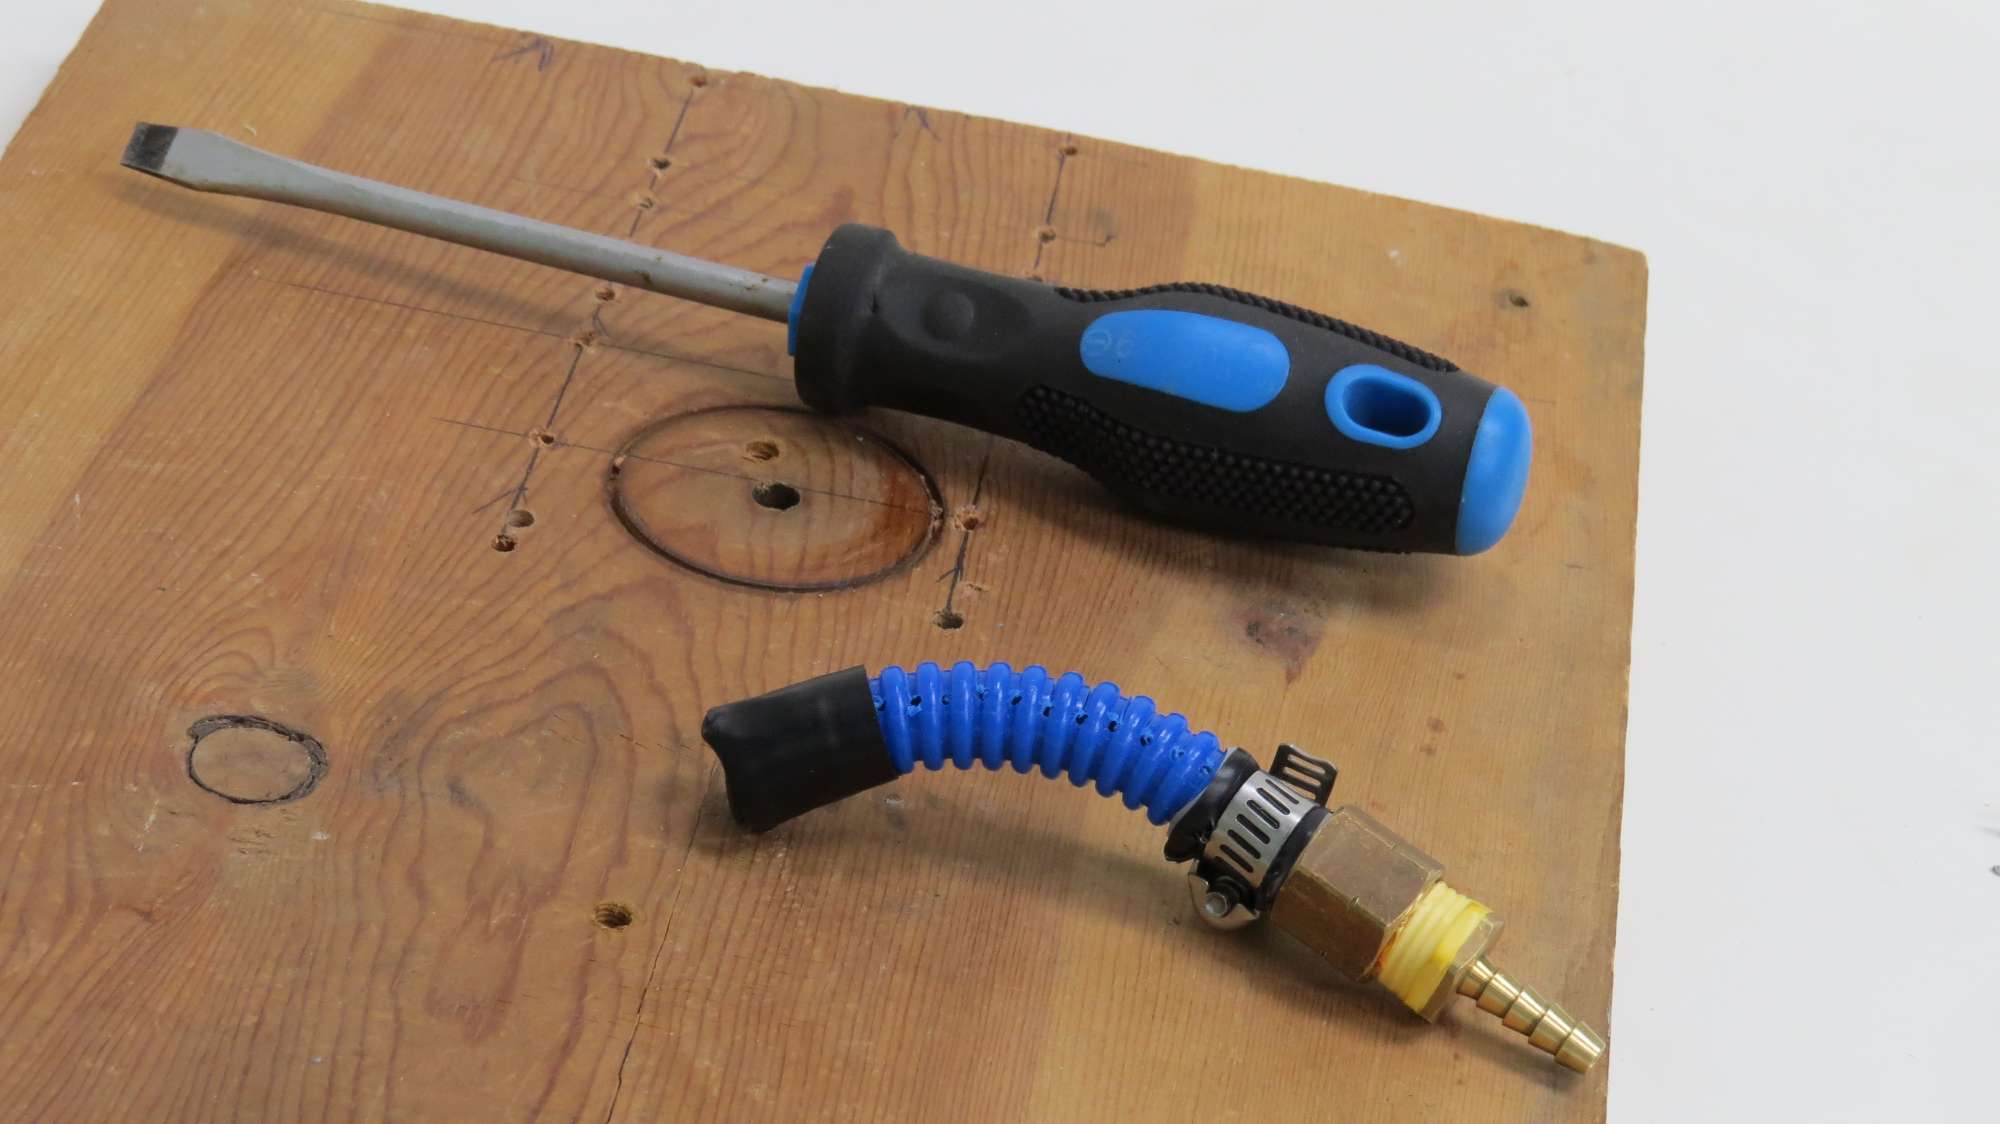
- 7/16-inch inner diameter ribbed hose
- 5/16-inch wood dowel
- 1/4-inch outer diameter vinyl tubing
- Small hose clamps
- 1/4-inch hose barbs x 1/4-inch male threaded adapter
- 1/4-inch hose barbs x 1/4-inch female threaded adapter
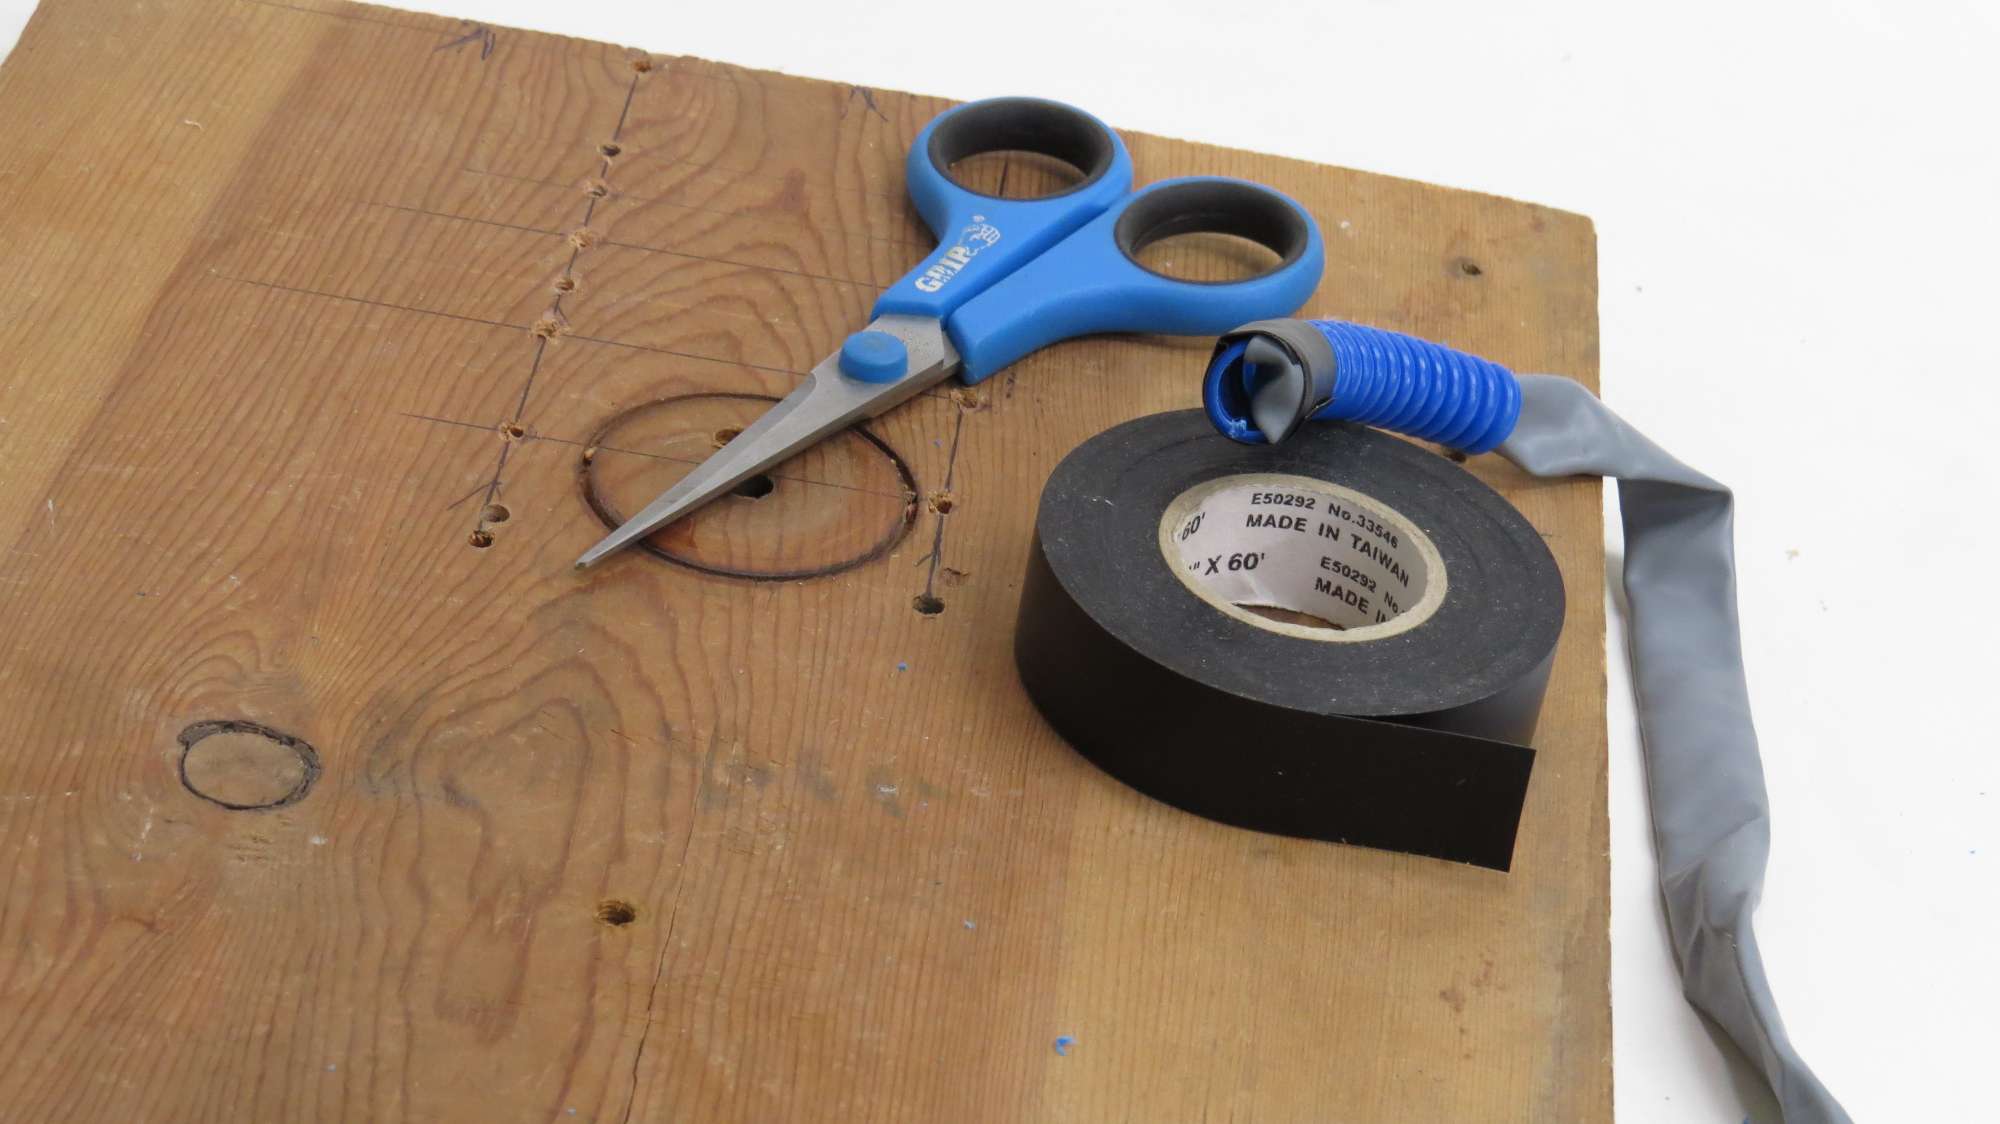
- Electrical tape
- Yellow Teflon thread tape
- Long balloon (type 350Q)
Tools
- Utility knife
- Spring-loaded center punch
- Drill press and 5/64-inch drill bit
- Scissors
- Flat head screwdriver
- Hot glue gun
- Measuring tape
- A couple of adjustable crescent wrenches
Assembly
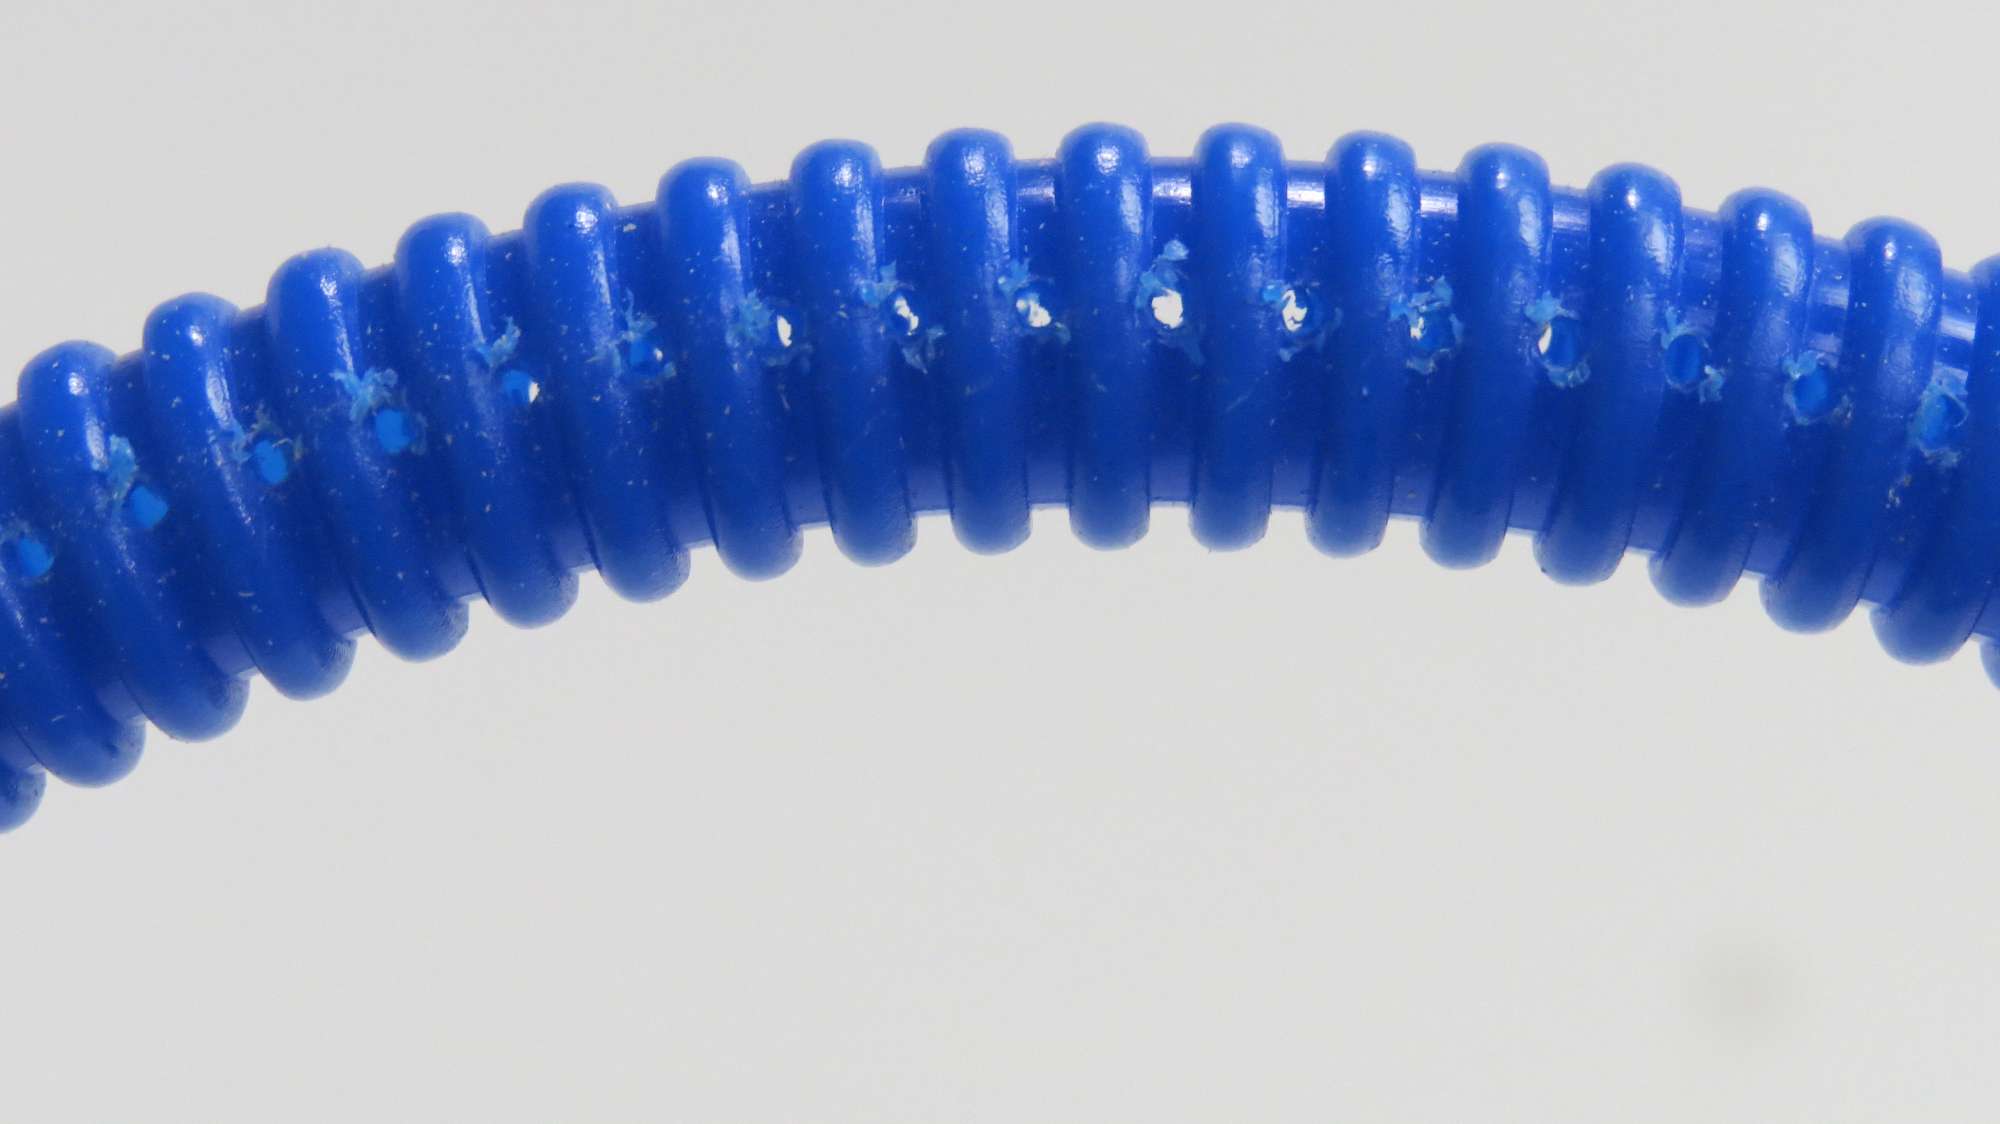
- Insert the 5/16-inch dowel into the ribbed hose to hold it straight. Use the center punch to carefully punch holes between each rib in a line along the seam of the hose. Flip the hose over and repeat along other seam.

- Use the drill press to drill a hole at each center-punched location between the hose ribs, leaving the dowel in place to provide support. It is best to drill the holes on each side of the hose separately, rather than drill straight through. When you are done you should have a neat line of holes on each side of the ribbed hose. These holes will act as a stress relief and prevent the hose from splitting when it is flexed.
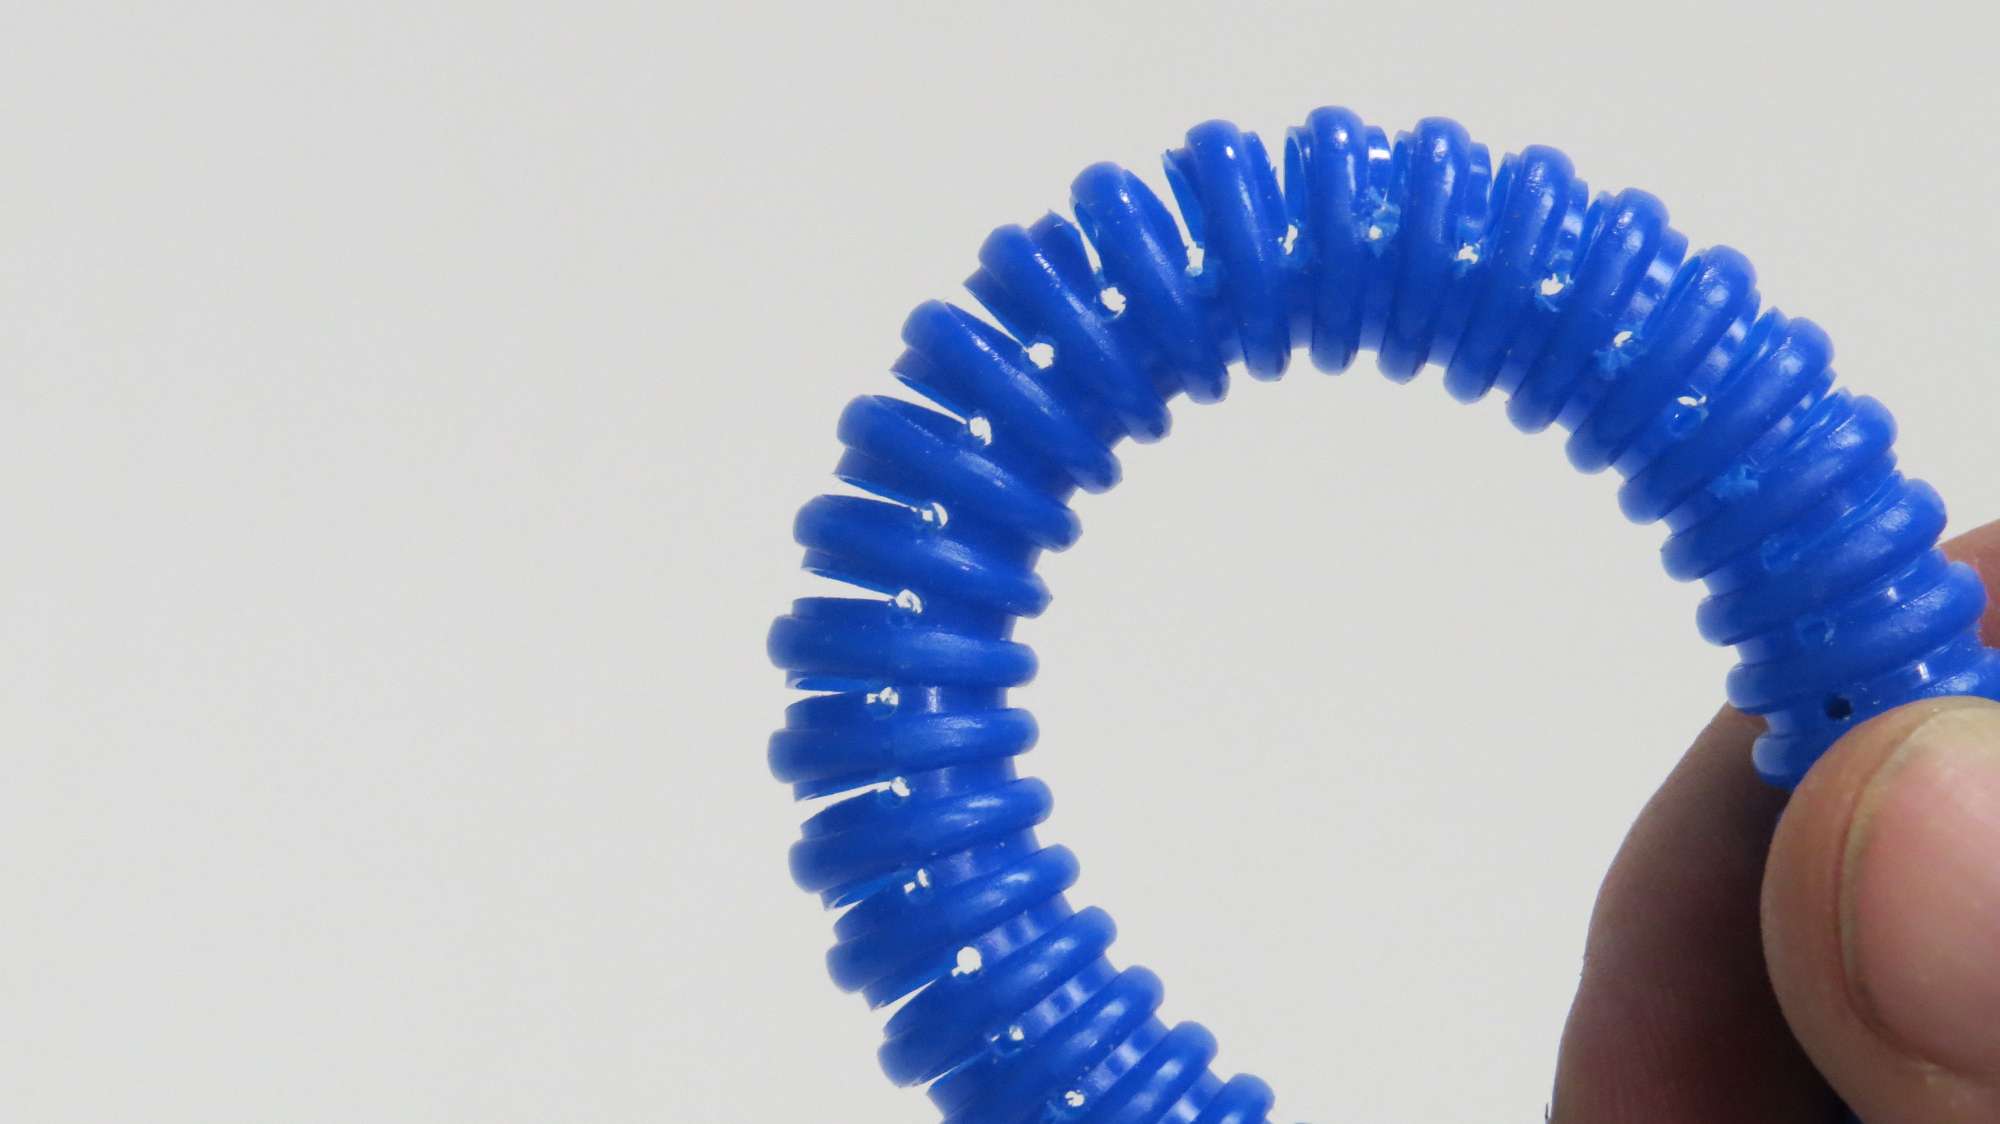
- Remove the dowel and cut the hose into five 3-inch fingers with the utility knife. For each finger, use the utility knife to very carefully cut between each rib from the hole on one side to the hole on the other. Leave the first two ribs on each end uncut. Cut through one side of the hose only. It is critical that you do not nick the far side of the stress relief holes or you will reduce the reliability of the finger dramatically. Now the hose can flex in one direction more than in the opposite direction.
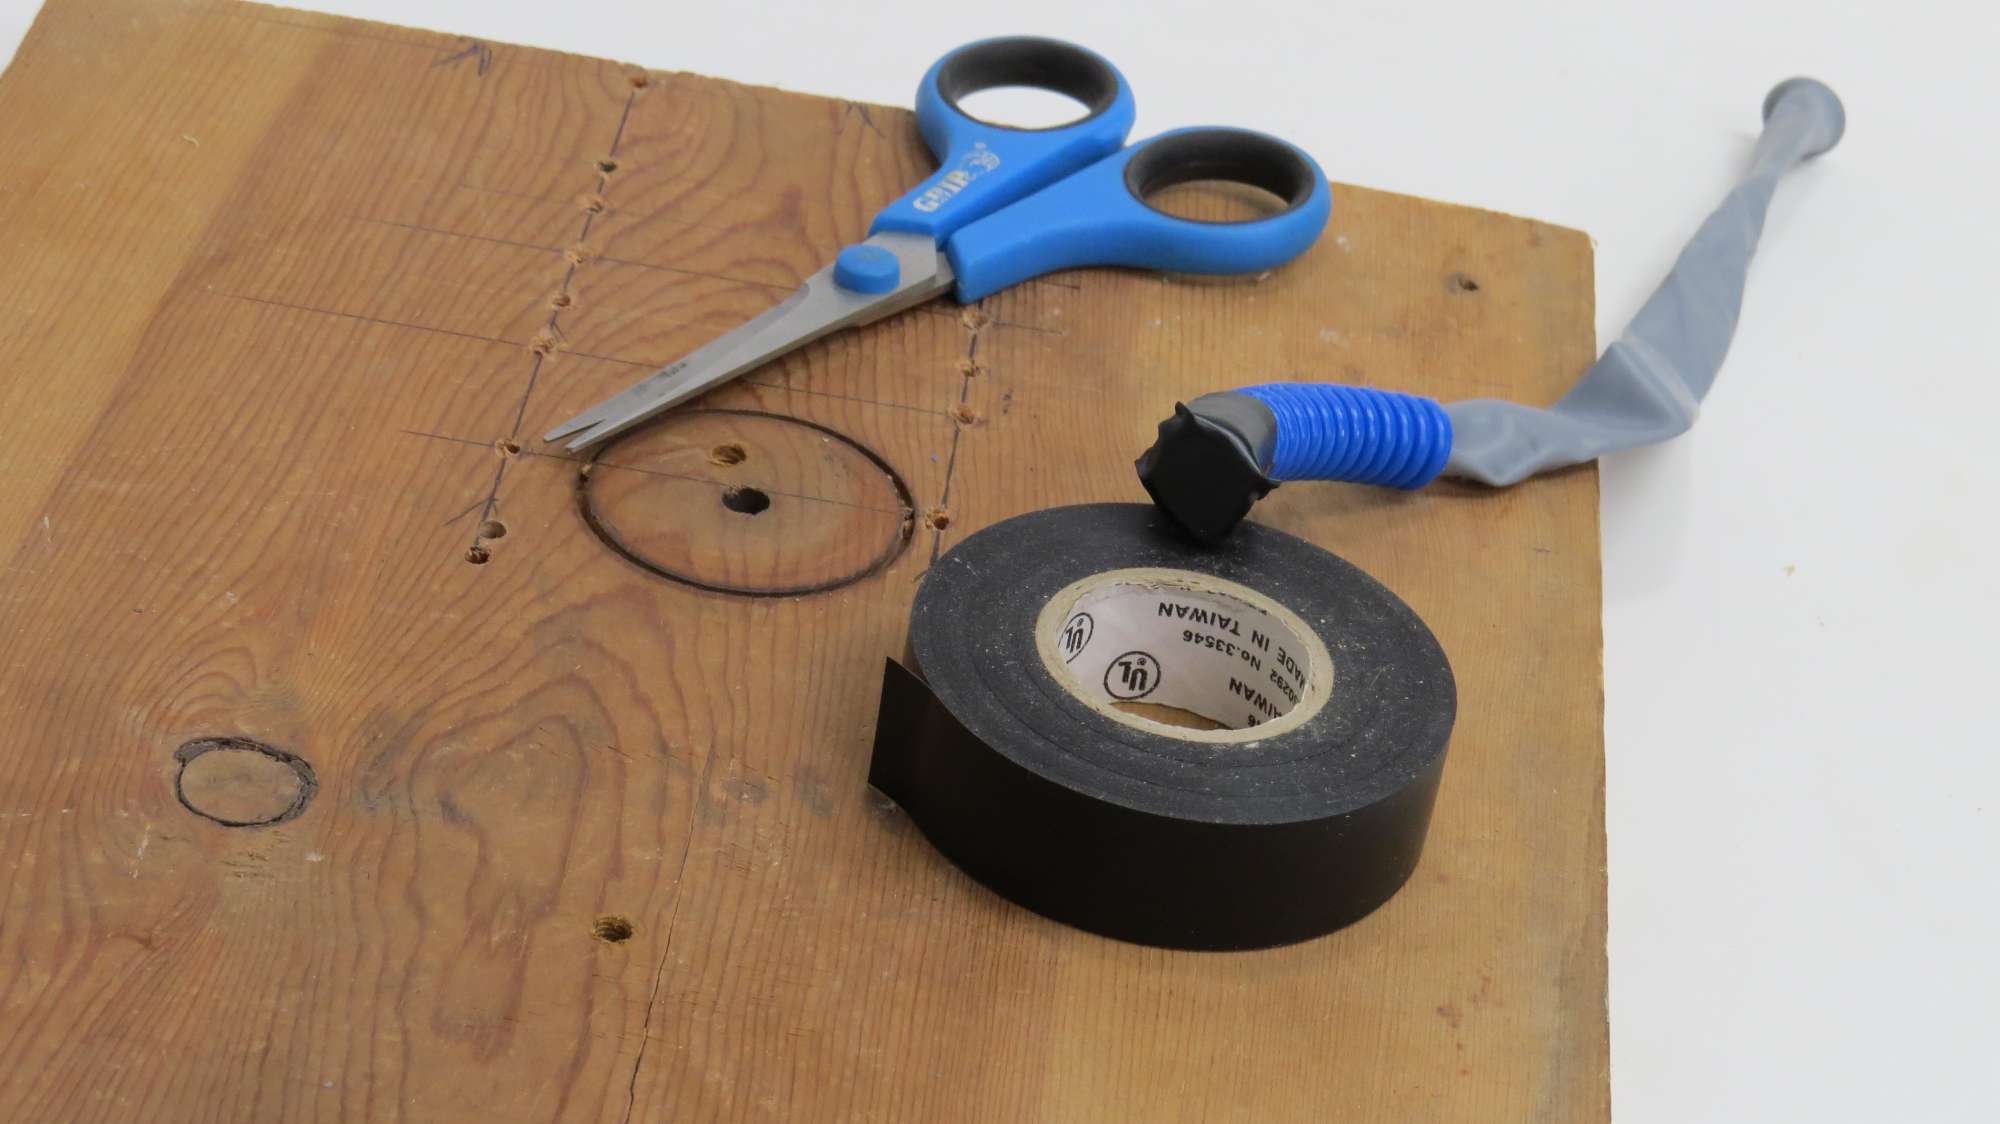
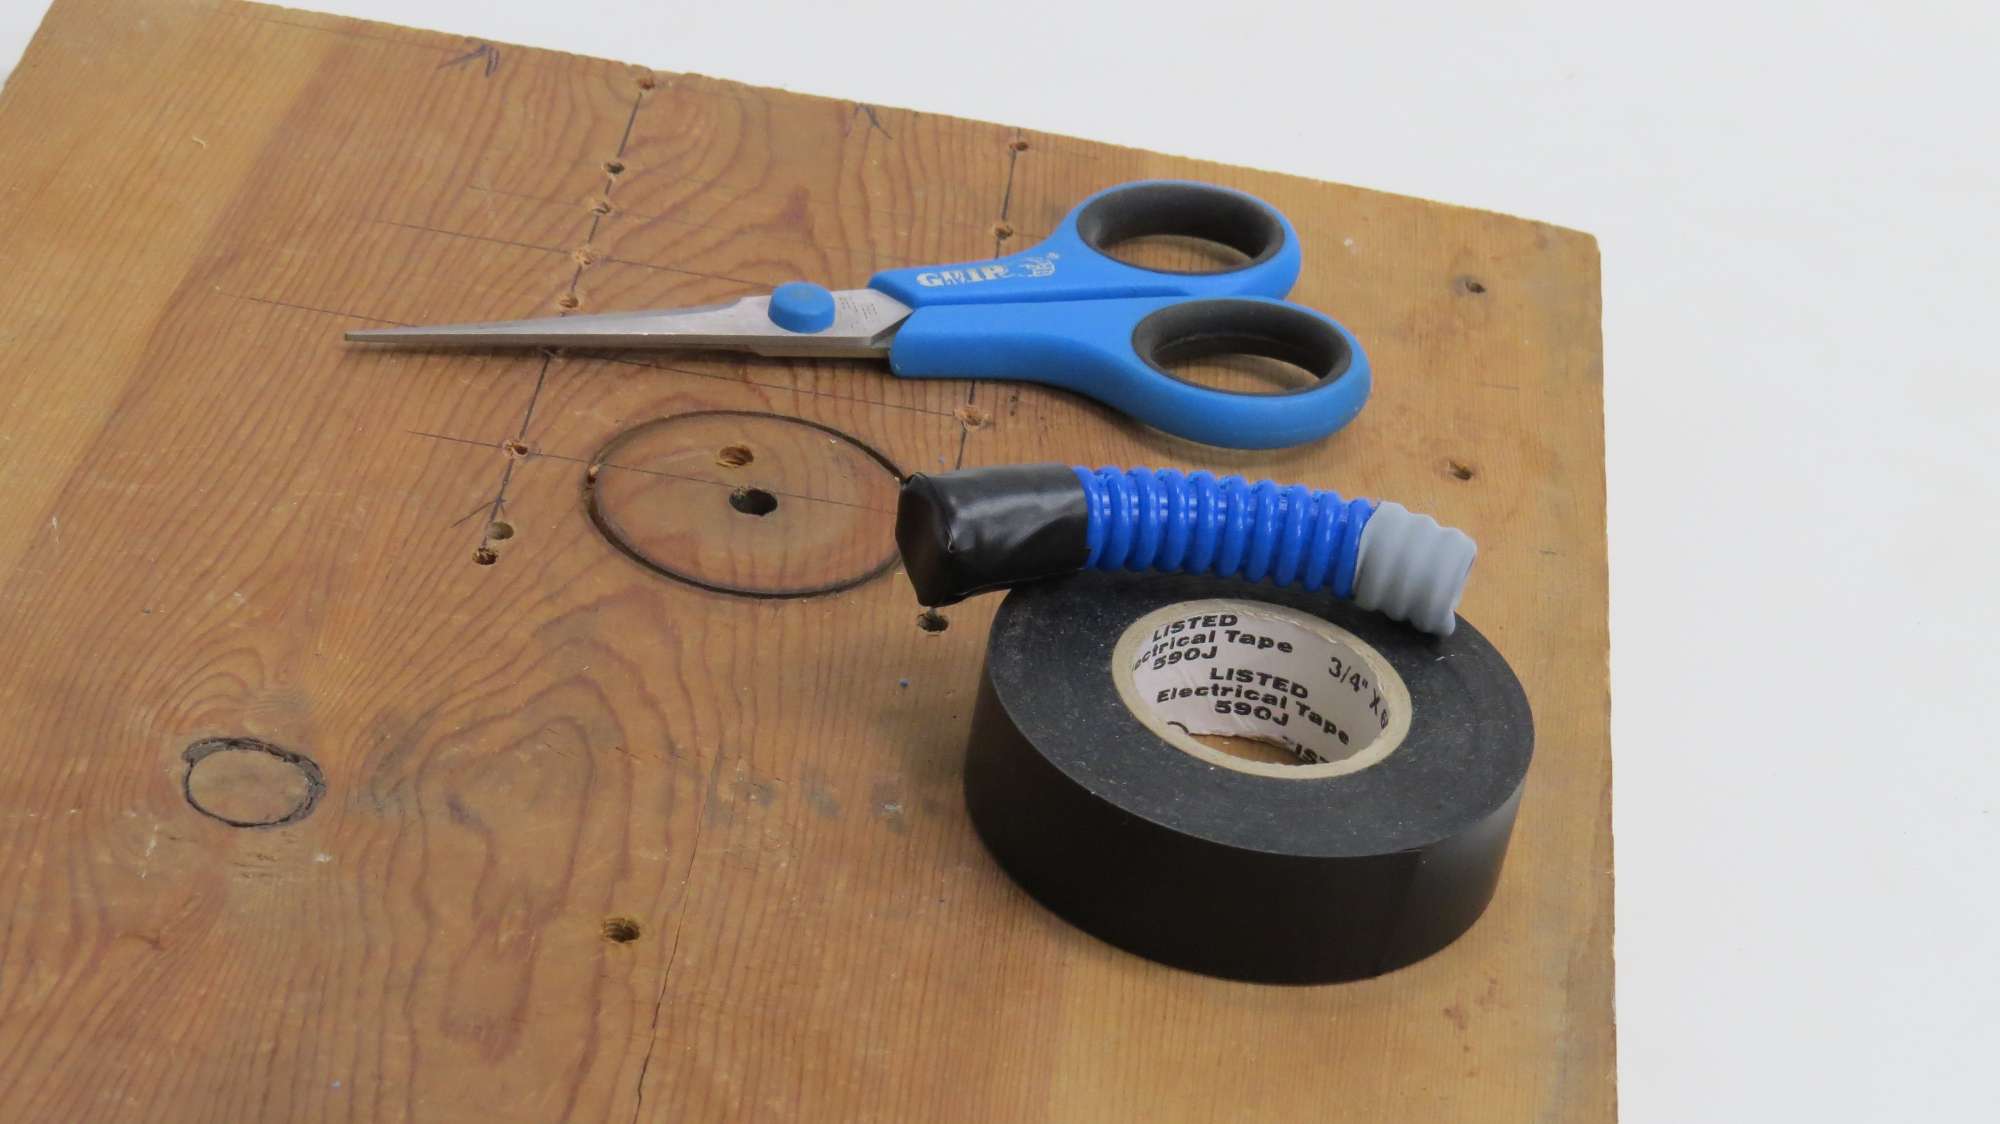
- Insert another piece of dowel into one of the long balloons. Use it to gently feed the balloon into one of the fingers until the end of the balloon sticks out enough to grab it. Remove the dowel, and fold about 1/4-inch of the balloon tip over the rim of the hose. Secure it by wrapping a piece of electrical tape all the way around the tip of the finger.
- Now feed the dowel back inside the finger from the non-taped end, but on the outside of the balloon. Insert it until it is just within two ribs of the tip of the finger. Fill the tip of the finger with hot glue, allow to cool, and then carefully remove the dowel. It was found that the fingers were more reliable when a small amount of hot glue was used to fill the tip of the hose and then secured with more electrical tape. This helped prevent the end of the finger blowing out during use.
- Use electrical tape over the end of the finger, covering the hot-glued end. Another wrap of electrical tape over this will seal the end of the finger.
- Cut the open end of the balloon away, leaving about an inch beyond the end of the finger. Stretch the open end of the balloon out and over the end of the finger.
- Repeat steps 4 through 7 for each finger.
- Use the yellow Teflon tape to wrap the threads on each of the male hose barbs. Thread each male hose barb onto each female hose barb and tighten firmly with the crescent wrenches. Then use more yellow Teflon tape and wrap each female hose barb several times around. The ends of these hose barbs should fit snugly into the open ends of each finger.

- Use the small hose clamps to affix each finger onto the Teflon wrapped ends of the five hose barbs.