In this tutorial, we demonstrate methods to use a consumer embroidery machine for the fiber routing and attachment problems in 2D and give application cases with different fiber types. We provide a new plugin for a popular, open source vector drawing program (Inkscape) that outputs the PES format used by low-cost Brother embroidery machines, and show how to adjust the file so the patterned threads can be aligned to other parts.
People who have never used a sewing machine before have used these methods successfully. However it helps to know what's going on with the thread. In both a regular ("lock-stitch") sewing machine and an embroidery machine, there are two threads. One comes from the bobbin - a small spool under the fabric, and one thread comes from the needle above the fabric. Here is an animation on YouTube by Design Squad Global:
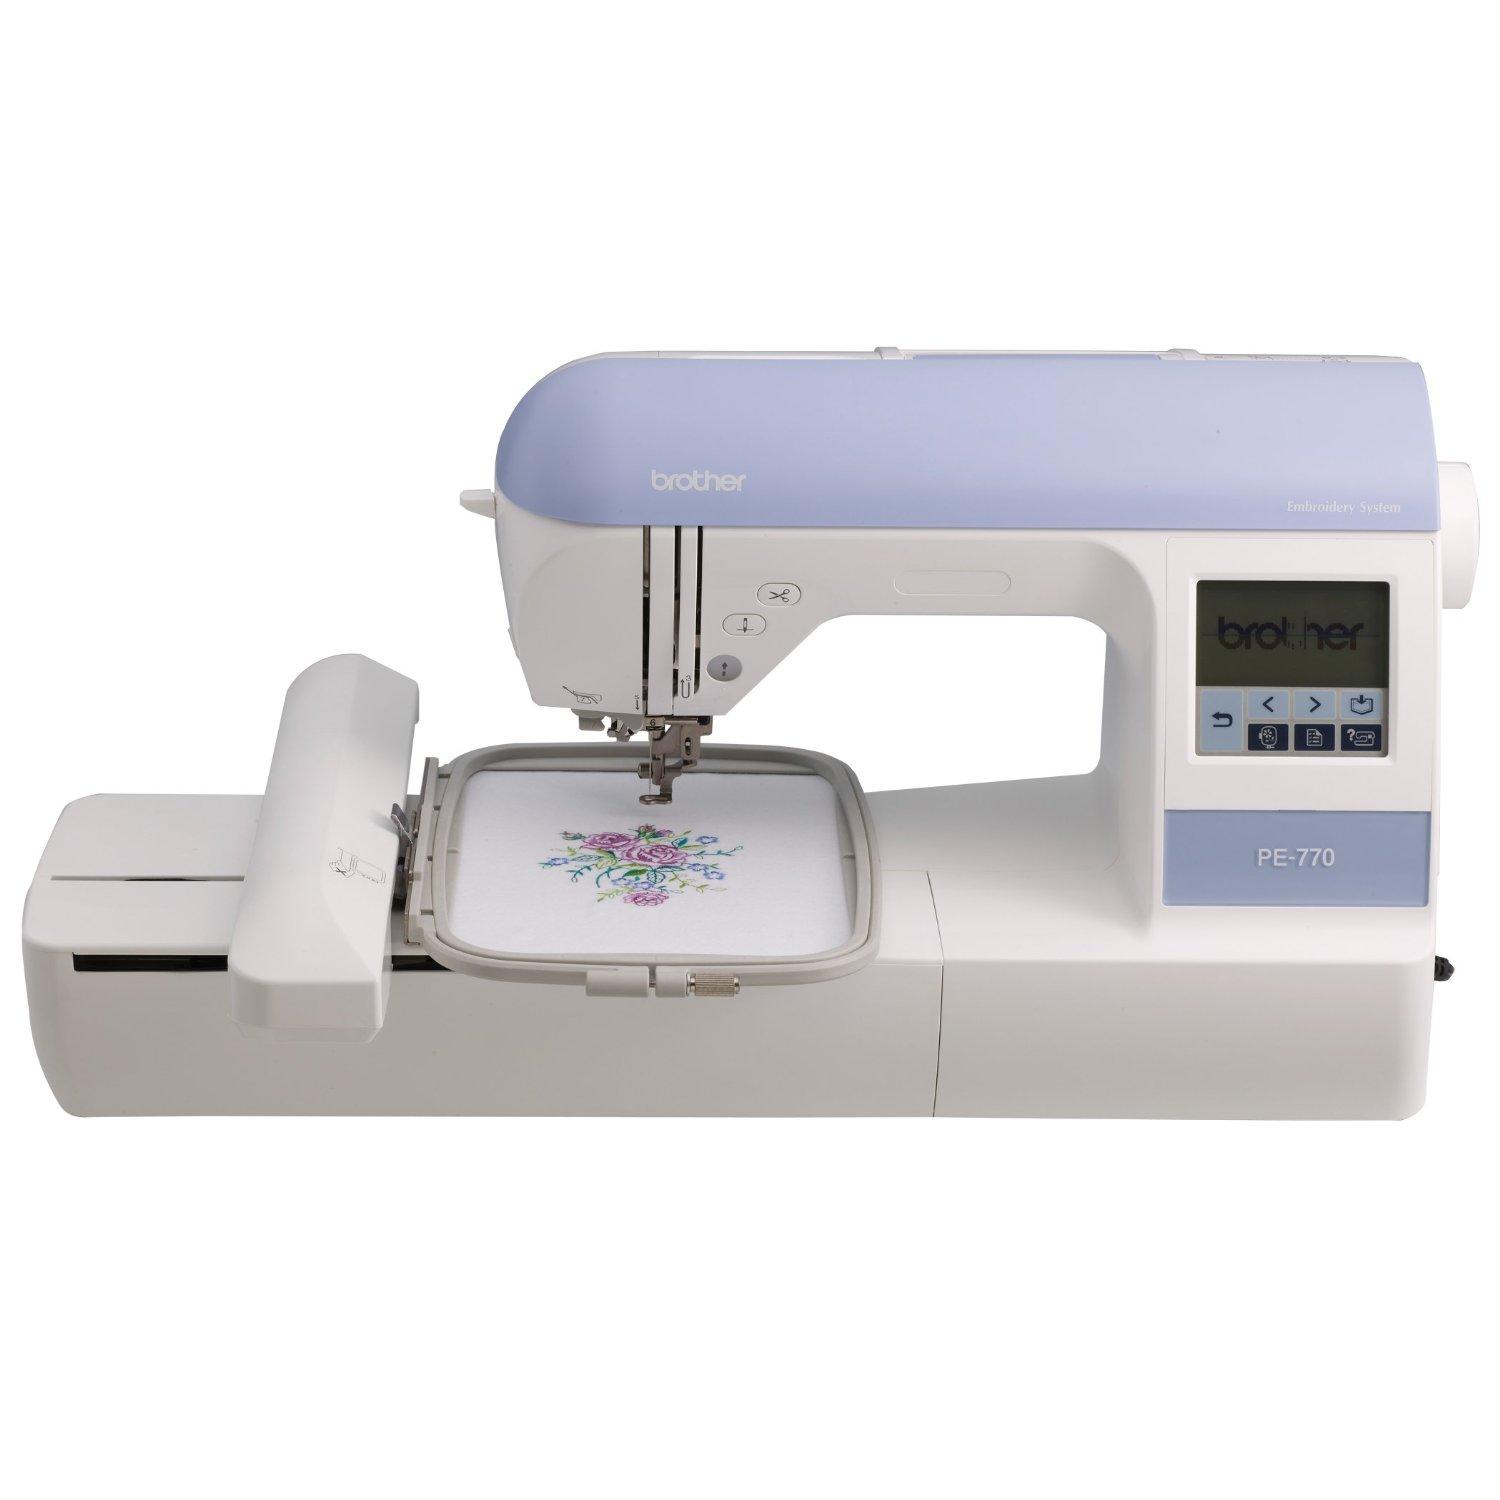
In an embroidery machine, when the needle lifts up, a computer-controlled X-Y stage moves the fabric to a new position and a pattern develops. Entry-level embroidery machines can carry out hundreds of stitches per minute! The embroidery demonstrations in this tutorial were done with two different Brother brand machines: the PE-525 with a 4x4 inch (10x10 cm) embroidery area and the PE-770 with a 5x7 inch (12.7x18 cm) area. Software and alignment steps were the same for both of these machines; the PE-770 has a little more ability to adjust stitch speed and thread tension:

We also show an example using a regular non-embroidery sewing machine with a couching foot to capture thick fibers. These were done on a Brother innov-is 80 machine. The benefit of using one brand of machine is that most of the consumable parts are interchangeable, especially bobbins. However, these techniques could be adapted to any brand of machine.
