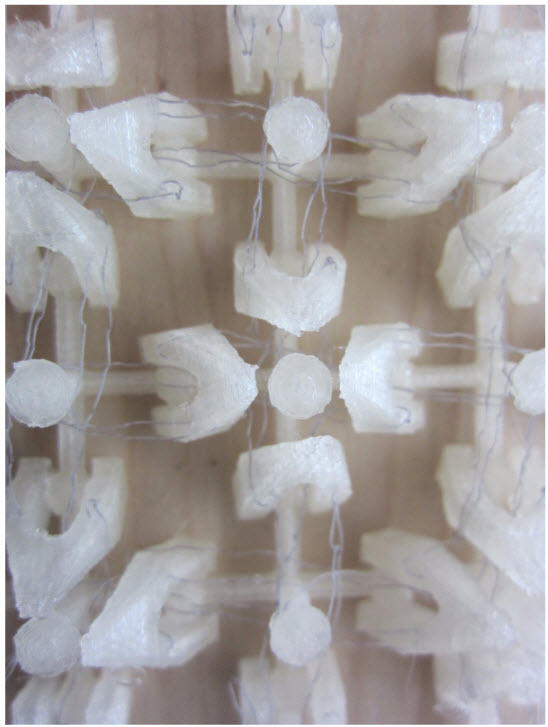
This section shows the steps to put a fiber layer partway through a 3D printed part. It requires a fiber layer to be pre-installed in a laser-cut water soluble sheet, and a 3D printed file that matches the laser-cut holes plus the ability to pause the 3D printer at a specific height in the print. The fibers in the sheet can be thick or thin. This method could be used to add tendons or actuators to a 3D printed part in patterns that are too tedious to install manually, or in places that would not be possible to reach after the 3D print is finished. Files for this example are available in the Downloads section.
1. Cut water-soluble UltraSolvy and align the embroidered pattern to it using the steps in the Alignment Process section.
In this example, the needle thread is 4-lb polyethylene fishing line (It works best with these machines to use a dark rather than clear line because the thread-break sensor may not see the fine clear line). The bobbin thread is Wash-A-Way water soluble thread. The pattern here is slightly off center and rotated to match the locations of the UltraSolvy alignment marks.
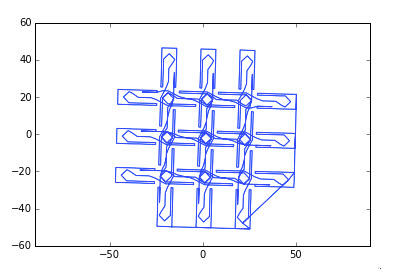
In the resulting pattern, most of the fibers pass around the holes but a few cross through. These crossing fibers are intended to be captured between layers of the part, anchoring the fibers down after the UltraSolvy is washed away. Fibers also wrap around posts (the circular hole) for reversing direction, and pass through cutouts in the part, performing tasks similar to tendons in the body.
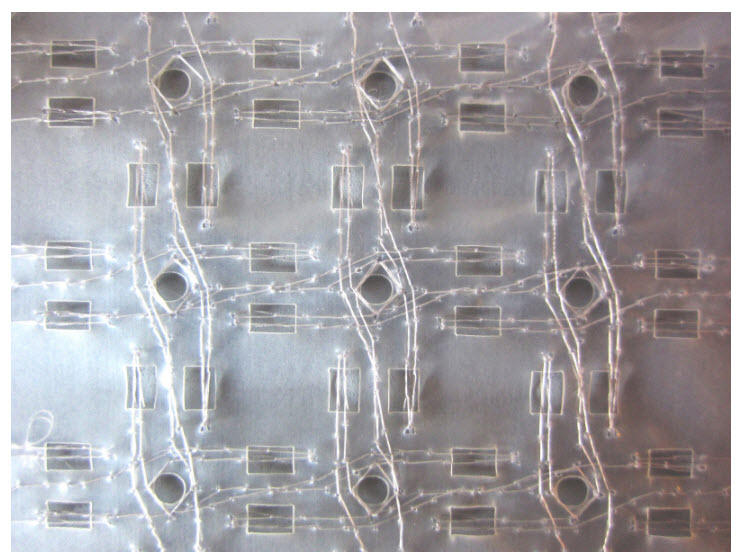
This laser-cut file was obtained by slicing this 3D design at a height of 7 mm (approximately halfway through its thickness).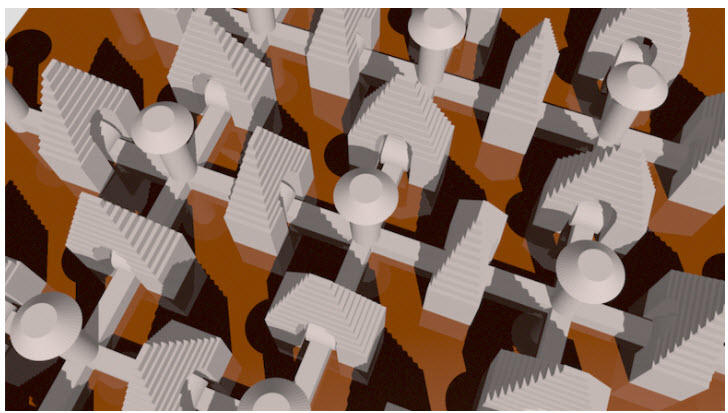
2. Print the part and install the fiber layer at a pause point
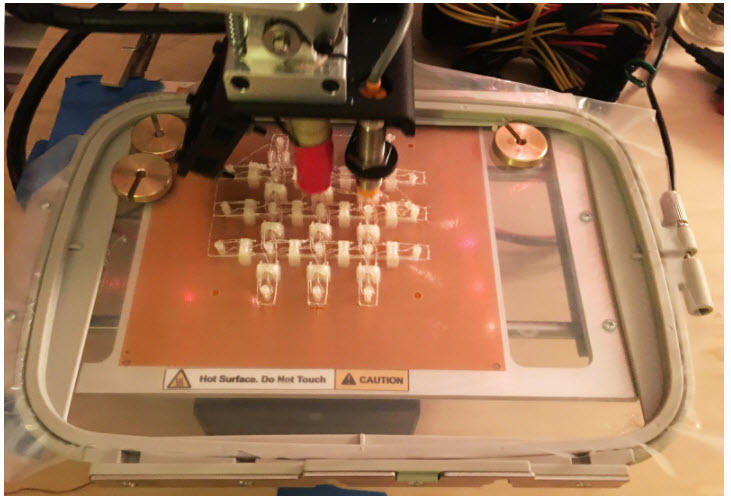
We used Octoprint software to pause the 3D printer (PrintrBot Metal with heated bed) at 7 mm. The material is PLA printed at 190C. After pausing, the print head was moved to the corner, and the fiber layer (still in the hoop) was hooked over the partially printed features and weighted down. Then the print was resumed.
3. Wash away the UltraSolvy in hot water.
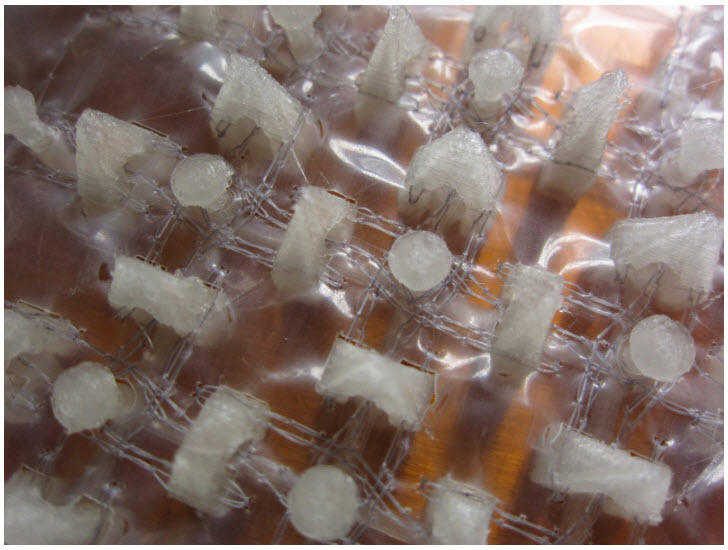
After washing away the UltraSolvy, the fibers were anchored in place. The hinged flaps were moved and fibers were observed to connect flaps along the intended routes.
