Generating an STL File
Download and install OpenSCAD on your computer if you do not have it installed already.
Download and open the parametric file.
Adjust the parameters to achieve the desired actuator morphology. Use "Preview" (under the "Design" menu) when you altering the variables, to verify their effect on the design.
Once you have the correct design, choose "Render" (under the "Design" menu) to generate the 3D model.
Then choose: "File" -> "Export" -> "Export as STL" and save the file.
3D Printing the Mold

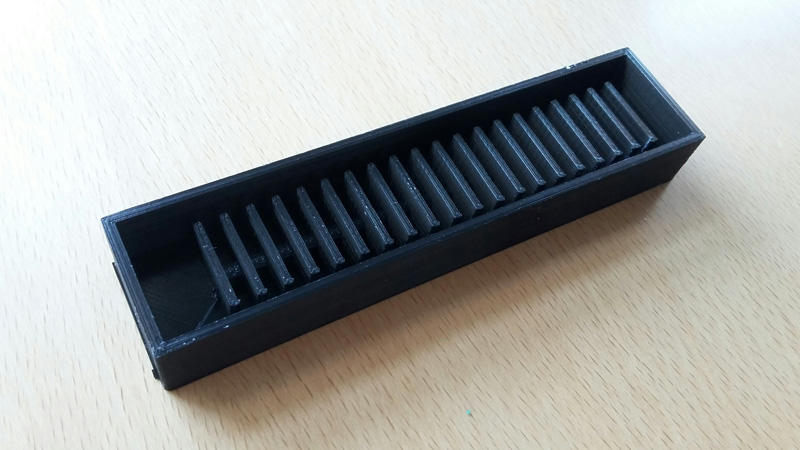
The mold can be printed on a consumer grade 3D printer (e.g. Ultimaker 2) in PLA or another material.
Import the STL file in the slicing software (e.g. Cura or Simplify3D). Orient the 3D model so that the bottom of the mold is oriented downwards.
Before printing it can be helpful to also add a brim to prevent the mold from curling up at the corners.
Post-processing the Mold
When the mold is printed on an FDM printer there is a chance that some small mistakes will be present on the print. If these are just a few hairs/strings or blobs/zits, you can remove them with an X-Acto knife.
