Casting First Side

|
Cut two equally sized pieces of conductive fabric. These will become the electrodes on the outside of the sensor. The size of these pieces is dependent on the size of the desired sensor sheet and must also be cut along the wales as shown. Take note of the 'shiny' side of the conductive material as it will need to be placed facing away from dielectric layer. | |

|
Cut along the wales of the knit to keep the fabric's alignment as straight as possible for laser cutting. | |
|
|
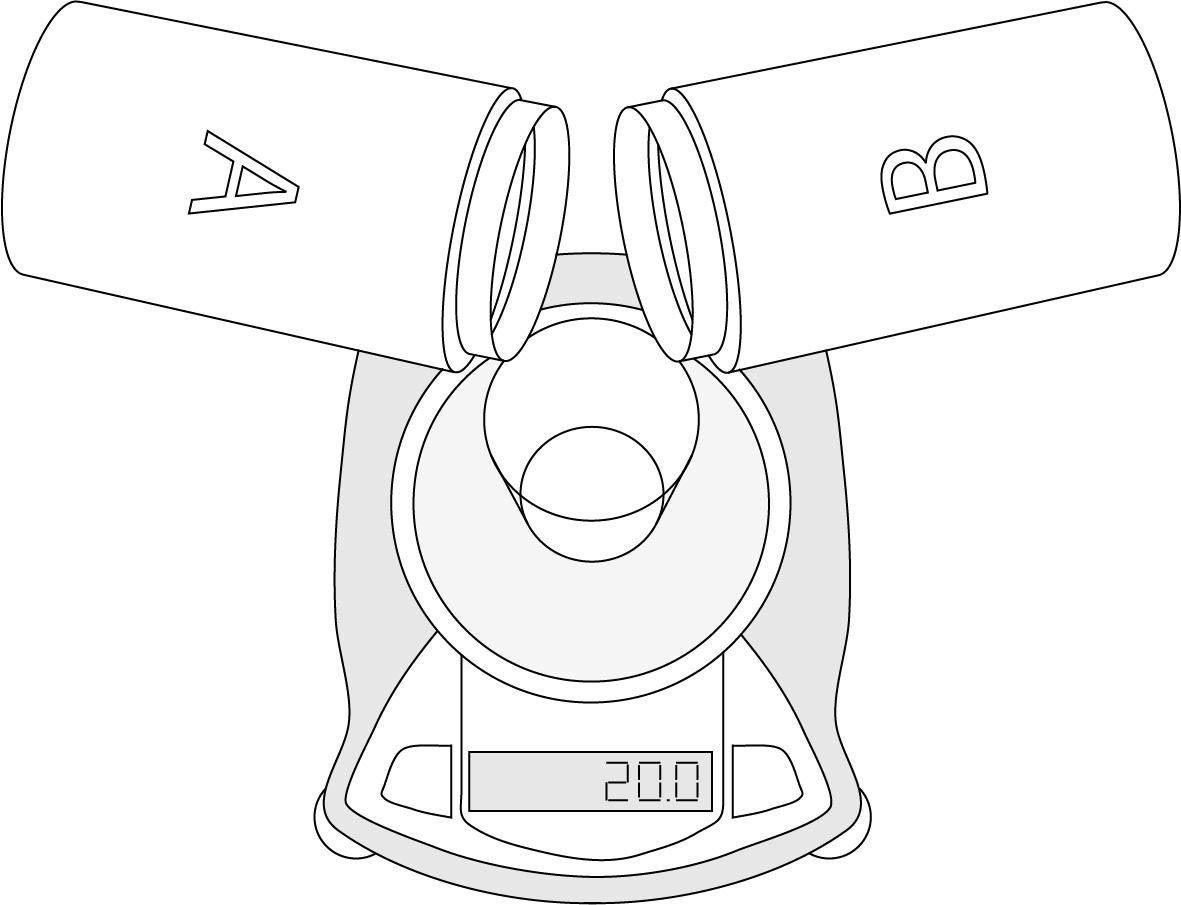
Measure and mix 20 grams of the elastomer parts A and B. You can use a centrifugal mixer to do this or simply by hand with a mixing stick. | |
|
|
Using the acrylic sheet as a tray, allow the film applicator to spread the elastomer mixture across the length of the tray. [Note: The elastomer layers will have colored dyes to help them stand out, it is not necessary to the sensor's construction]. This layer must cure completely. Cure in an oven at 70°C for 10 minutes. Without an curing oven it is best to have this layer cure overnight. | |
|
|
Using the same amount of elastomer (20 grams) cast a layer over the dielectric that will act as an adhesive between the fabric and the dielectric. | |
|
|
Lay one piece of fabric onto the silicone adhesive layer. Use a roller to apply pressure and adhere fully. This prevent delamination with repeated strain. Cure at 70°C for 10 minutes. | |

