Fabrication
The soft actuators were fabricated using NinjaFlex® flexible 3D printing filament, which was produced by NinjaTek and fabricated by a 3D printer Makerbot Replicator 2X. Properties of the NinjaFlex® is listed in Table 1. This material can be bought from the website: https://ninjatek.com/products/filaments/ninjaflex/.
With reference to work by Yap, et al, the 3D printing process parameters are set as in Table 2. The diameter of the extruder we used is 0.4mm, and that’s the reason for designing the wall thickness to be 1.6mm as we want 4 layers of material are printed to ensure the air-tightness of air chambers.
H. K. Yap, H. Y. Ng, and C.-H. Yeow, "High-Force Soft Printable Pneumatics for Soft Robotic Applications," Soft Robotics, vol. 3, pp. 144-158, 2016.
Properties | Materials |
Density/g∙cm-3 | 1.19 |
Tensile strength (Yield) /MPa | 4 |
Tensile modulus /MPa | 12 |
Hardness | Shore 85A |
Table 2 Main parameters of the 3D printing process
Parameters | Values |
Extruder temperature for NinjaFlex filament (℃) | 245 |
Extruder temperature for Conductive filament (℃) | 220 |
Build platform temperature (℃) | 40 |
Nozzle size (mm) | 0.4 |
Layer thickness (mm) | 0.1 |
Shell thickness (mm) | 1.6 |
Print speed (mm/s) | 30 |
Print infill | 100% |
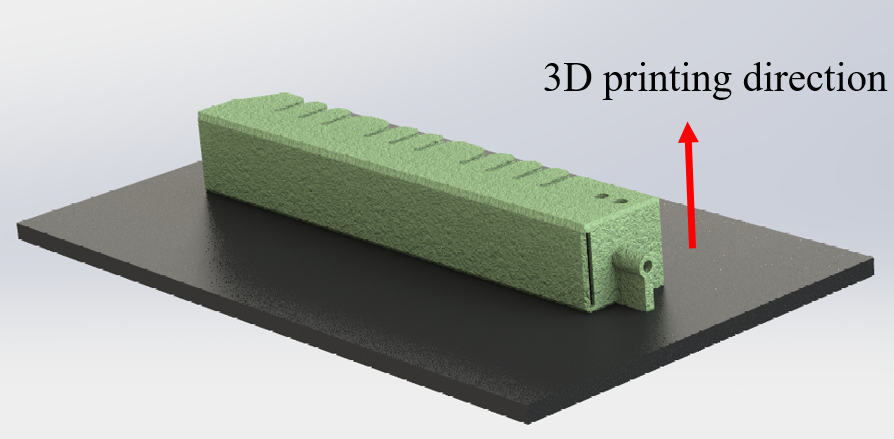
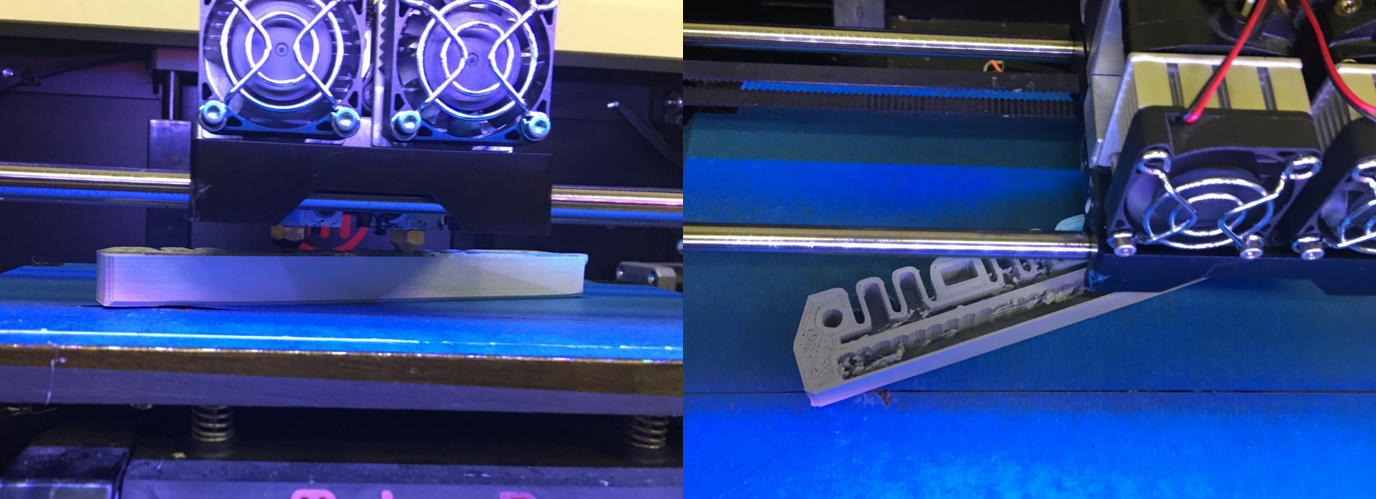
Fig. 6 shows the 3d printing direction of the finger. It should be noted that although the air chamber and jamming chamber are hollow, no support structures are required for 3d printing process as the elastic material itself can keep the upper surface from collapsing. 3d printing process of the finger is shown in Fig. 7. After the finger is printed, particles will be pouring into the jamming part. The particles that we used to fill in the finger is plastic balls with diameter 4mm. And as shown in Fig. 8a, there is a small notch designed for pouring in the particles. The entire process is shown as Fig. 8. After the finger is full of plastic balls, the notch will be sealed.