Device Assembly
The following account the steps we took to assemble the diaphragm actuators and other components of the device into our final prototype:
Drill a hole into each hollow rigid plastic hemisphere
Stick a rigid cylindrical frame (which is supporting a diaphragm actuator) onto each hollow plastic hemisphere
Pull the wires connected to the actuator's electrodes out through the hole drilled into the hemisphere
(see Figure 3.2.1)Tape a ~200 g mass onto the middle of a rigid wooden beam (see Figure 3.2.2)
Soften both ends of the wooden beam with Plasticine
Position one softened end of the wooden beam into the bottle cap part of one of the diaphragm actuators (which have already been installed within one rigid plastic hemisphere by this stage)
While supporting the wooden beam and mass atop one of the diaphragm actuators, position the other hemisphere over the beam such that the other softened end of the beam is directly entering the bottle cap of the actuator in the top hemisphere. Gently lower the top hemisphere until it connect and locks with the lower hemisphere to form a complete sphere. (see Figure 3.2.3)

Figure 3.2.1: One completed hemisphere

Figure 3.2.2: Centralized mass on rigid beam
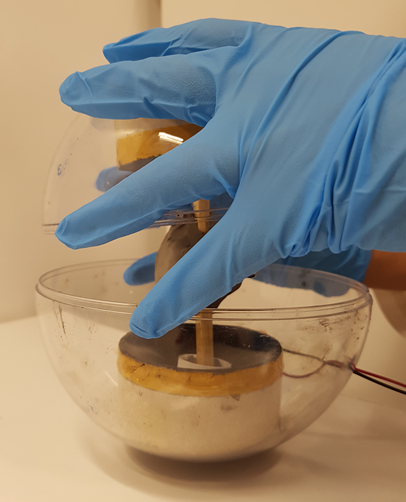
Figure 3.2.3: Enclosing beam-mass in sphere