Step 1: Conductive Rubber

The conductive rubber components are used to conduct electricity from the conductive fluid to the external leads. The steps shown here are adapted from Andrew Quitmeyer's guide on Instructables.

| STOPCarbon fiber strands are extremely lightweight and can become airborne. Ensure you are wearing the proper safety equipment before continuing. We recommend:
|
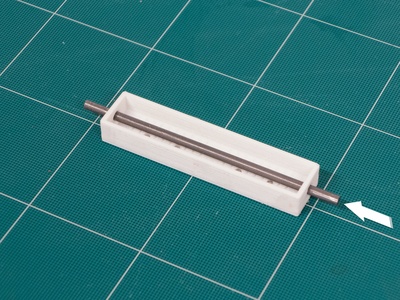
| Prepare the mold by sliding the 4 mm steel rod through the holes on the side of mold |
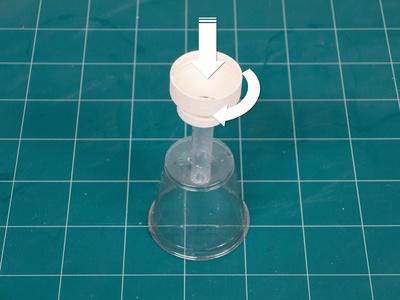
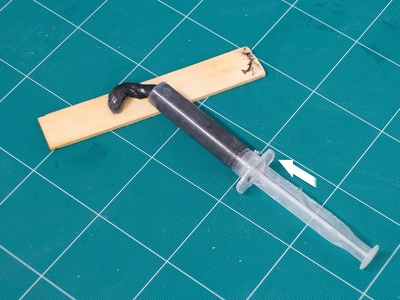
| Using a sharp blade, carefully cut the tip of the syringe off to make a 8 mm diameter orifice. Remove the syringe's plunger and attach the syringe attachment on to the syringe with a quarter turn. It will be helpful to stand the syringe upright. One way is to cut a syringe sized hole in a cup like shown. |
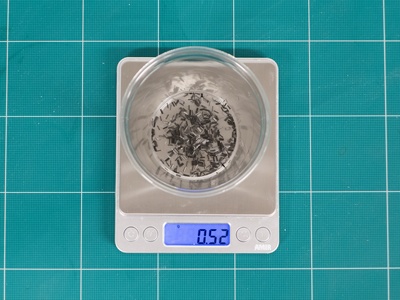
| In a stirring cup, weigh 0.5 grams of chopped carbon fiber followed by 1 gram of rubbing alcohol |
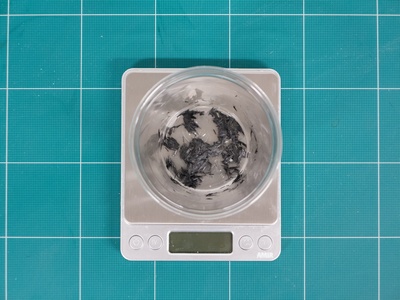
| Stir the mixture of carbon fiber and rubbing alcohol thoroughly until the fibers are dispersed like shown. Pour out any excess alcohol and squeeze the fibers to remove as much alcohol as possible. |
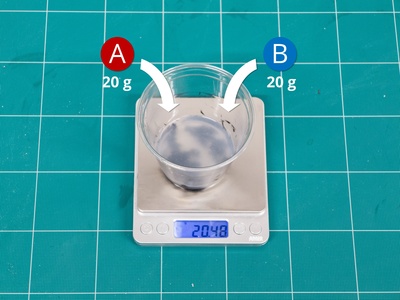
| Pour in 20 grams of Part A of the silicone rubber (PlatSil Gel-25) followed 20 grams of Part B of the silicone rubber. Note: Only substitute the silicone rubber with platinum-cure silicone rubber and follow instructions to yield 40 grams of total rubber. |
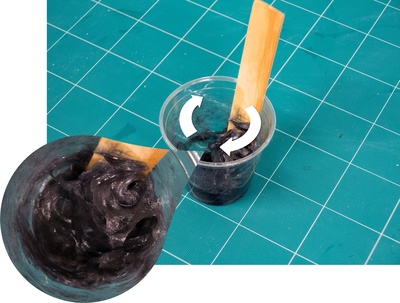
| Stir the mixture thoroughly. Please keep in mind that PlatSil Gel-25 has a pot life (time before the mixture is too thick to pour) of 5 minutes. Stir until the mixture has a consistency like shown. To ensure conductivity, you can also measure the resistance of the mixture. The steps provided here should yield a resistance of 1 - 2 kOhms depending on where you measure. |
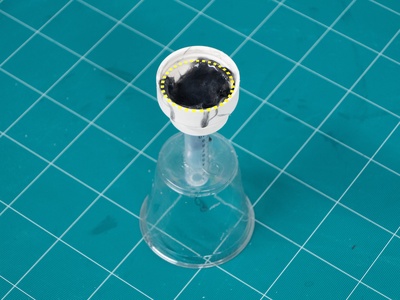
| Pour the mixture into the syringe attachment up to the beginning of the threads as denoted with the yellow dots. |
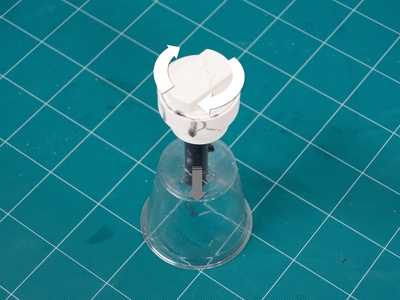
| Screw on the cap of the syringe attachment, the carbon fiber and silicone rubber mixture should flow down into the syringe. Note: For ease of cleanup, let the mixture remain in the attachment until it is dry and then peel off the cured rubber. |
| Remove the syringe attachment and insert the syringe's plunger. The mixture might immediately flow out. |
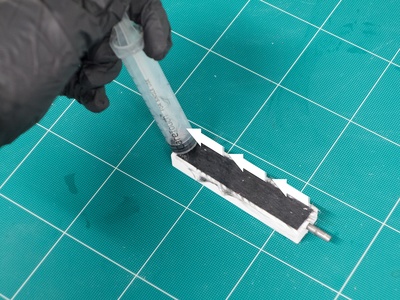
| At this point the mixture is extremely viscous and is difficult to spread. Dispense the mixture into the mold by slowly dragging along the length of the mold and use the face of the syringe to press down on the dispensed mixture. |
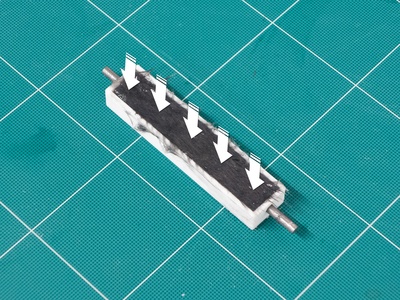
| Using a flat bar or the stirring stick, press down on the mixture into the mold. Try to remove as much voids as possible. It is okay if the mixture protudes from the top. We found that pressing down and moving lengthwise in short strokes in a single direction helps fill the mold. |
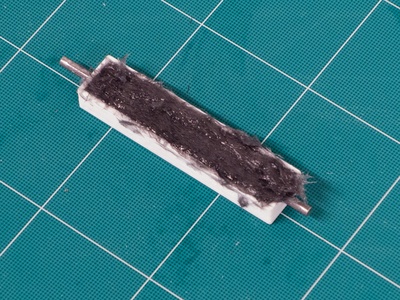
| Wait at least 60 minutes (or according to manufacturer's suggestion) before demolding. The conductive rubber is very easy to cut with a sharp blade (X-acto or cutter blade). Trim the excess conductive rubber off the top of the mold. |
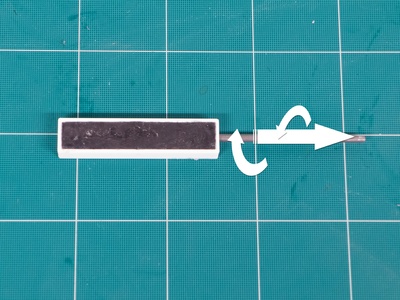
| With a twisting motion, pull the 4 mm steel rod out of the mold and then demold the conductive rubber. Use a small tool to pry the conductive rubber out of the mold at the ends and pull. |
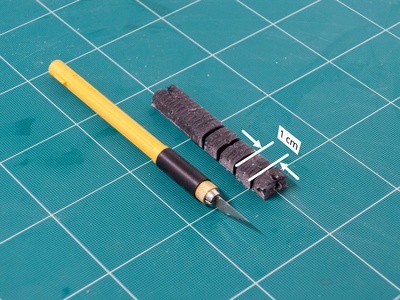
| Using a sharp blade, cut the conductive rubber lengthwise into 1 cm long pieces. The resistance of the conductive rubber from one end to the other should be 1-2 kOhms. This concludes the steps for the fabrication of the conductive rubber. |
Bibliography
Preechayasomboon et. al. Multi-Modal Sensing and Actuation in Biomechanical Hydraulic and Pneumatic Systems.
Contributors
Pornthep Preechayasomboon
Gaurav Mukherjee
Eric Rombokas