Fabrication: A step-by-step guide (part 2)
Building one section of the robot
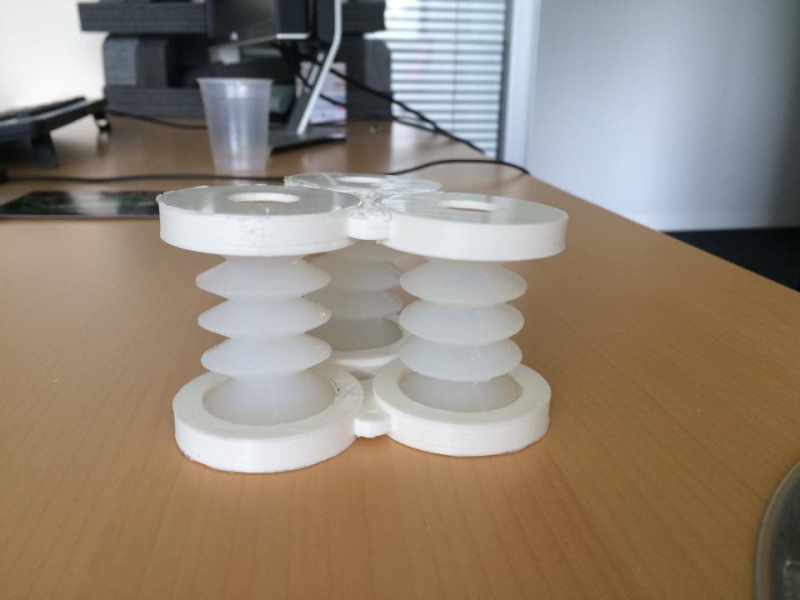
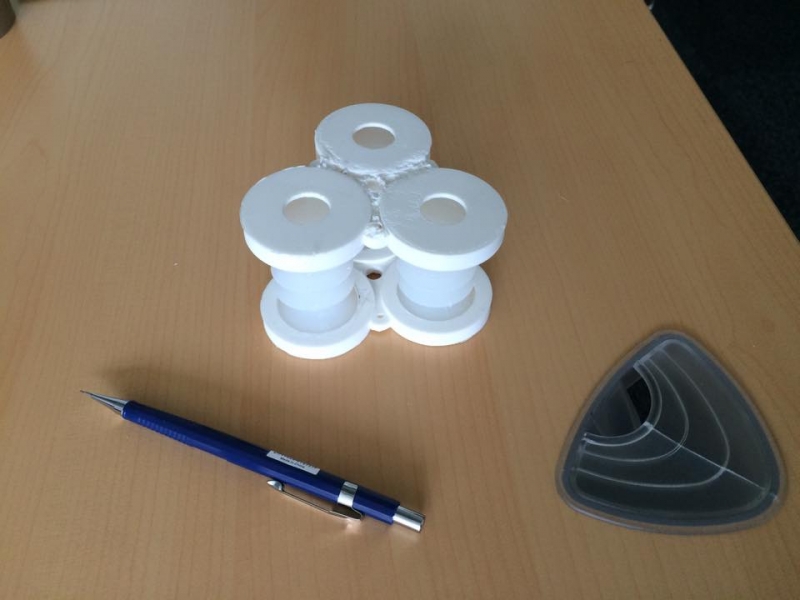
Once three actuators are made and a couple of platforms are printed, the assembly of one section of the manipulator is an easy task. Just put the actuators in the sockets of a sandwich of platforms, connect the tubes for the pressure supply, and close the caps.
Building the base frame
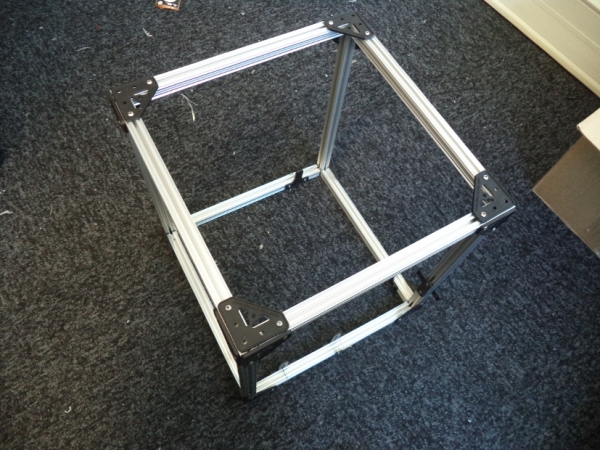
In order to have a suitable fixation base for the manipulator, a frame made of beams was built. This frame is composed by 12 beams of 30cm of length with some A-brackets to keep it together. OpenBeams were chosen because of the readiness of the materials and because more brackets can be 3D printed needed.
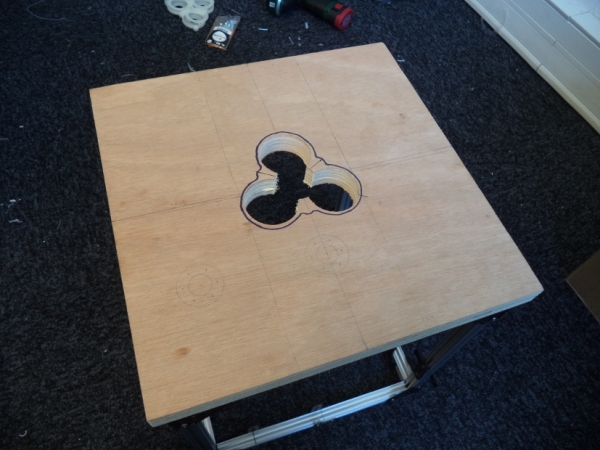
Cover the frame with the wooden plank. With the use of the electric drill, cut suitable holes in the shape of the base rigid platform of the manipulator, so that there is easy access to the connection holes of the sockets and also the cable guides.
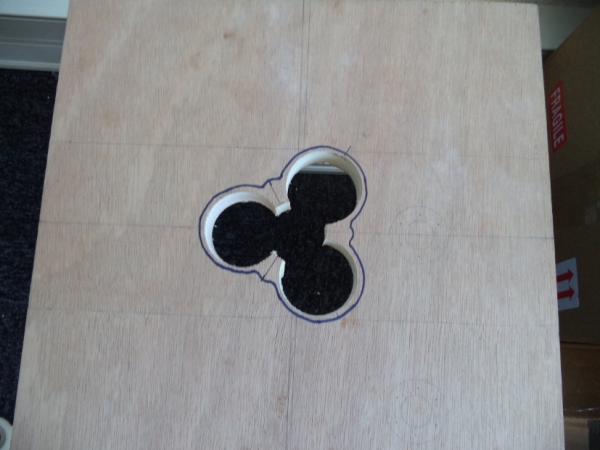
Finally, attach the plank to the frame using bolts from the bottom up. The servos will be placed on top of the cover, while the manipulator will be attached to the plank at the bottom side. The manipulator will be operating hanging from the cover of the base.
Bibliography
Robinson et al. (1999) Continuum robots-a state of the art
Walker et al. (2013) Continuous backbone “continuum” robot manipulators
McMahan et al. (2005) Design and implementation of a multi-section continuum robot: Air-Octor
Neppalli et al. (2007) Design, construction, and analysis of a continuum robot
Bosman et al. (2015) Domain decomposition approach for FEM quasistatic modeling and control of Continuum Robots with rigid vertebras
Duriez, et al. (2008) Contact skinning
Duriez et al. (2013) Control of elastic soft robots based on real-time finite element method
Contributors
Thor Bieze
Frédérick Largillière
Sandra Hage Chehade
Mario Sanz Lopez
Christian Duriez