Step 2: Gluing Mold Parts Together
Once the mold parts are laser cut, the gluing can start. Gather the following materials to make one mold:
- Acrylic mold parts (top, middle, bottom, and fishbone structure)
- 4 x M3 bolts
- 4 x M3 nuts
- Acrylic glue (ACRIFIX® 1R 0192)
- 2 x clamps
- Lab gloves
- Wrench and screwdriver (to tighten bolts and nuts)
Put on lab gloves before starting and make sure that you are working in an area with appropriate ventilation (see safety measures for the ACRIFIX® 1R 0192 glue).
First, the bottom mold part (engraved with "bottom") is positioned on a flat surface. A thin layer of acrylic glue is applied to its surface, but only in the area that will be covered by the middle mold part:
The middle part (engraved with "mid") is then placed on top of the bottom part:
The above procedure is repeated to glue on the top part (engraved with "top"):
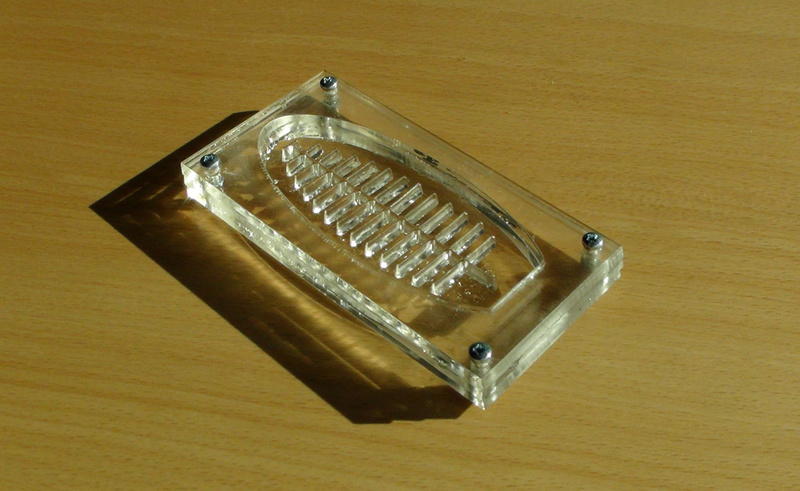
After all three layers of the mold have been assembled, the four bolts are put into the holes in the corners, to align the three layers. Nuts are put on and tightened with the screwdriver and wrench:
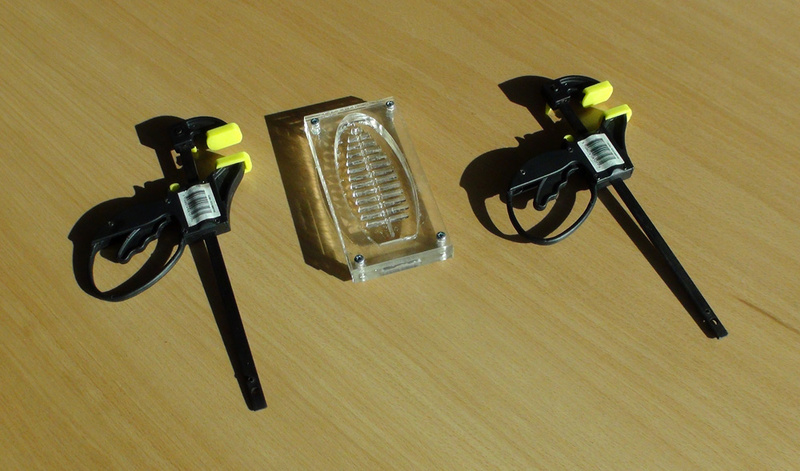
A thin layer of acrylic glue is now applied to the exposed mid-section of the middle mold part, where the fishbone structure will go. The fishbone structure is placed as precisely as possible in the middle of the mold and clamps are applied at both ends to hold it in place and maintain contact while the glue is curing:
The mold is left to dry for 20 minutes or more (to ensure complete curing in 20 minutes place the mold in direct sunlight or in a UV chamber). The clamps can now be removed and the mold is finished:
Contributors
Jonas Jørgensen