Assemble and merge
Create assembly
[Video: Assemble with constraints]
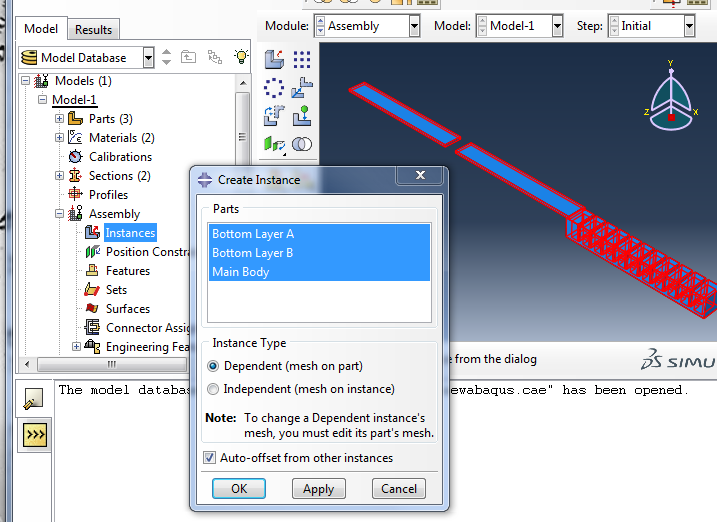
Now we assemble all the individual parts. In the model tree, expand Assembly, double click on Instances and select all 3 parts. Instance Type should be set to "Dependent".
Checking “Auto-offset from other instances” is also helpful as Bottom Layer A & B have identical shapes and positions and overlap each other, making them hard to distinguish. Alternatively, you can manually translate one of the overlapping parts.
Position parts
Now the parts have to be positioned properly relative to each other. To do this 6 total constraints are needed: 3 translational DOF for each of 2 parts, relative to one fixed part.
Use the face-to-face tool to “mate” faces like you would in SolidWorks (hold down the parallel faces button until another menu appears).
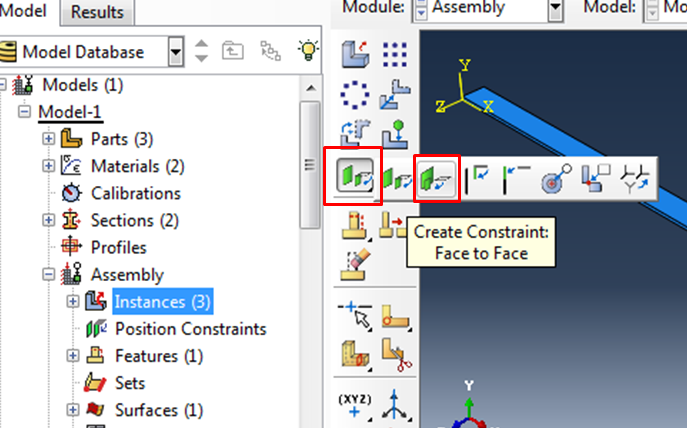
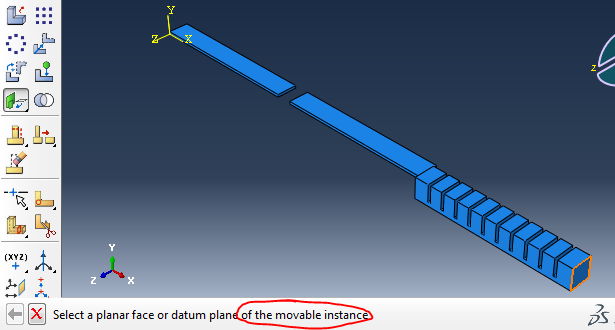
With this tool, you select the two faces you want to mate. the order in which you select faces is important: one of the parts is designated as movable, and the other as fixed. As you add more constraints, you should be consistent about the part you choose to be fixed, otherwise you will create a dependency cycle and get an error.
Here we will treat Bottom Layer A as fixed, and move the other parts relative to it.
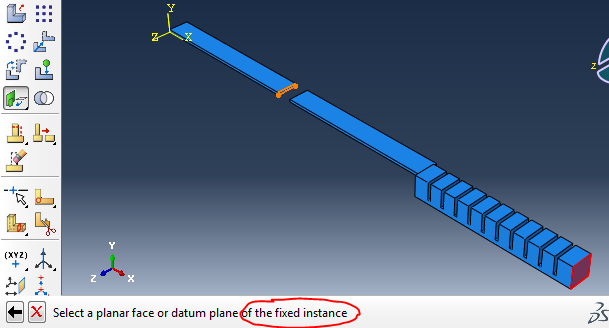
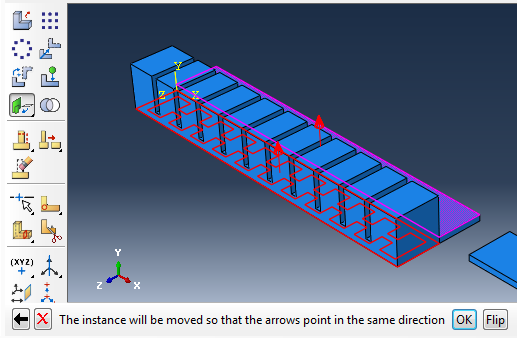
The 2 arrows that appear should be pointing in the same direction (click on “Flip” if they aren’t).

Next, set ‘Distance from the fixed plane along its normal’ to 0 and hit Enter. This completes the constraint and the movable part has changed its position.

When mating the bottom face of the Main Body to the top face of Layer A, the arrows will initially point in opposite directions. Click the Flip button to make them point in the same direction.

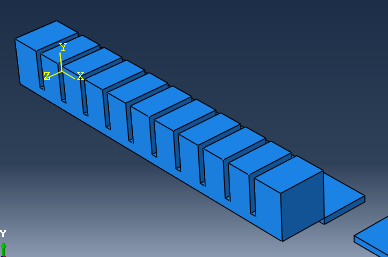
Repeat until all parts are in place.
Merge
Under the assembly module toolbar, click the Merge/Cut Instances button.
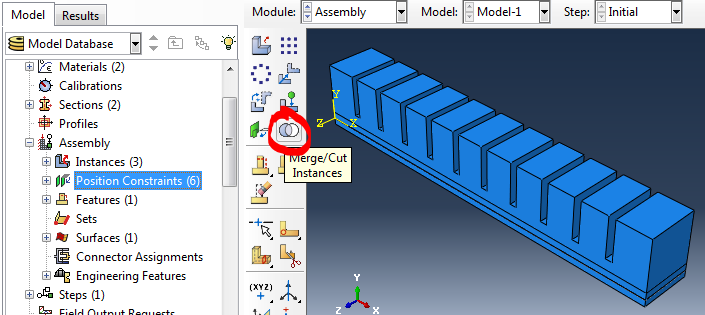

Select the entire assembly, and click Done.

In the new window, make sure to use the ‘Retain’ option for intersecting boundaries. A new part, the merged part, will be created in the parts list.
Bibliography
Ilievski et al. (2011) Soft robotics for chemists.
Mosadegh et al. (2013) Pneumatic Networks for Soft Robotics that Actuate Rapidly.
Ogura et al. (2009) Micro pneumatic curling actuator: Nematode actuator.
Polygerinos et al. (2013) Towards a soft pneumatic glove for hand rehabilitation.
Shepherd et al. (2011) Multigait soft robot.
Sun et al. (2013) Characterization of silicone rubber based soft pneumatic actuators.
Contributors
Panagiotis Polygerinos
Bobak Mosadegh
Alexandre Campo