PneuNets Extending Actuator
As discussed previously, changing the geometry of the basic PneuNets design can change the behavior of the actuator drastically. A variation of the PneuNets bending actuator developed independently by Aidan Leitch (a soft robotics enthusiast from New York) called a PneuNets Extending Actuator (PEA) does just that. Like the PneuNets bending actuator described in the surrounding documentation, it uses differing wall thickness and wall geometry of its internal chambers to create motion when pressurized.
Design
As opposed to bending like the original PneuNets Actuators, the geometry of the PneuNets Extending Actuator’s chambers causes it to expand axially when inflated. The PEA uses the same concept of arranging thin and thick walls in order to push against each other when inflated, but the arrangement of the internal chambers and the lack of a strain limiting layer lead to no bending of the actuator upon inflation. (Note: The actuator in the video above seems to bend because the tip is being constrained by the table).
The actuator is made of two bonded parts. The main body is first molded as an open chamber and then an elastomer layer is bonded to the opening to close and seal the chamber. Unlike the PneuNets Bending Actuator, PEAs do not use an inextensible layer (like the paper layer used in this tutorial which can be seen here). If such a paper layer was used, the actuator would not be able to extend when pressurized. A strain-limiting layer could be used if the layer was extendable, but not bendable. This would increase the actuators extending abilities as well as strengthening the actuator against buckling.
Fabrication Setup
This section provides an overview on the fabrication of the PneuNets Extending Actuator. As mentioned previously, the actuator’s design involves two parts: a main body and an elastomer layer, both of which are made of SmoothOn MoldMax 10T. The fabrication process is very similar to that of the PneuNets Bending Actuator.
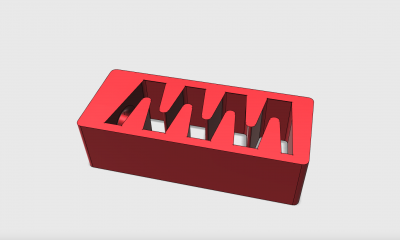
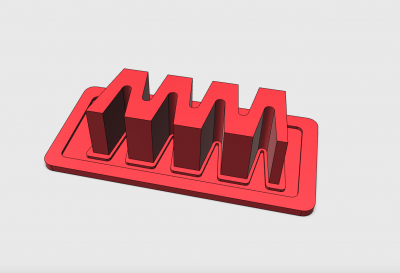
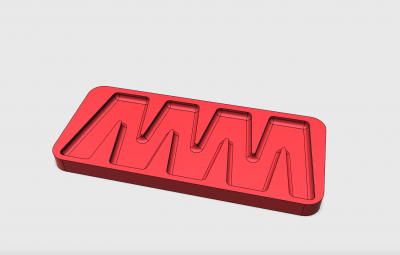
The mold consists of 3 parts, a top, a bottom and a base piece:
 |
 |
|
Top |
Bottom |
 |
|
| Base |
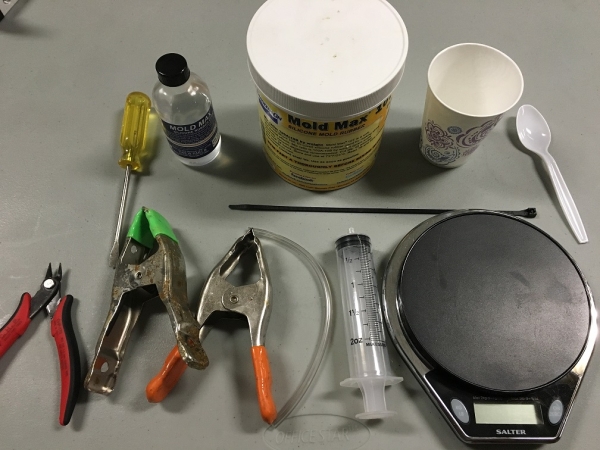
Bill of Materials
- 3D Printed Mold Parts (3 of them) (.STL files can be downloaded below)
- Smooth-On MoldMax 10T (About 140g of A and 14 g of B will be needed)
- Mixing cup
- Spoon (or similar stirring utensil)
- Scale
- Tubing (only around 4” needed, but can make as long as you want)
- Pressure source (a syringe or handheld bicycle pump will work)
- Zip-tie
- Clamps (2 needed)
- Flathead screwdriver
- Flush snips
Fabrication Guide
| Step 1: | |
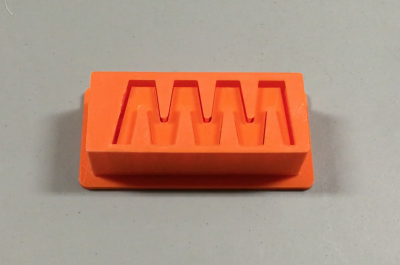 |
Place the top mold onto the bottom mold as shown. |
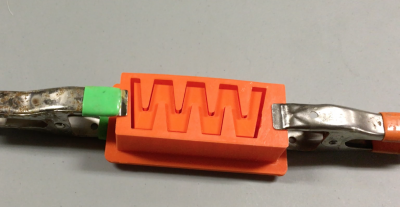 |
The two halves of the mold will snap-fit into place, but it is highly recommended that clamps are used at either side to prevent leaking. |
| Step 2: | |
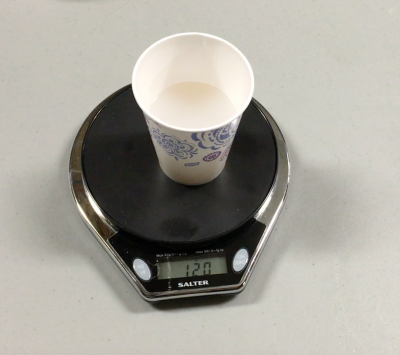 |
MoldMax 10T is a silicone mix that is mixed in a 10:1 ratio by weight, meaning if there is 10g of part A, there must be 1g of part B. The molds require about 130g, so first prepare 120g of part A. |
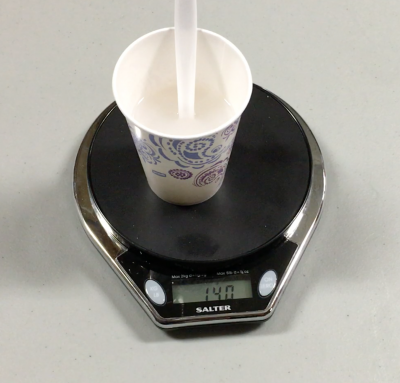 |
Next add 12g of part B. Also keep in mind the weight of your cup and spoon. In this example, the cup and spoon added 8g to the scale. |
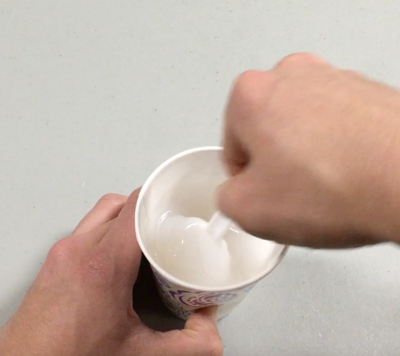 |
Use the spoon to mix the resin thoroughly. |
| Step 3: | |
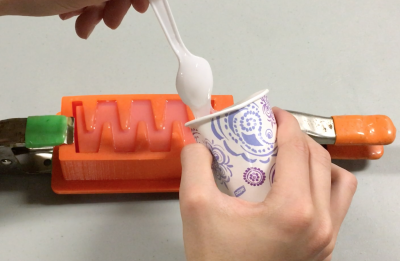 |
Pour the mixed resin into the mold slowly and consistently. Take short breaks in the pouring to let small bubbles escape. |
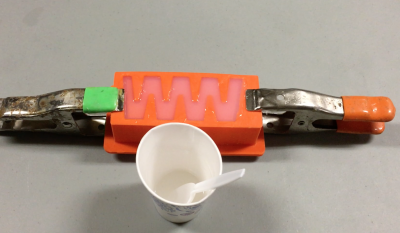 |
Once the mold is completely full, let it cure for 24 hours at room temperature. |
| Step 4: | |
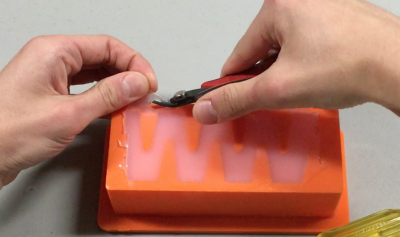 |
Once the silicone has cured, the cast can be demolded. Use flush snips to trim off any silicone at the top or edges of the mold. |
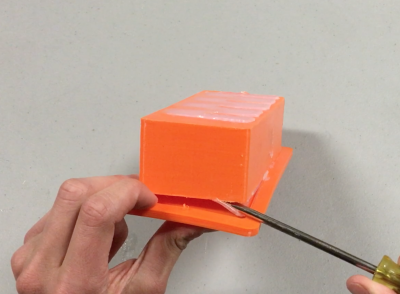 |
Use the flathead screwdriver to pry the two halves of the mold apart. With enough leverage, the bottom mold should pop out. |
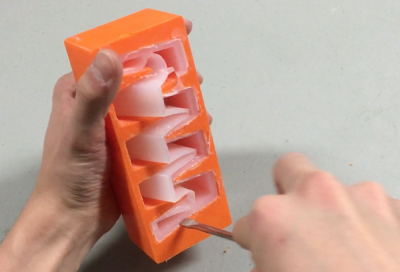 |
Use the screwdriver to peel the cast away from the edges of the mold. |
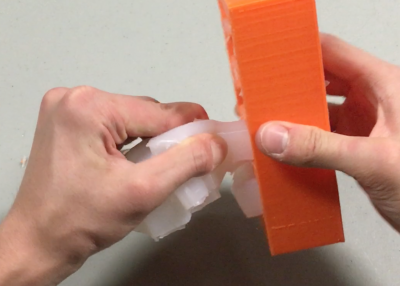 |
You should be able to pull the whole cast out. |
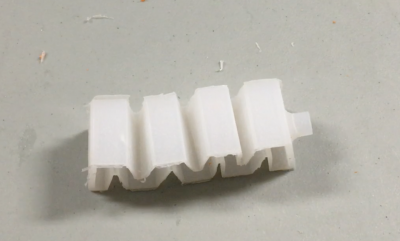 |
The actuator body should have one side open to the air. In the next step we will close off the chambers |
| Step 5: | |
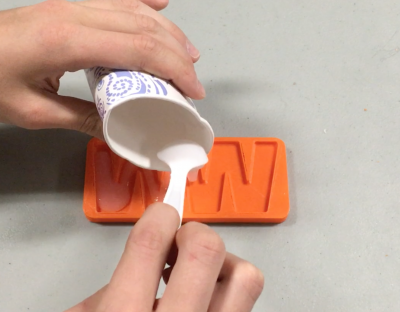 |
Mix up more MoldMax 10T to create the base of the actuator. You only need about 10g. |
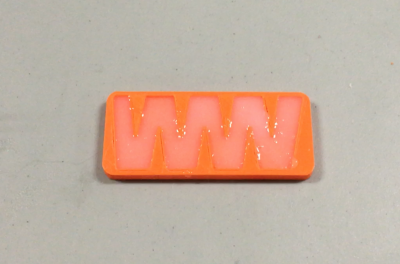 |
Fill the base mold to just a bit below the rim. |
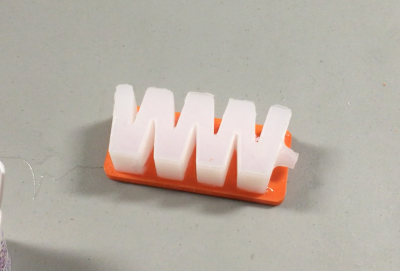 |
Place the actuator body created earlier and place it onto the base mold with the uncured silicone. Make sure the main body fits snugly into the base mold. Let the actuator cure for 24 hours at room temperature. |
| Step 6: | |
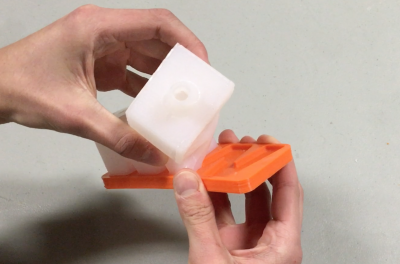 |
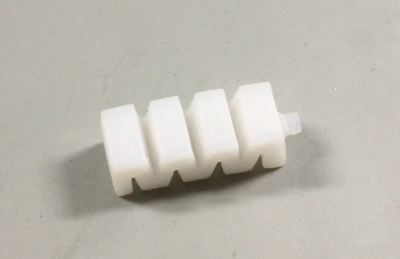
Once the actuator has cured, grip it firmly on the sides and peel it up from the base mold. |
 |
| Step 7: | |
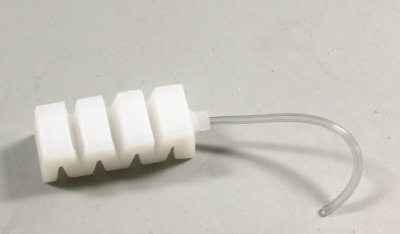 |
Insert a short length of ⅛” tubing into the sleeve of the actuator. |
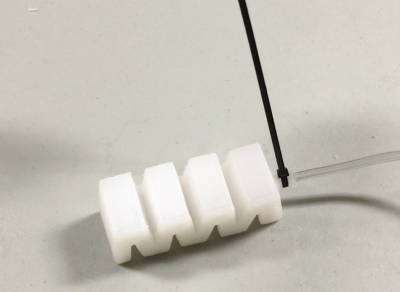 |
Tighten a zip-tie around the tubing and sleeve to prevent leaks. |
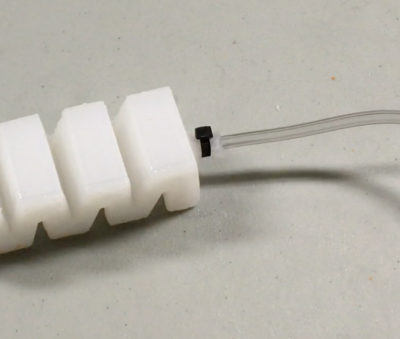 |
Check with your pressure source to make sure there are no leaks before trimming the excess zip-tie. |
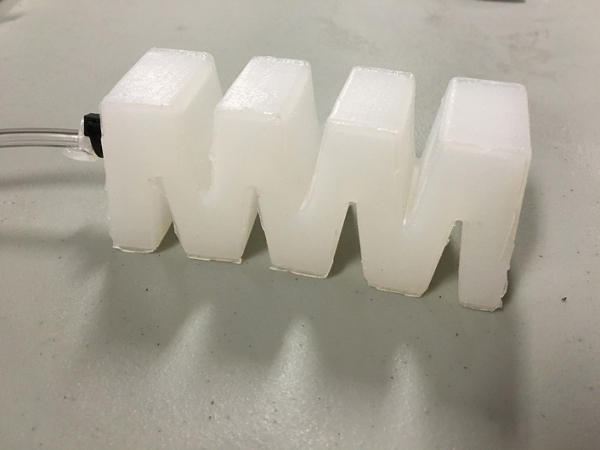 |
| A finished PneuNets Extending Actuator |
Downloads
The STLs to create the molds and the source files (done in 123D Design) are linked below.
| pea_123d.zip | 289 KB | |
| pea_stls_01.zip | 1.58 MB |
